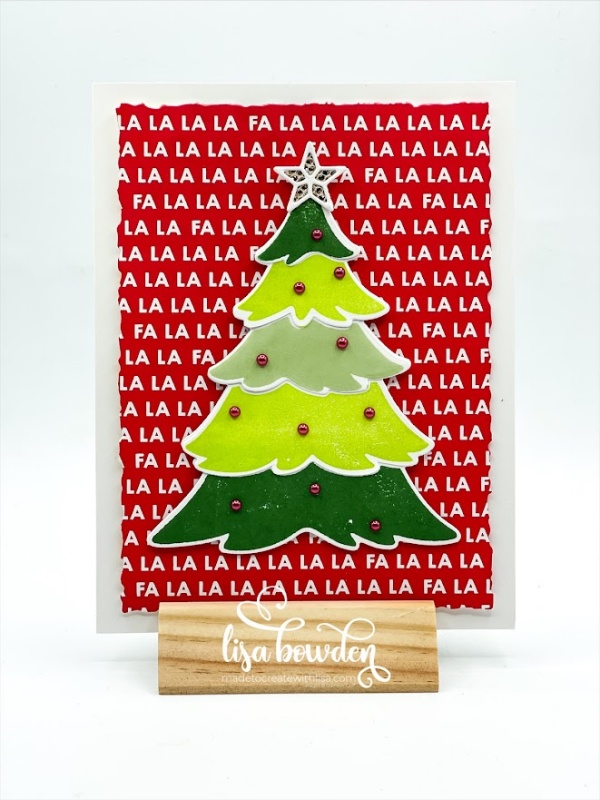
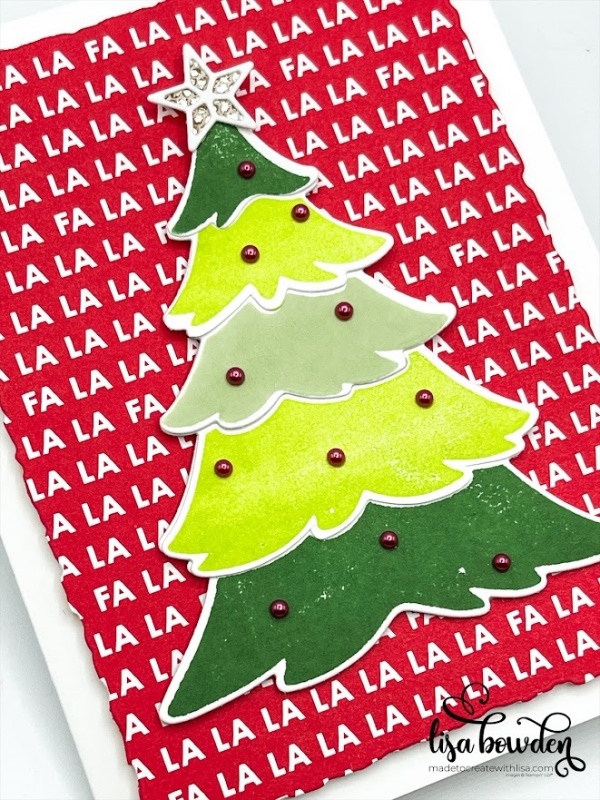
There are so many dies in the Merriest Trees die set! And several of them are super cool, because they allow you to stamp the large Christmas tree image from the stamp set, and then cut it into several different layers so that you can have fun mixing and matching colors in your Christmas tree. Have you tried this technique out yet? You should…it was super fun!

The card itself is actually pretty basic. It’s just a Basic White card base, 5-1/2″ x 8-1/2″, folded in half. Layered on top of this is the largest rectangle die from the Deckled Rectangles die set, using the Merry Bold & Bright Designer Series Paper (DSP). Isn’t this Fa La La paper just adorable? It’s one of my favorite papers this season! I used Stampin’ Dimensionals to layer on this piece of paper, just to give it a little more interest.
Next, I pulled out the large, bold Christmas tree image from the Merriest Trees stamp set. PLEASE CLICK HERE to watch the video where I made this card. You can see exactly how I did my stamping, and then my layering, in order to achieve this layered look on the tree.
The colors I used to stamp the different layers are Parakeet Party, Soft Sea Foam, and Garden Green. Once it’s all layered together, I think the finished product is just so adorable and fun! I adhered this tree onto the card base using Stampin’ Dimensionals.

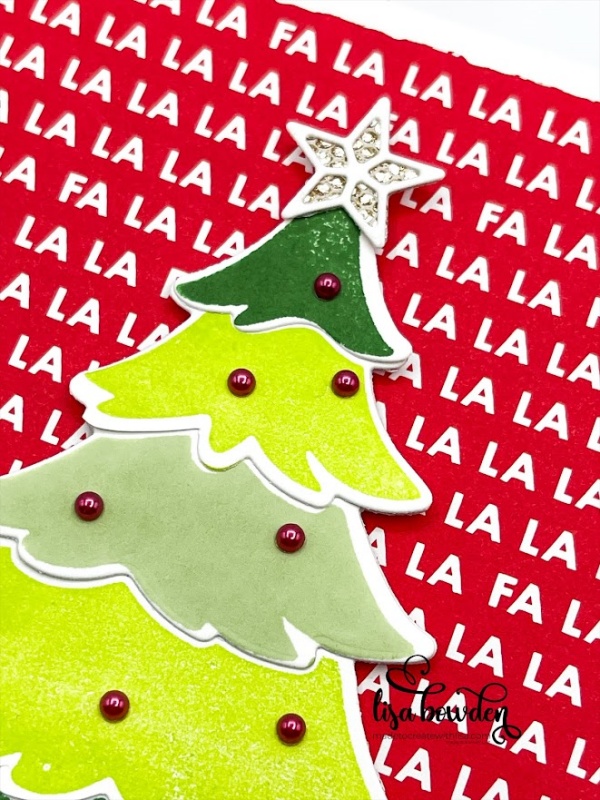
The star on top of the tree was die cut out of the same die set, using the More Dazzle DSP. I love this paper! I have used it so much this season. It is just the perfect paper to jazz up a card with a little pizazz!

After stamping the sentiment on the inside of the card using Parakeet Party ink, I sprinkled on some of the red Festive Pearls to decorate the tree. The red pearls helped to tie in the red DSP background, which I loved!
I hope you’ll give this technique a try! It sure was fun to create!
Product List


Leave a Reply