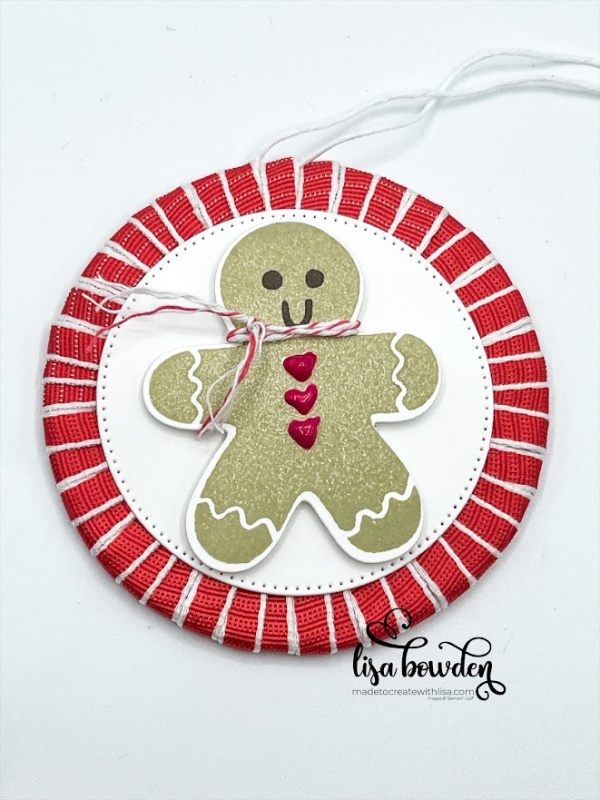
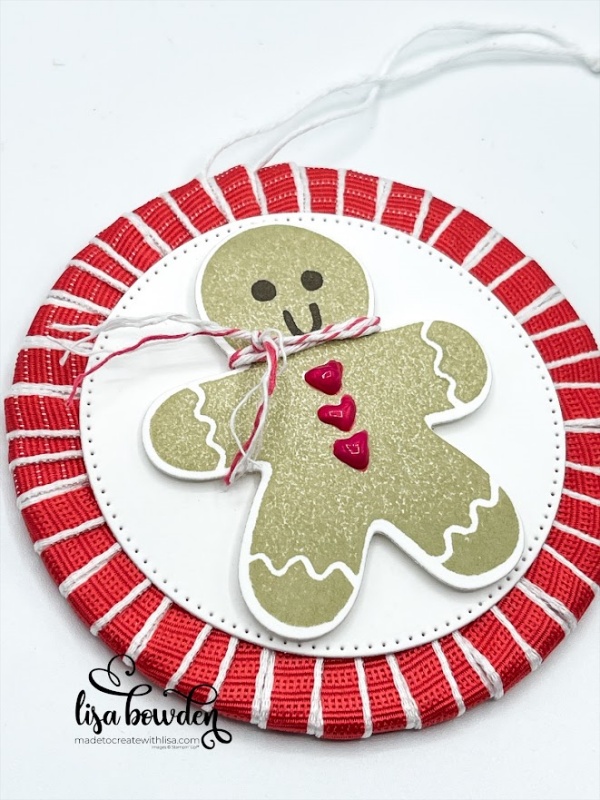
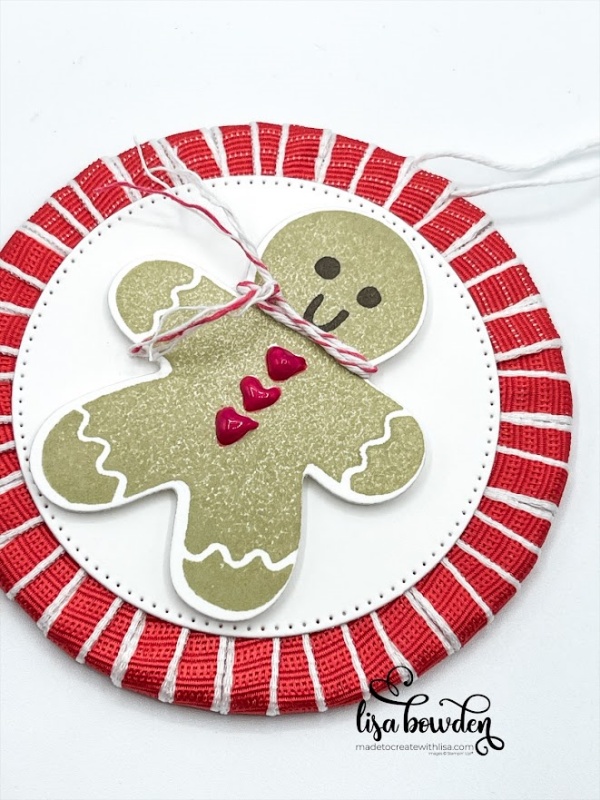
When crafting during the holiday season, you can’t forget about the Christmas tree! One of the most fun things to make is handmade ornaments for your tree, and today I have an adorable, budget-friendly project that will add a touch of homemade charm. Let me introduce you to my adorable creation: a gingerbread-themed ornament using a leftover ribbon spool, some ribbon, and the adorable gingerbread man stamp from the Sending Cheer stamp set!

Materials Needed:
- Leftover ribbon spool
- Ribbon (here I used some of the NEW ribbon that is coming in the upcoming Jan-April Mini Catalog, but you can choose whatever ribbon you want! The wider the better.)
- Sending Cheer stamp set (specifically, the gingerbread man stamp)
- Ink pads: Crumb Cake, Real Red, Early Espresso
- Baker’s Twine Essential Pack, 2022-24 In Color Baker’s Twine Pack
- Enamel Effects Basics (Pearlized)
For this project, you’ll need approximately 3 arms’ lengths of ribbon (the amount depends on how wide your ribbon is. For my thinner ribbon here, I needed almost 3 arms’ lengths). Go ahead and measure it out and cut it off, because you can’t leave it on the spool while making this project.
PLEASE CLICK HERE to watch the video where I made this craft. It really helps to watch how I do it, so that you can see exactly how it’s done!
Next, stamp the gingerbread man, using Crumb Cake ink, onto Basic White cardstock and die cut him out with the coordinating dies. Cut off the top part of the die that’s a “hole” to make a hang tag, because we won’t be hanging him from anything today! Now, stamp the heart buttons with Real Red ink, and his smiley face with Early Espresso ink. Wrap a length of the Sweet Sorbet & white striped In Color twine around his neck a few times, and then tie a knot and fray the ends. This makes a cute little scarf for him!

Now, let’s start making the ornament. It’s easiest if you watch the video, so that you can see exactly how to do it. Start with one end of the ribbon, and adhere it to the ribbon spool with a dab of hot glue. Then, start wrapping around the spool, around and around and around until it’s completely covered. As you wrap, slightly overlap the edges of the ribbon so that you can’t see through the edges down to the ribbon spool. You want it to stay completely covered. Tack down the end of the ribbon with another dab of hot glue, so that it stays in place.
For this project, I die cut out a circle from the Stylish Shapes dies to layer onto the ornament, so that it created a focal point for the gingerbread man. It also worked perfect to hide the ends of the ribbon!
Attach the gingerbread man to the circle, using Stampin’ Dimensionals. This ornament is really coming together!

Create a hanging loop for the ornament by cutting a piece of the white baker’s twine, and threading it through one of the “wraps” of the ribbon (you can see this on the video). Tie a knot in the top.
For final detailing, it looked so cute when I added the Red Pearlized Effects as an accent onto his heart-shaped buttons. This takes about 15 minutes to completely dry, so be sure to be completely finished before you attempt this step. Set the ornament aside completely to dry, and when it’s finished you’ll see how cute this looks!
Once everything is dry and your ornament is complete, find the perfect spot on your tree to hang your adorable gingerbread man! Once you start making ornaments with ribbon like this, you’ll see how addicting it is, and you’ll want to make more! I hope you’ll give it a try. Happy crafting!
Product List


Leave a Reply