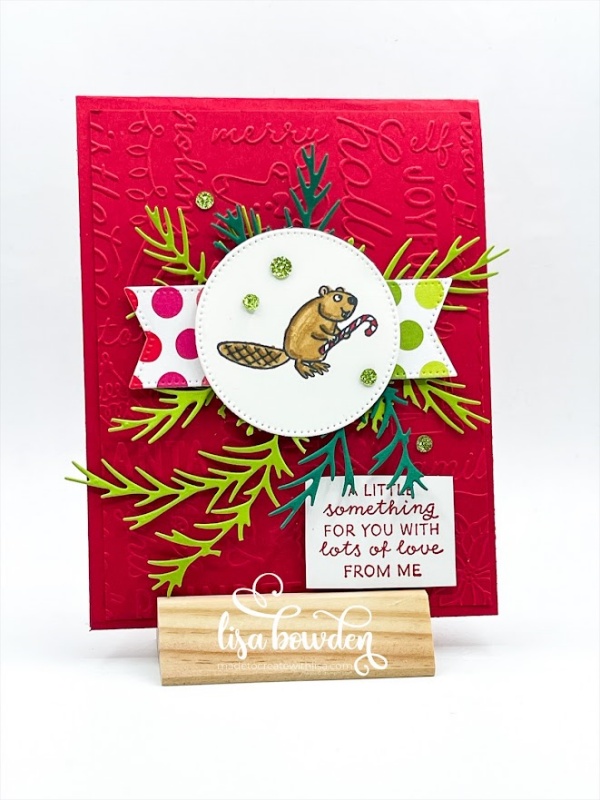
I pulled out half of my craft room today, making this little Christmas card! Ha ha! I just kept going and going, when I normally just stick to one stamp set and the coordinating paper and dies for a project. So, buckle up! Today, I mashed everything together into one card!

I made the card base out of Real Red cardstock, measuring 4-1/4″ x 11″ and folded in half. Next, I layered on a another piece of Real Red cardstock, measuring 4″ x 5-1/4″, that I had put through my Stampin’ Cut & Emboss Machine, embossing it with the Christmas Tidings Embossing Folder. This folder is so fun! It has all kinds of different Christmas words and images all over it, making such a fun background.
PLEASE CLICK HERE to watch the video where I made this card. You can see exactly how I added all of the different layers and products to this fun project!
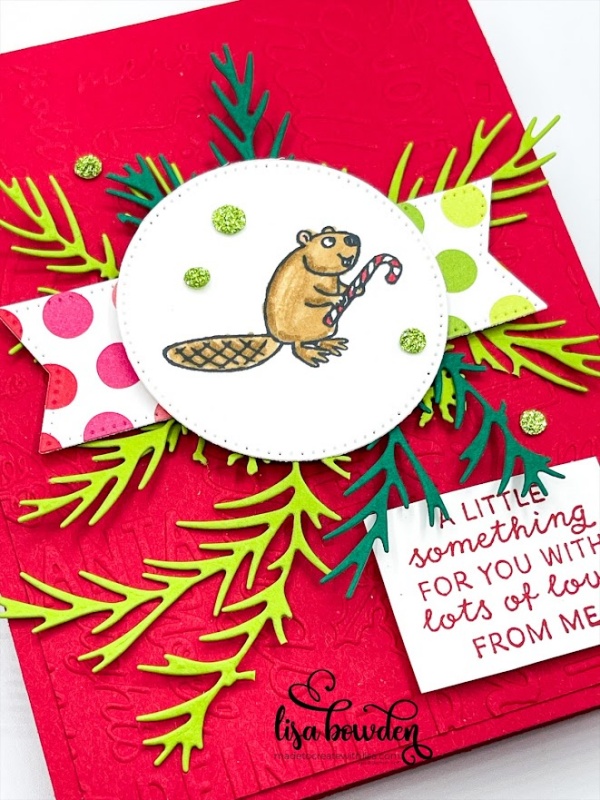
Next, I die cut out several pine branches, using the Christmas Pinecone die set. I die cut some out of Granny Apple Green cardstock, and some out of Shaded Spruce. I cut them apart, and only used some sprigs on my project instead of using the entire die cut.

On top of this, I layered a cute banner that I cut out of the Merry Bold & Bright Designer Series Paper (DSP), using the largest banner die in the Stylish Shapes die set. There are so many different colors in this print, it was fun to pull out different papers to go with it.
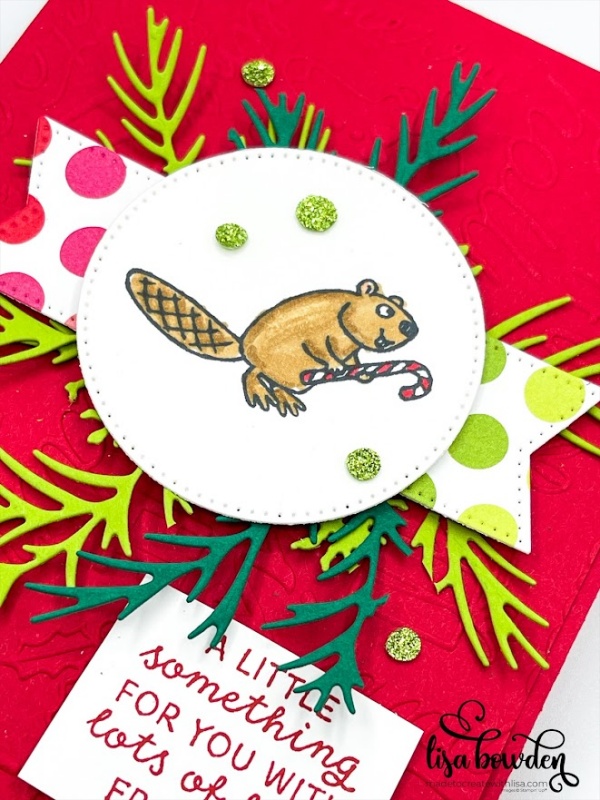
Finally, I stamped the little beaver stamp onto a Stylish Shapes circle die, using Black Memento Ink, and colored him in using our awesome Stampin’ Blends alcohol-based markers. I have the colors I used listed below.

The last step was stamping the sentiment onto a little scrap piece of Basic White cardstock, using Real Red ink, and sprinkling on a few of the ultra-sparkly Adhesive-Backed Glitter Sequins. These babies are some of my favorite embellishments from the holiday mini catalog! They’re soooo sparkly!
I know this card used everything but the kitchen sink, but I hope you like the way it turned out! It was a fun one to create!
Product List


Leave a Reply