The new Holiday Mini Catalog goes live tomorrow, September 4, 2024! YAY!!! There are so many new things in it that are SO fantastic, I am excited to start creating!
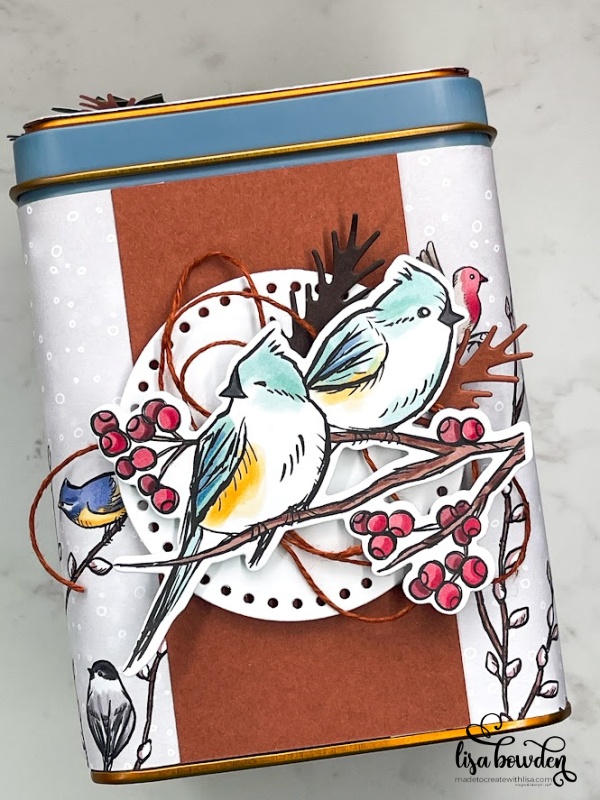
The holidays are the most fun time of the year to create for, don’t you think? And, it’s a GREAT time to make projects that are “out of the box.” I love taking tins, boxes, baskets, etc. and repurposing them for gift giving. Today’s gift tin is a repurposed tin that was full of tea sachets, and I covered it with Designer Series Paper (DSP) to create a whole new look!

PLEASE CLICK HERE to watch the video where I created this project. You can see what the tin looked like before I covered it, and exactly how it all came together.
I started out with a tin, and measured the tin to see approximately how tall I needed my paper to be. I knew that the full 12 x 12″ width of my paper would not cover the entire tin, but I knew it would wrap around far enough to make it work. This particular tin needed a piece of DSP measuring 4″ tall, and I needed the entire 12″ of length to go around as far as it could.

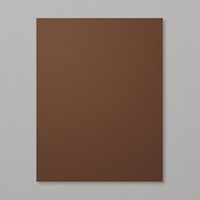
I used the awesome, sticky Tear & Tape adhesive to stick the DSP to the tin. You could also use Mod Podge, but this was a quick and easy way to adhere the DSP to the tin. I wrapped the tin so that the ends would end up in the front, and I covered the empty space with a 2″ x 4″ piece of Copper Clay cardstock. If you watch the video, you can see exactly how this looks.
Next, I die cut out the 2nd largest circle from the Everyday Details dies, using Basic White cardstock. I stuck this onto the tin, using Stampin’ Dimensionals.
To decorate the die cut circle, I die cut out some of the birds from the Nests of Winter DSP. I adhered these on with Stampin’ Dimensionals. I also added some “swirls” of the coordinating Natural Tones Linen Thread, in the Copper Clay color, which added some pizazz and matched perfectly. Finally, I also added a couple of die cut pine bough pieces that were die cut out from Early Espresso and Copper Clay cardstock. I tucked these behind the birds.

The top of the tin is covered with a different printed paper from the same Nests of Winter paper pack. I measured the lid and cut my square, and adhered this on with Tear & Tape adhesive. I stamped 2 of the “bough” images with Black Memento ink onto Basic White cardstock, and swirled Garden Green ink all over them with a Blending Brush. Then, I die cut them out with the matching die. I love how this looks like a wreath, when you put 2 of these images together.

The final decorations for the lid of the tin are some die cut pinecones and a bird from the DSP, along with a couple more pine boughs that I die cut out with Early Espresso and Copper Clay cardstock. I added the sentiment, which I stamped with Black Memento ink, and hand cut out into 3 separate sections. I adhered these on with Stampin’ Dimensionals.
What do you think? I love how this turned out! I could easily fit some socks, makeup, jewelry, or candy into this cute little tin. It’s perfect!

I hope this gives you some inspiration to cover some boxes, tins, or packaging that you have laying around your house for the holiday season!
Product List


Leave a Reply