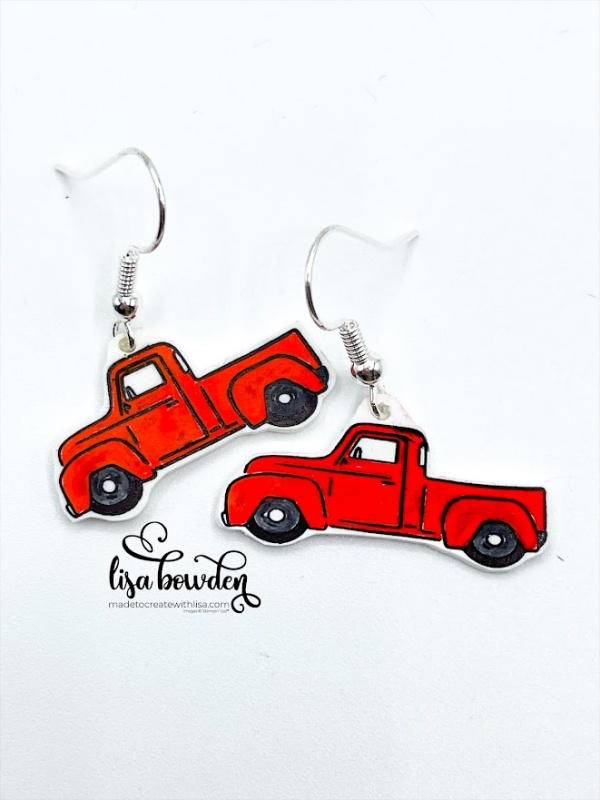
Did you know that you can use your stamps to make jewelry? Have you ever tried it? I love it!
In today’s project, I’m using Shrink Plastic, which used to be called “Shrinky Dinks” when I was a kid. It brings me back to my childhood! Shrinky Dinks are so much fun!
PLEASE CLICK HERE to watch the video where I made this project. It’s fun to watch the process in action!

One of the most important parts of working with shrink plastic is the fact that you have to use permanent inks. The ink pad needs to be our Stazon permanent ink pad, and the markers that you use to color in your image also have to be permanent. So, for this I choose to use Sharpie markers. All of these items are linked here in my Amazon affiliate shop, which I’d love for you to support! Thank you so much! PLEASE CLICK HERE to head to my Amazon shop, and you can find the shrink plastic and other items there.
To start, you pull out a piece of your white shrink plastic. I like to give mine a quick, light sanding with a sanding block, just to rough up the surface. It makes it easier for the ink to grab onto the plastic without bleeding.
Next, ink up your desired stamp with the Stazon black ink pad. Today, I used the truck image from the adorable Trucking Along stamp set. Make sure your stamp is inked all over, as evenly as possible, and then stamp firmly onto the plastic. Take care not to let your stamp slide, otherwise you’ll produce a smeared image.
The ink will sit on top of the plastic, and not sink down into it. So, it takes a bit for it to air dry before you can move onto the next step. Make sure it’s dry before you start coloring!
Grab a hole punch (I used a 1/4″ handheld punch, which I have linked in my Amazon shop), and punch a hole wherever you’d like. I chose to punch mine on top of the truck image, so that the earrings would hang down appropriately.
Next, cut out your image. Be sure not to use your special scissors for this project, as you are cutting plastic! It will dull your good scissors, so just use your regular scissors for this step. As you round the corners of your image, be sure not to yank the plastic too hard, because the plastic can tear.
After your image is cut out, have fun coloring with your Sharpie markers! I like to take my time, so that I don’t go out of the lines. Remember that whatever color you choose, it will become darker and bolder as the image shrinks. For example, a light pastel pink will become much brighter and darker once it’s heated.
Grab your heat tool and start heating it up! I like to hold the image in place using a sharp tool, holding it through the hole (you can see how I do this on the video linked above). It will start warping and bending, but keep at it! It will flatten out as it’s done.
I like to use my stamp block (or whatever flat item I have sitting next to me!) to flatten out the image as soon as I’m done heating, while the plastic is still hot. This will make the image nice and flat.
Finally, grab your earring findings and put your image onto the earring! And, voila! You’re done!
I hope you love this project! Think outside of the box, and see what you can do! But most of all, have FUN!
Product List


You are the best! i had made earings years ago and forgot all about it until i saw your cute truck ones. Now of to search my room for the shrink
plastic! Thanks again!
Yay! This brings a smile to my face!! I hope you have fun with it.