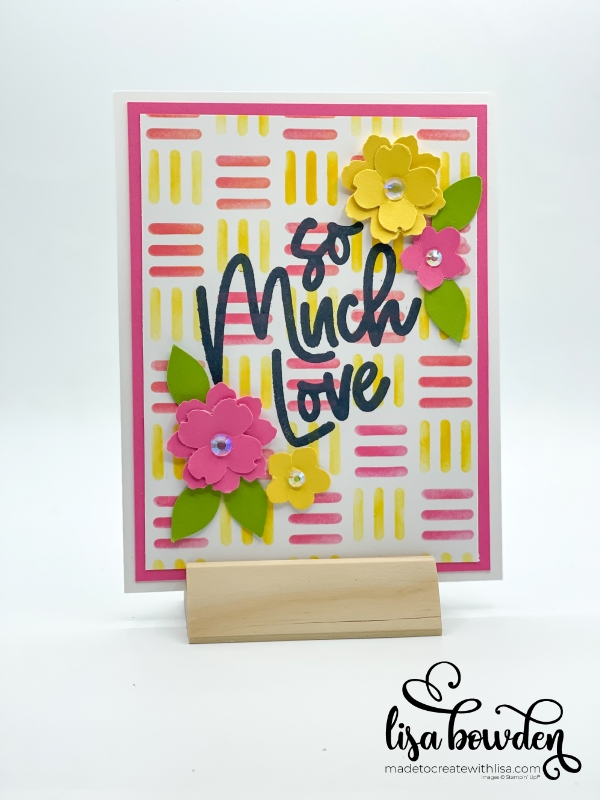
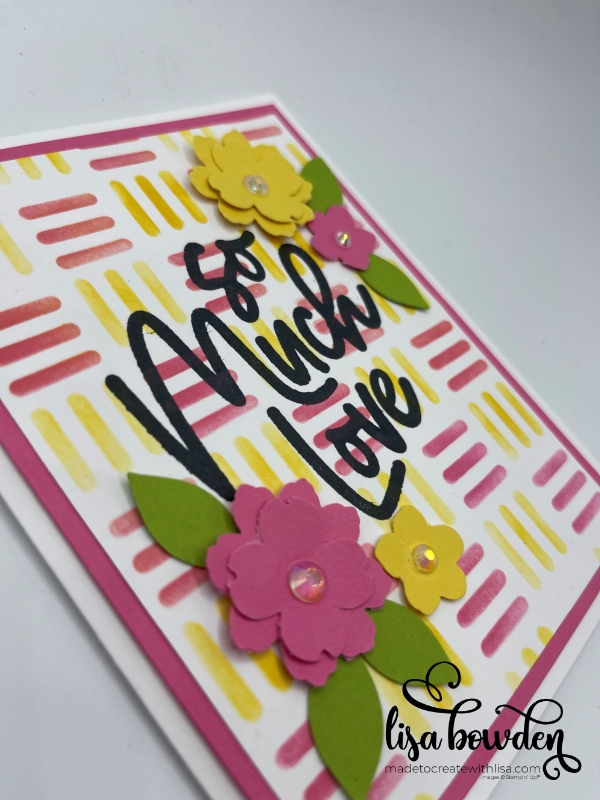
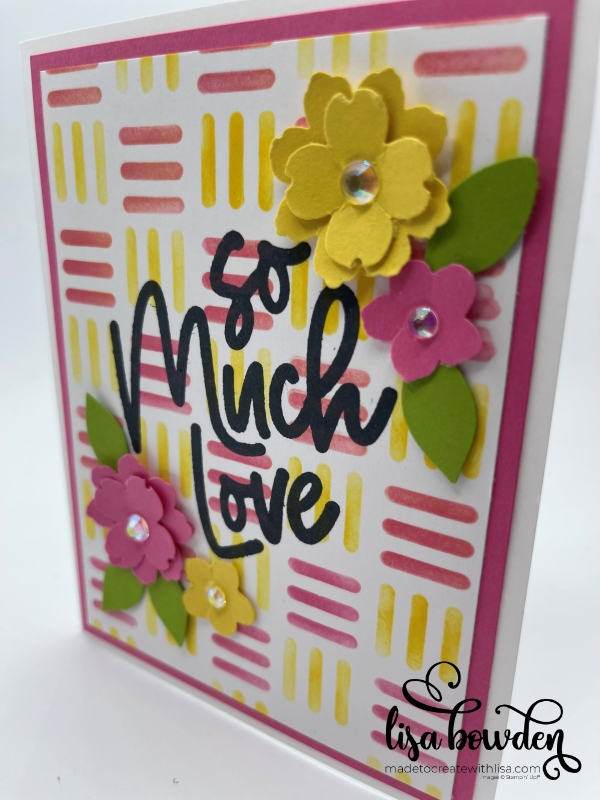
This card screams Spring and Summer to me! Isn’t it just so bright and cheery? I hope it puts a smile on your face like it does mine.

The background of this card was created using the Loveliest Layers Decorative Masks. Have you ever tried any of our masks? They are lots of fun, and add a fun and different technique to your stamping. I’m going to link the video here that quickly shows how I made the card, so that you can see it in action. It’s super easy to use, but I think it will help you to watch the video and then follow along here for details.

First, we start with a Basic White card base, with a layer of Melon Mambo on top. I just love that bright color of pink! Next, we’re going to make the top layer of the card using another piece of Basic White cardstock. Grab your Daffodil Delight and Melon Mambo ink pads, as well as a couple of our fabulous Blending Brushes, and the Loveliest Layers Decorative Masks.
Be sure to use a scrap piece of paper beneath your work. It’s going to get a little messy! You’ll lay down your piece of Basic White cardstock, and then place the mask on top. Arrange it like you’d like, making sure those lines are straight. Then, ink up your Melon Mambo Blending Brush and start blending color into those lines in a circular motion. Keep re-dipping your Blending Brush into the ink pad, blending the color all over the card base, until all of the lines are filled in.
Next, pick up the mask and turn it 180 degrees. Now, your stripes will be vertical. Place the mask onto your card, holding it in place, and start adding the Daffodil Delight color with your other Blending Brush. Keep dipping into your ink pad, and rubbing the Blending Brush into the lines, all over your card until all of the stripes are filled in. Now the magic happens! Pick up your mask, and voila! The colors are all filled in and it looks awesome!!

This card also used our Stamparatus. I know it is going to retire soon, so GRAB IT WHILE YOU CAN!! It’s awesome to use so that you can stamp in the exact same place over and over again, adding more and more ink until your images is as dark as you’d like it to be. I used the sentiment from the Love for You stamp set, and our Black Memento ink pad.

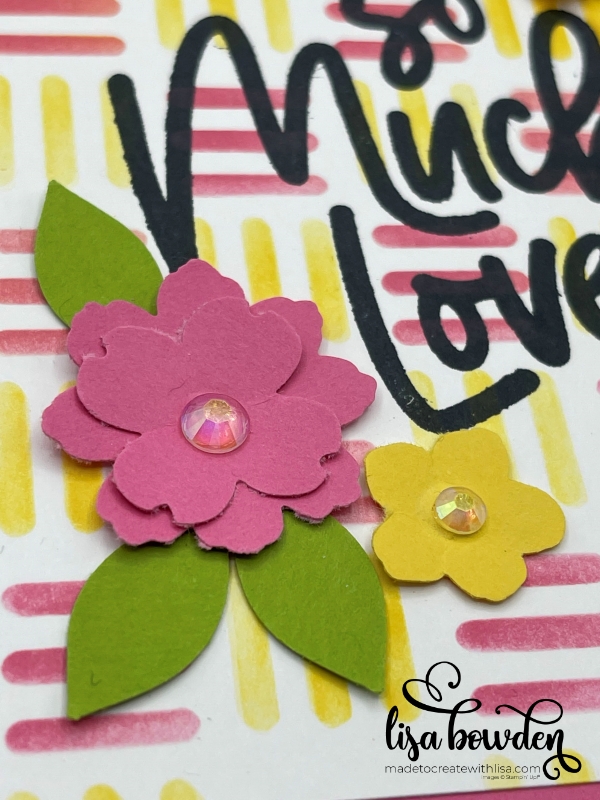
Finally, I punched out some flowers from the matching cardstock colors, using the Petal Park Builder punch. I punched out several flowers, along with some Granny Apple Green leaves, and layered these onto the card front. The perfect touch was adding some Iridescent Pearl Basic Jewels to the middle of the flowers, and BAM! The card is finished!! What do you think? Do you think you’ll grab some of our masks and give it a try? We have several masks to choose from, and you can have fun trying them out with different colors and layouts. I’d love to see what you come up with!
You can purchase the products I used:


Leave a Reply