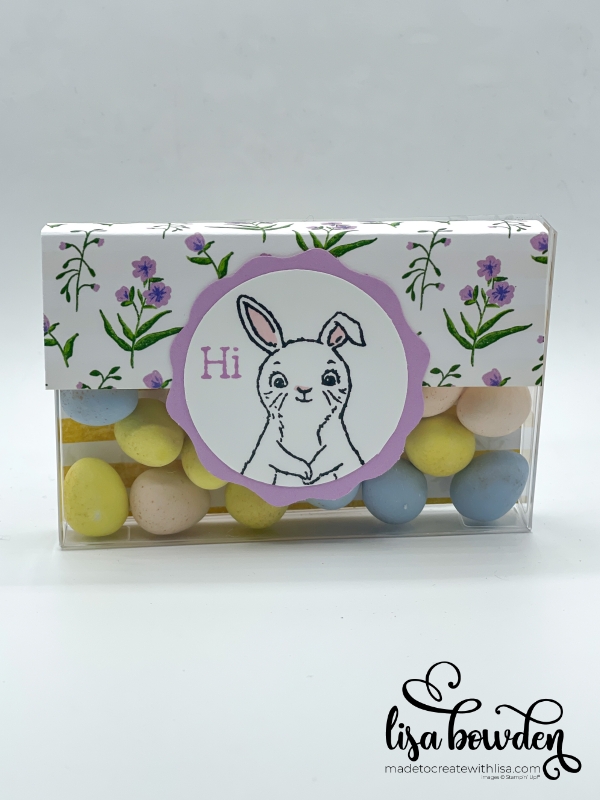
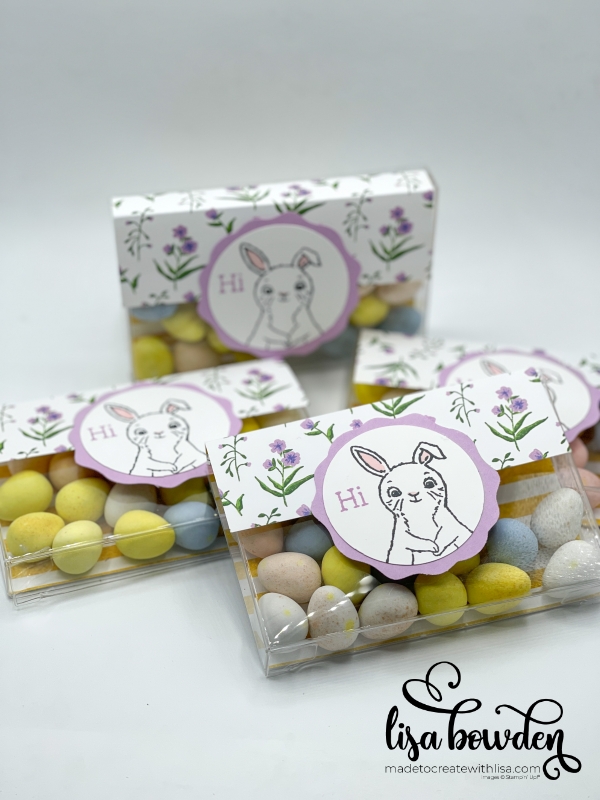
Is this not the cutest little candy box you’ve ever seen? I love how you can see the candy through the box, which helps give it a festive look for the holiday! And, as usual, my mind starts whirring with all the different ideas I could do with this same box layout.

We used to sell these Acetate Card Boxes with Stampin’ Up!, but unfortunately, they have retired. Now, you can find them on Amazon, and I’ll put my affiliate link here so you can grab them and get to work! These are the boxes that fit the regular 5 ½” x 4 ¼” card size.
First, lay out the box so that it is flat. Using a ruler, find the middle of the box portion (minus the box flaps). Use a marker or a Sharpie to draw a line and cut the box in half. I used old scissors here, because you are cutting through thick plastic! Don’t ruin your Paper Snips for this project! Watch my short video so that you can see how I laid out the box and cut it in half. I think it’s easier to watch the video than it is to follow my explanation!
Now that your box is cut in half, you can create 2 of these darling candy holders. Just put together the box flaps, and this is the bottom of your holder. Now, measure how large the open area of your box is. For me, my box needed a piece of Designer Series Paper that was approximately 3” wide. I used the Tea Boutique Designer Series Paper here, and I love that when you put it inside the box, you can see the design through it! So, make sure you like both sides of the paper you are using.
For me, I had to play with the measurements until I figured out the size I needed for width, as well as how long I wanted the flap in front. You can change this up however you’d like. Your finished measurements will vary, depending on the exact size and brand of boxes you end up purchasing. Maybe you could just use a scratch piece of paper first, and play around with the measurements, before you make your final cuts and score lines.
After scoring my Designer Series Paper and sliding it into my box, I made a medallion for the front of my box, using the Decorative Circle Punch and Fresh Freesia cardstock. I layered a white circle on there using our Basic White Cardstock, and stamped the adorable bunny from the Easter Bunny stamp set using the Black Memento ink pad. HOW CUTE IS HE?? I just love him to pieces!
Color in the bunny however you’d like, but I used our amazing Flirty Flamingo Stampin’ Blends for his little ears and nose. I stamped on the word “Hi” with matching Fresh Freesia ink, and layered up the medallion.
You could close the flap however you’d like, but I chose to use little adhesive Velcro tabs. Here is an affiliate link to my Amazon shop to find these. The Velcro tabs help the flap to stay closed, so that your candy doesn’t spill out!

Finally….one of my favorite parts of this entire project…the Cadbury Mini Eggs!!! Oh my stars, this is absolutely my absolute favorite candy on the planet!! I live for these babies year after year. (I may have been known to buy a few extra bags so that I can enjoy them long after Easter has passed.) Fill that box up!! And then be sure to give this darling gift to one of your favorite people. They may even give you a hug!
Are you ready to give it a try?? I think Christmas M&Ms would be perfect for this see-through candy box, or red, white, and blue for July! And of course Valentine’s Day candies would be fantastic…I could go on and on! Let me know if you try it!
You can purchase the products I used:


Leave a Reply