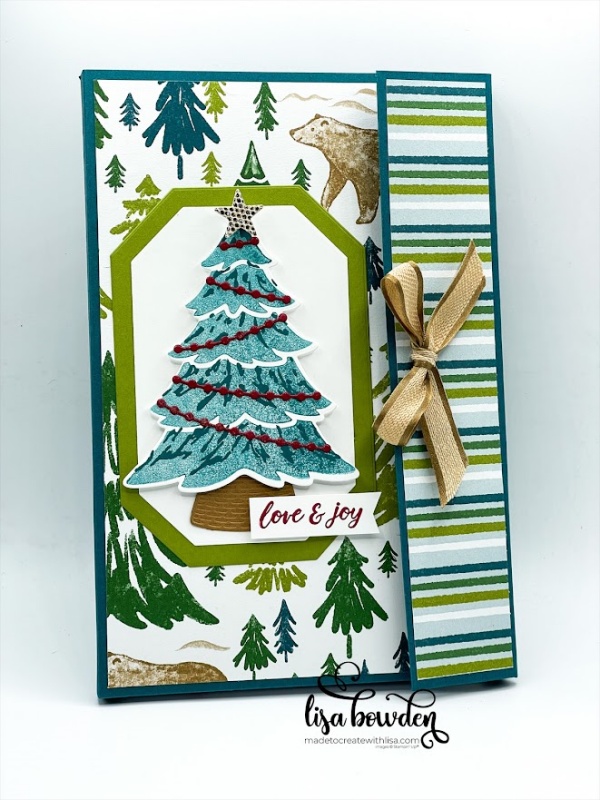
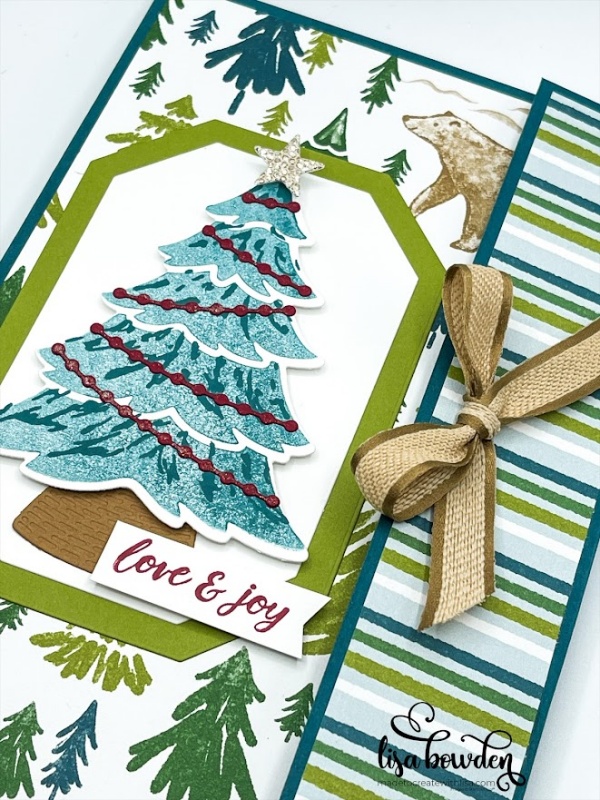
Today, I want to show you a cute notebook I made using the Merriest Trees stamp set, along with the coordinating Designer Series Paper (DSP) called A Walk in the Forest. I made this same notebook several months ago, and it was so well-loved, I thought I’d make another one for the holiday season!

PLEASE CLICK HERE to watch the video where I made this notebook on a live video. I have all of the measurements on a different blog post, which you can access by CLICKING HERE. It’s such a versatile project, you can use all kinds of different papers and stamp sets to make the project, no matter what occasion or season!
For this project, I used A Walk in the Forest DSP, which I love for several reasons. Obviously, the colors are amazing and perfect for the upcoming holiday/winter season. But the bonus is that for every purchase of a package of this Designer Series Paper, Stampin’ Up! will be donating funds to help children in need this holiday season! Isn’t that awesome! I love any opportunity I have to give back. So, grab yourself several packages of this DSP while you can! It’s a win-win for all of us.
The base color of this notebook is Pretty Peacock, which is one of the featured colors in the DSP. I also used Old Olive to layer onto the DSP, and accented the greens with Cherry Cobbler to pull out a red color for the “holiday” look.

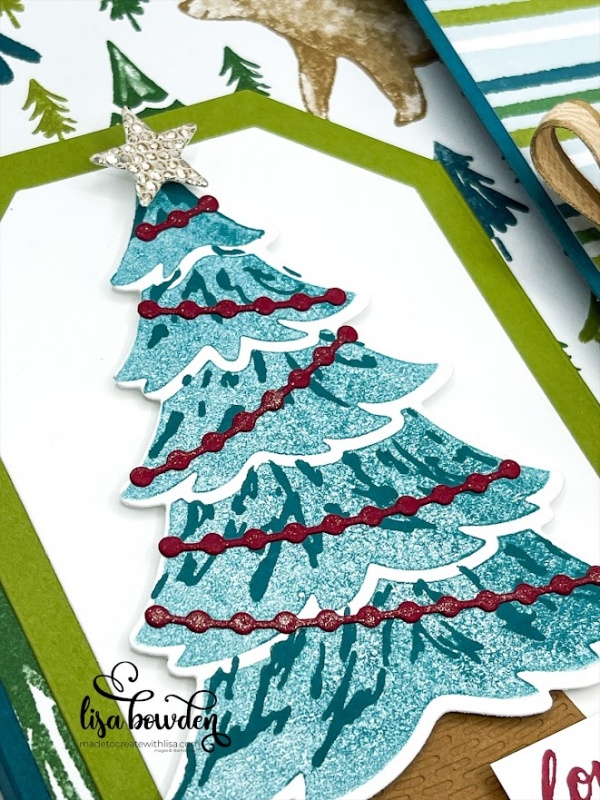
I stamped the large Christmas tree with Pretty Peacock ink, stamping off once first, and then adding the detail stamp on top while it was fully inked. This gives the tree a nice contrast, so that you can see the detail and have it look multi-dimensional.
Using the dies from the Merriest Trees die set, I cut out the tree, as well as a rattan basket for it to sit in (from Pecan Pie cardstock), some beads to hang on the tree (from Cherry Cobbler cardstock), and a star to go on top (from the More Dazzle Specialty Paper pack). I colored the Cherry Cobbler beads with the Wink of Stella Glitter Pen, to give it some pizazz and glitz, and then put the whole thing together. I really like the way it turned out!

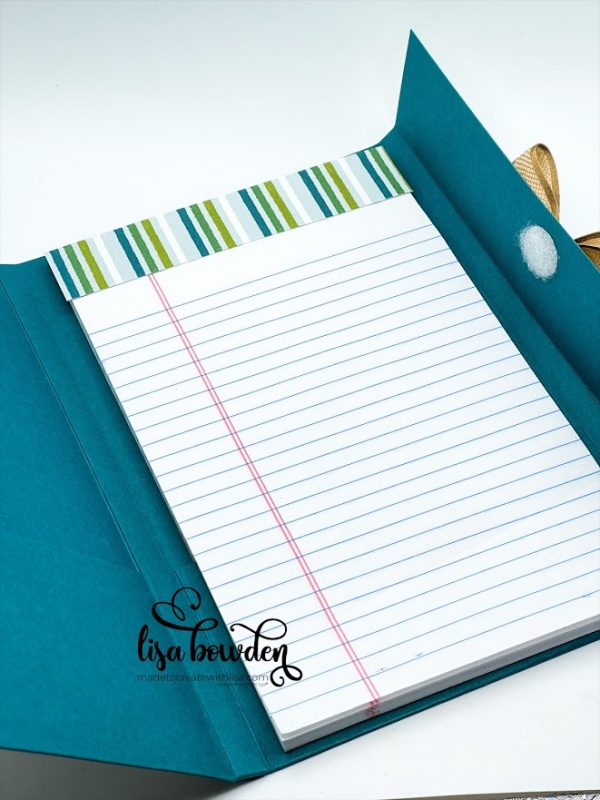
PLEASE CLICK HERE to visit my Amazon shop (affiliate), where I have linked the Velcro dots I used to close the notebook, as well as the pads of paper I used. Thank you so much for supporting me through using my affiliate links!
The finishing touch on this project was the Pecan Pie bow, which I attached using some Mini Glue Dots. I added this after the video ended, because I decided it needed “a little something” on the side! I like it!

I hope you’ll give it a try! Have fun!
Product List


That is totally awesome.
Want to make one for sure.
Thank you for sharing
I hope you do! I’d love to see it when you’re finished!