
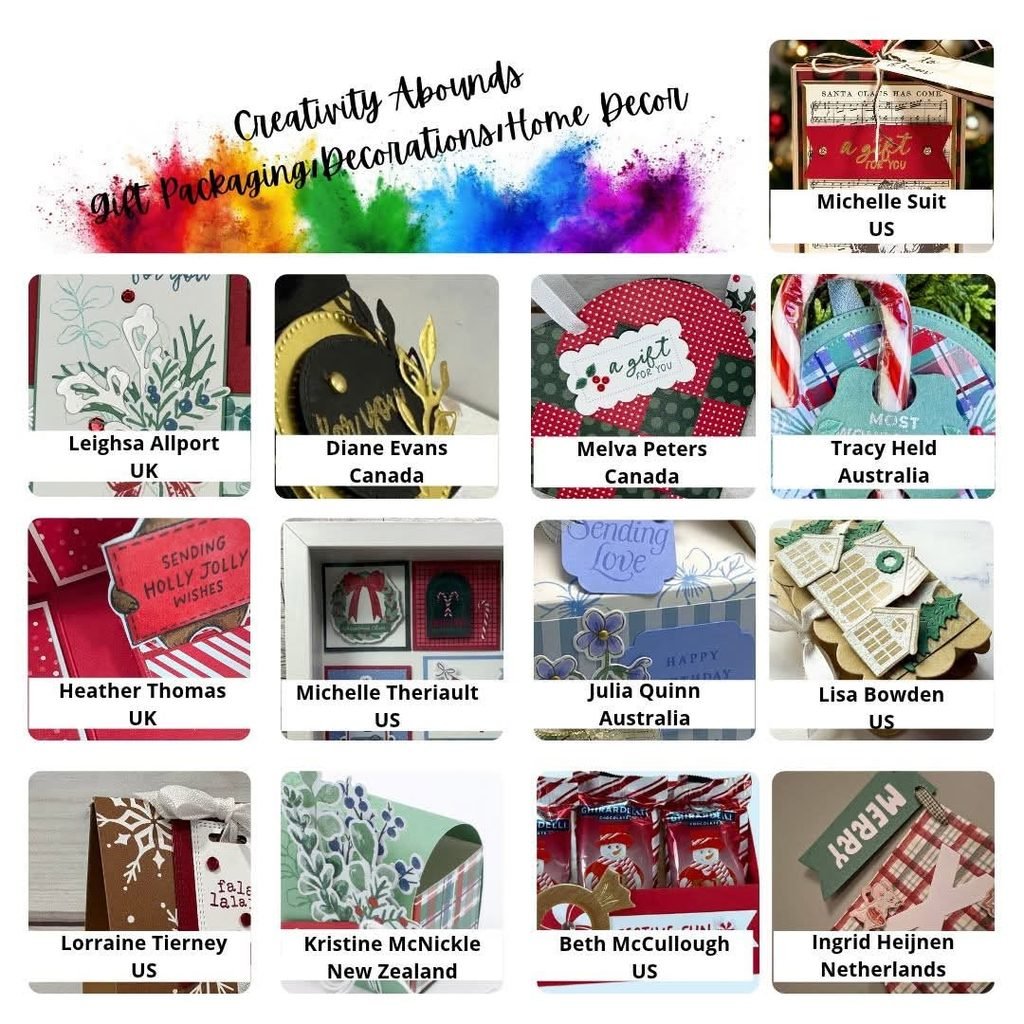
It’s time for the November Creativity Abounds Blog Hop! We are a group of Stampin’ Up! Demonstrators from all around the world who are here to share our creative ideas with you. We hope to inspire you this month with projects that inspire GIFT PACKAGING & HOME DECOR! You may be starting here, or you may have come from someone else’s blog. Either way, there is a list at the end of this post to help you “hop” to all the different blogs and get many amazing ideas. We all have our countries listed, so if you are looking for a demonstrator in your country, we would love to help you with your Stampin’ Up! shopping or if you would like to join our Stampin’ Up! teams!
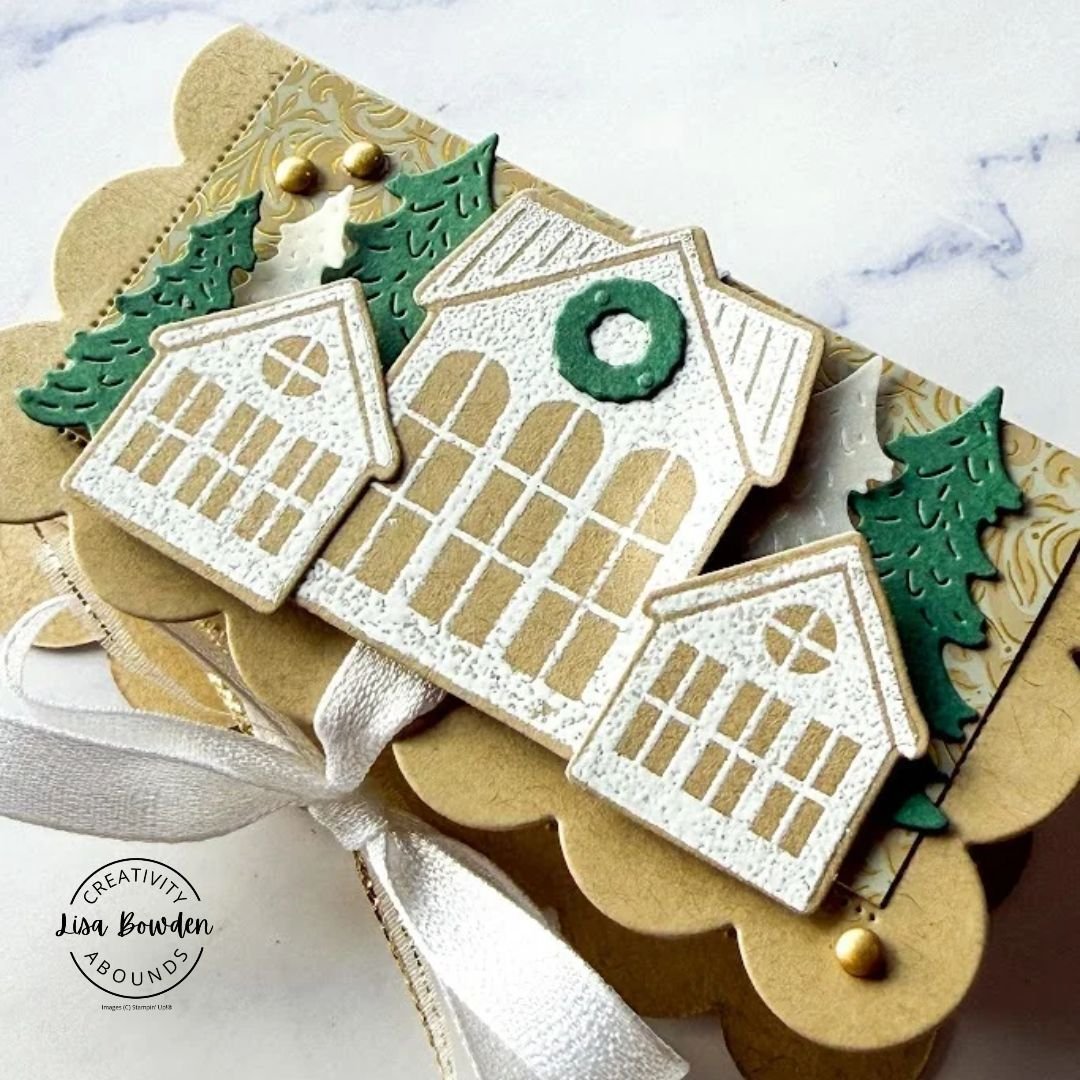
Here’s a sneak peek of the fabulous treat box that I created for our monthly tutorial. If you purchase $50+ in my online Stampin’ Up! store in the month of November, I will be emailing you this 13-project tutorial for FREE! Otherwise, you are also welcome to purchase it in my Made to Create Store here on my blog. PLEASE CLICK HERE to head to my store!
For today’s blog post project, I’m excited to show you a darling home decor piece that I created using the Christmas Crew stamp set and dies! A little wood, a little paint, and lots of FUN…and look what I came up with!
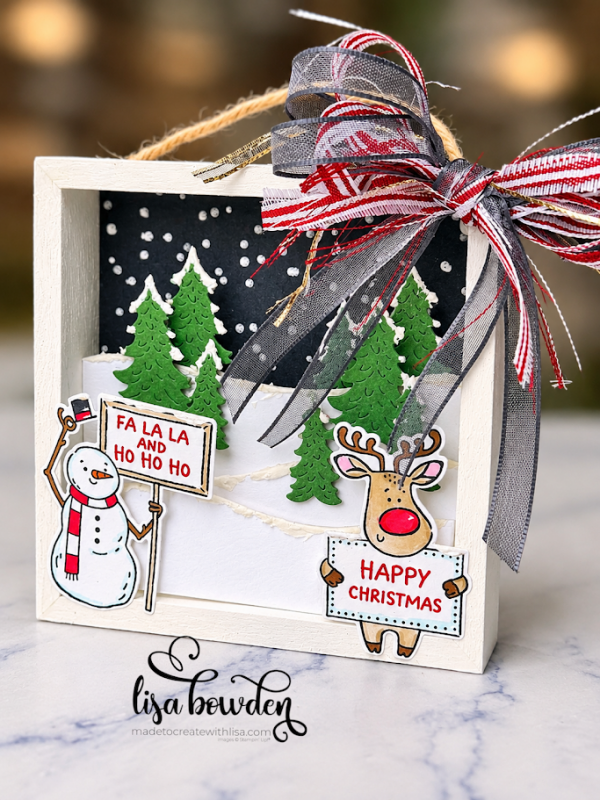
I used a cute little square “frame” in the dollar section at Michaels to create this project. I bought it several years ago, and I had it in my stash. It was unfinished wood, so I painted it with 2 coats of white acrylic paint.
Next, I measured the open area of my frame, and cut a piece of the beautiful Winter Dreams Designer Series Paper (DSP) to fit, making it 3″ tall. I hand-cut 3 layers of “hills” from Basic White cardstock, making small flaps on each side where I could score the ends in at 3/8″ and add Liquid Glue to layer the hills, sticking them to the inside of the frame.
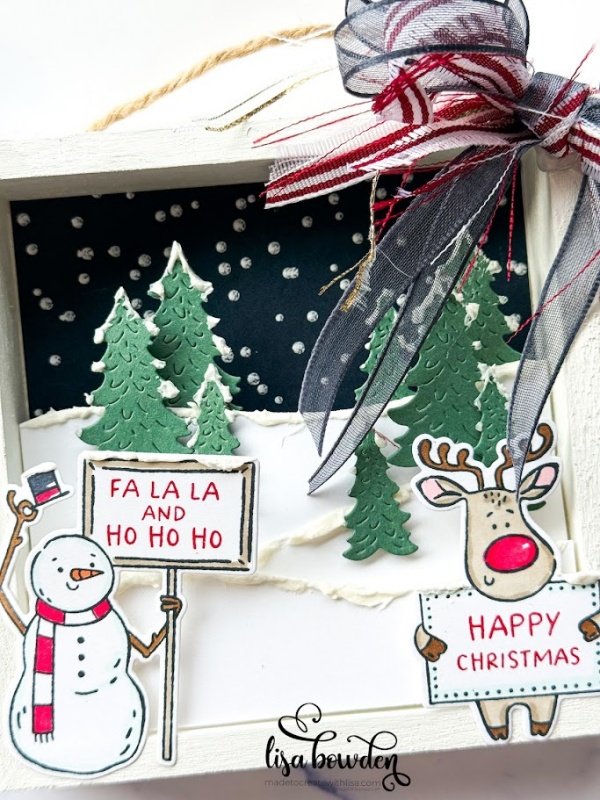
Before sticking them into the frame, I pulled out my Embossing Paste and added “snow” to all of the hills! I love how this looks! I also added it to all of the trees in my scene, which I had die cut out of Peaceful Pine cardstock from the Christmas Crew die set. I adhered the trees into the scene using Stampin’ Dimensionals and Liquid Glue.
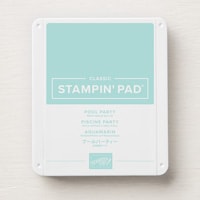
Next, I stamped the snowman and reindeer onto Basic White cardstock using Black ink, and colored them in with my Stampin’ Blends markers. Don’t forget to add Light Pool Party around the edges of the snowman and the edges of the reindeer’s sign…it really adds a great touch instead of leaving them just plain! I glued them onto the frame using Liquid Glue.
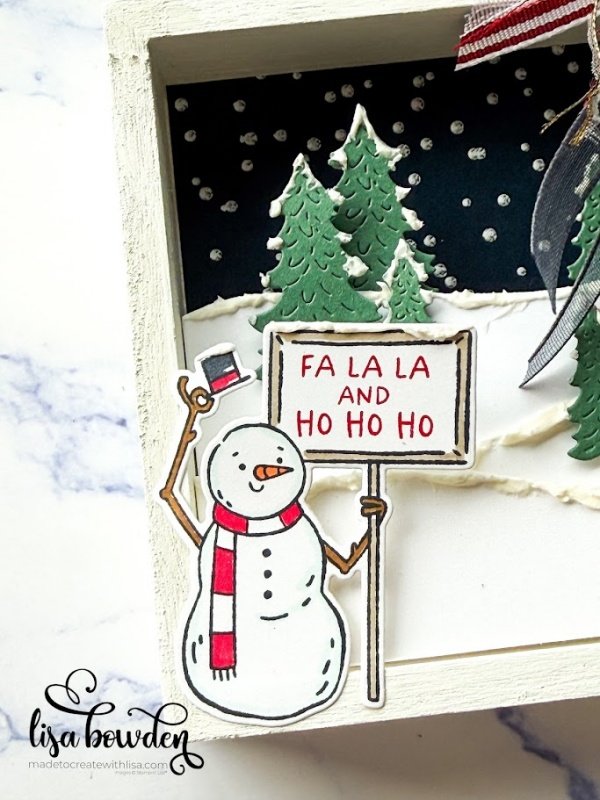
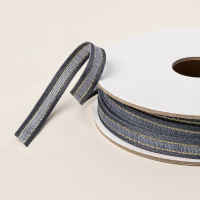
I made the coolest bow for this frame, and hot glued it onto the frame so that it stays in place. I trimmed my wide Cherry Cobbler striped ribbon into 3 pieces, and layered those up with 2 strips of Secret Sea ribbon. I tied them all together in a bow, then frayed out the Cherry Cobbler ribbon so that it added a ton of texture and interest! I adore how this looks! I also added in a couple of strips of Gold ribbon into the mix, pushing it into the tie of the bow using my Take Your Pick tool.
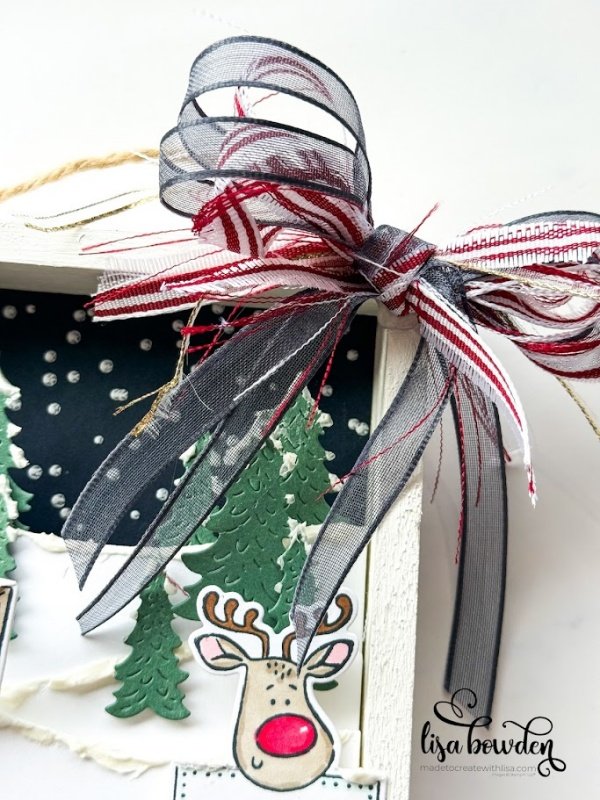
I love making 3D projects! I hope you love it, and that it has inspired you to give it a try!
Check out the SNEAK PEEKS for the awesome 13-project ALL HOLIDAY Tutorial:
Have fun hopping to everyone else’s blogs! I hope you gain some inspiration that you can add into your everyday crafting! Please let me know if you have any questions.
Here is our amazing Creativity Abounds Design Team:






Leave a Reply