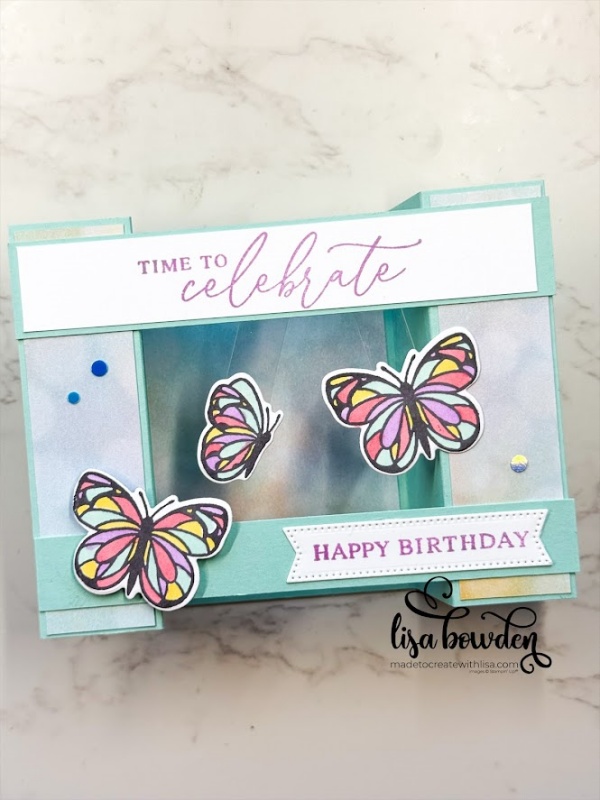
I made another fun fold Bridge Card today! It’s slightly different than yesterday’s layout, however, because this time it’s a “double” bridge. It has TWO strips across the front, instead of just one. It’s a super neat fold, and again, totally “do-able,” just like yesterday’s design!
For today’s card, I used the Beautiful Butterflies stamp set, dies, and coordinating Beautiful Bokeh Designer Series Paper (DSP). The colors of this card are very soft and dreamy, instead of bold and bright like yesterday’s design.
PLEASE CLICK HERE to watch the video where I made this card. It really helps to be able to figure out exactly how to put it together! Especially the floating butterflies.
This card starts off with a piece of Pool Party cardstock, measuring 4-1/4″ x 8″. It is scored, on the 8″ side, at 1-1/4″, 2-1/2″, 5-1/2″, and 6-3/4″. Now, you can fold along the score lines to form the shape of the “bridge” card.

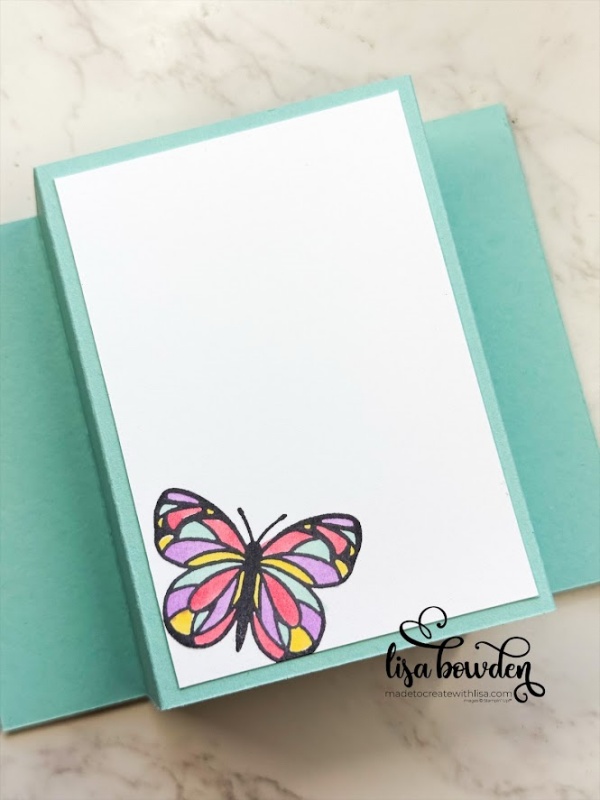
The card front is decorated with the Beautiful Bokeh DSP. The outer edge pieces both measure 1-1/8″ x 4-1/8″, and the center piece measures 2-3/4″ x 4″. Finally, the back of the card also has a piece of Basic White cardstock (where you can write your sentiment), and this piece also measures 2-3/4″ x 4″.
The “bridge” pieces measure 1″ x 5-1/2″, and 3/4″ x 5-1/2″. I adhered them both using Stampin’ Seal adhesive. You only put adhesive on each end of these strips, and if you watch the video, you can see the easiest way to glue them down.
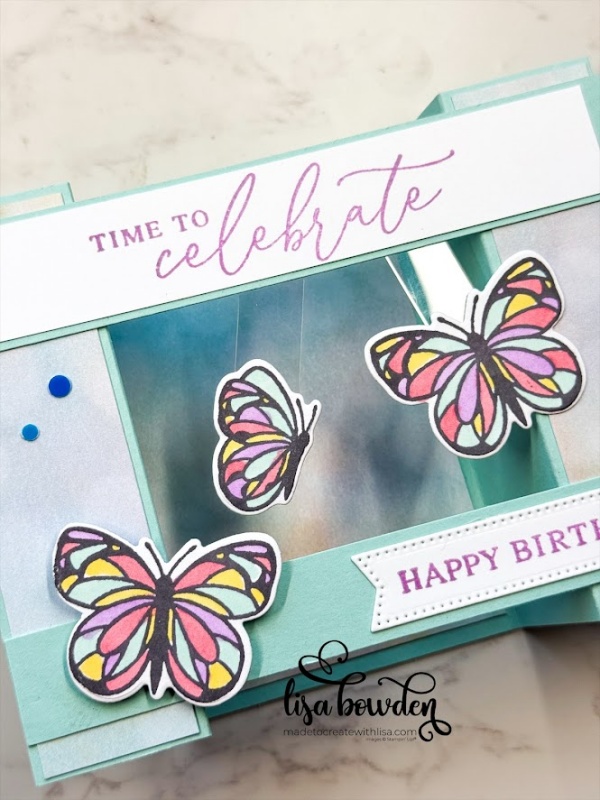
The butterflies were stamped onto Basic White cardstock, using Basic Gray ink, and die cut out with the matching dies. I colored them in with Stampin’ Blends markers (Pool Party, Fresh Freesia, Flirty Flamingo, Daffodil Delight). The bottom butterfly is attached using a Stampin’ Dimensional, but the other two are “floating.” In order to do this, I used a couple of 1/2″ wide strips of Window Sheets, and adhered them to the back of that top bridge piece using Mini Glue Dots. (This is easiest to see on the video.)
I stamped the sentiments, from the stamp set, using Fresh Freesia ink. The Basic White cardstock on the top bridge piece measures 7/8″ x 5-1/4″, and the bottom sentiment piece is a little banner die cut out from the Stylish Shapes dies.
Finally, I added on a few of the Itty Bitty Bokeh Mix sequins, using some Liquid Glue, and they are so pretty because they change colors with the light. What do you think? Do you think you’ll give this card a try? I sure hope so!
Product List")
 Designer Series Paper")


Awesome card! Thank you for the tutorial and instructions 🙂
I’m so happy you like it! It’s such a great fold. I hope you give it a try!