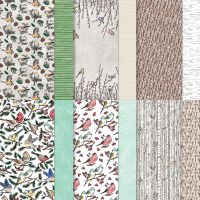
I made another card with the exact same layout as yesterday’s card, and I love it!! Today, I’m featuring the Winterly Tree Tops bundle, and I used all the different parts: the stamps, the Nests of Winter Designer Series Paper (DSP), the twine, and the gems. I’ll have all of the products linked at the bottom of this post, so you can look at everything!
The thing I love most about this Fun Fold layout is the fact that you get to enjoy BOTH sides of the gorgeous printed paper, not just one! Sometimes it’s so hard to decide which side of the paper to feature, so it’s super fun when there’s a layout that features both.
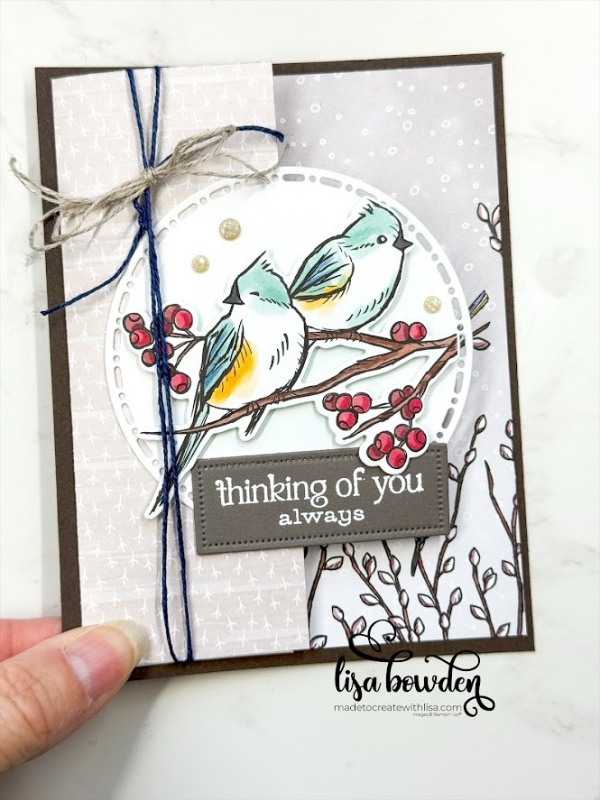
PLEASE CLICK HERE to watch the video where I made this card. It is such an easy layout, but I still consider it a “fun fold!”
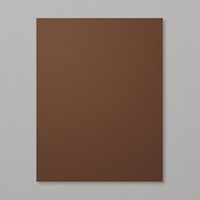
This card starts out with a postcard-sized piece of Early Espresso cardstock, measuring 4-1/2″ x 5-1/2″. Layered on top of this is a piece of DSP, and you can choose any design you’d like! Mine came from the Nests of Winter paper pack, and I love that this paper can be used for both the Christmas season, AND the “winter” season. It will be perfect to use for after-the-holidays Thank You cards! This piece of DSP measures 5-1/4″ x 6″, and it’s scored at 2″ on the 6″ side. Fold this piece on the score line, and adhere it to the card base. Look how cute it’s already turning out!
I added a small piece of Basic White cardstock to the inside of the card, where you can write your note to the recipient. This piece measures 1-3/4″ x 5-1/4″.

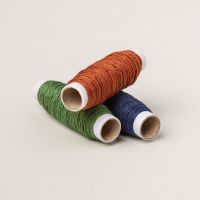
I used the Natural Tones Linen Thread to wrap around the little front flap of the card, and I chose the Navy Blue color. I tied it in a knot. On top of this knot, I used our regular Linen Thread, and tied a double bow over the top of the Navy knot. This combo really gave the card some texture and some of the “natural” feels of this nature-themed card.
For the front focal piece, I die cut one of the circles from the AMAZING die set called Spotlight on Nature. If you don’t have this die set, it’s a MUST!! The circles in this set of dies are just amazing, and can be used with any project you can think of! I pulled out my Pool Party ink, and lightly washed some color onto the Basic White circle, using a Blending Brush. It added just the perfect touch.
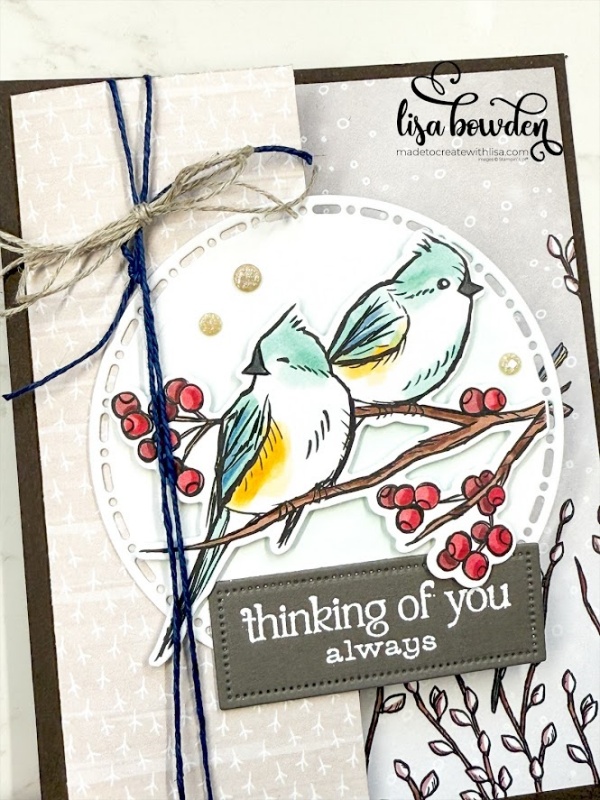
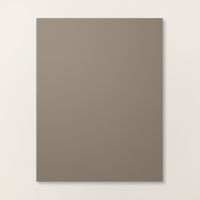
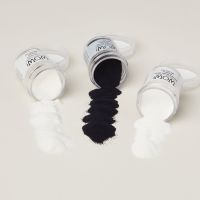
The sentiment was stamped with Versamark ink, and I heat embossed it with the White WOW Embossing Powder onto Pebbled Path cardstock. I added this to the circle, along with some of the birds that I die cut out of the DSP. How easy!
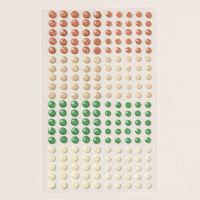
The final touch was adding a few of the sparkly gems that go along with this suite, called the Earth Toned Shimmer Gems. Perfect!
I have already cut tons more DSP of this same layout, so that I can make a stack of these cards to send to my awesome customers. I’ll show them to you before I send them out! I think they’re ALL going to look great, no matter which DSP I choose to use.
PLEASE CLICK HERE to hop over to see yesterday’s post, so that you can see this same layout with a completely different stamp set and color scheme. I love it just as much!
Product List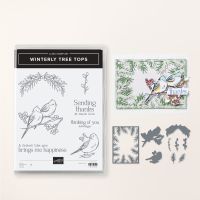





How do I purchase this or any other products, I live in the UK.
Hi Janice! In order for you to find a Stampin’ Up! demonstrator in the UK, just go to Stampinup.com and search for a demo in your area! There are lots of great ones!