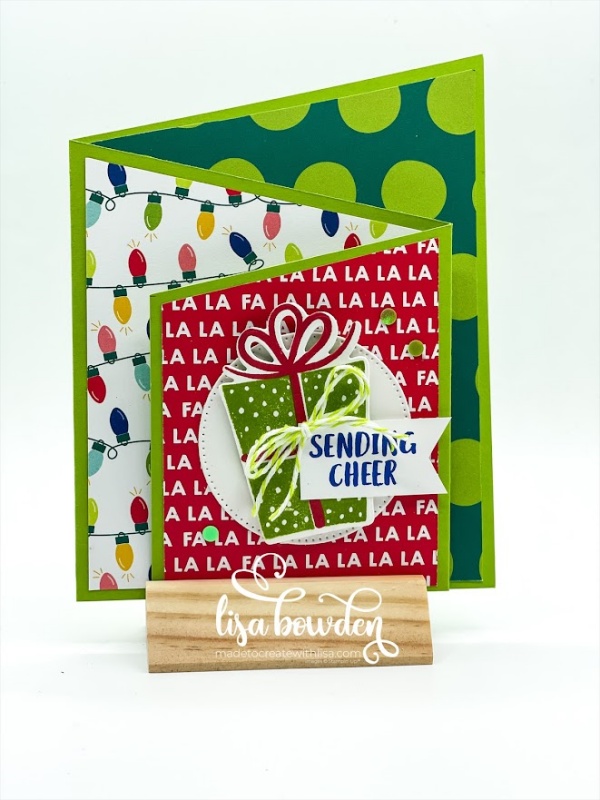
Do you like fun folds? I do, as long as they’re easy! I don’t like anything too intense or time-consuming. So, as long as it uses a “regular” amount of cardstock, is easy to follow, and has a big impact, I’m IN!
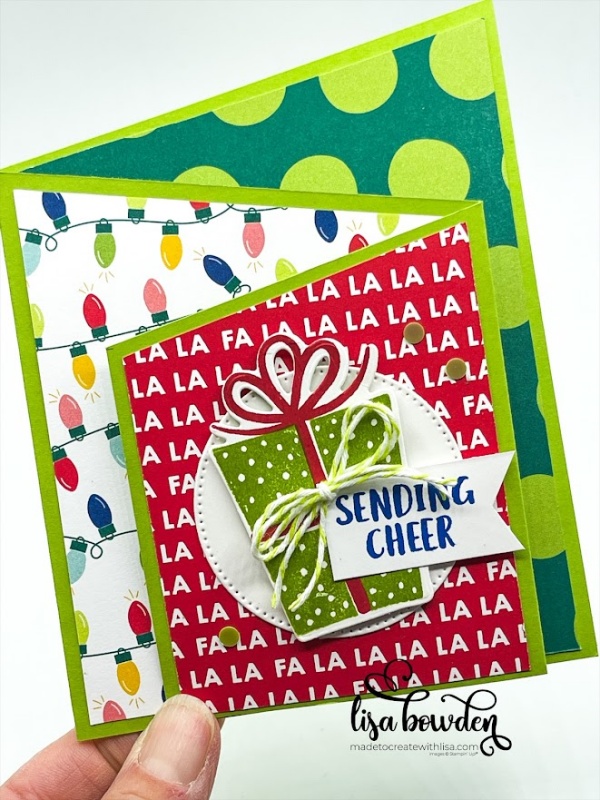
This is one of those folds. It’s not hard, especially once you try it and get the hang of it. One sheet of cardstock makes 2 cards, just like a regular card. The only difference is that the cardstock is cut at a slant, instead of cut in half. Here, I used the Sending Cheer stamp set, which is bold and whimsical. It’s a perfect match for the Merry Bold & Bright Designer Series Paper (DSP)! I love how they go together.

First, I took my Granny Apple Green cardstock and laid it in front of me (portrait). Then, I took a ruler and, from the left-hand top corner of the cardstock, made a mark at 3″ from the left-hand corner. Then, I turned the cardstock around 180 degrees, and did the same thing on the other end of the cardstock. Now, I had 2 marks on each short edge of the cardstock, both 3″ in from the left-hand corner.
Next, I slid the cardstock into my paper trimmer, and cut from one of the 3″ marks, down to the other 3″ mark. This made it so that it was cut at a slant.
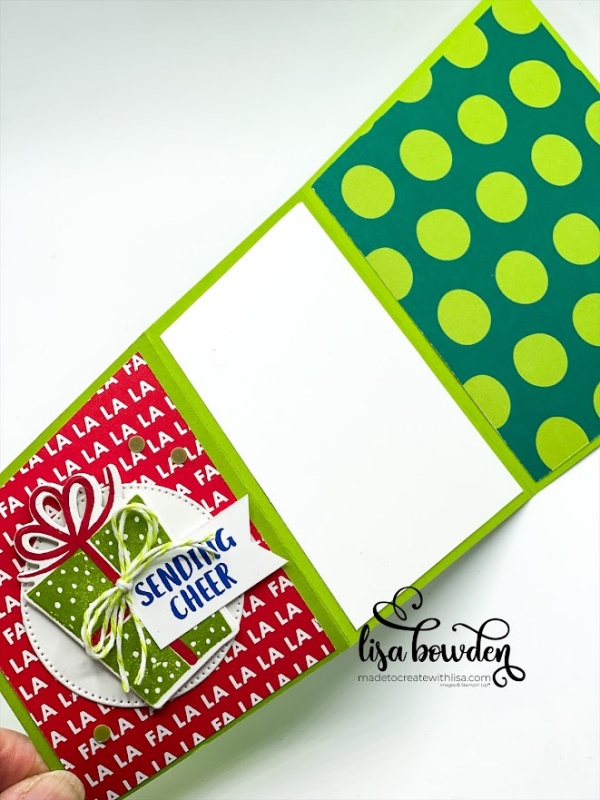
After that, I needed to score my cardstock. So, I slid the LARGE end into my trimmer, and scored this at 4-1/4″, and then slid it in further to score it at 8″. Now, it could be taken out of the trimmer and folded in a Z fold manner! Isn’t that cool!
PLEASE CLICK HERE to watch the video where I made this card. This will help you understand exactly how to line up the Designer Series Paper on the edge, in order to trim it so that it layers exactly into the spot where you need it.
I chose 3 different DSP prints that all coordinated and complimented each other. They had to be laid out and looked at, so that I could make sure they looked good when layered on top of each other.

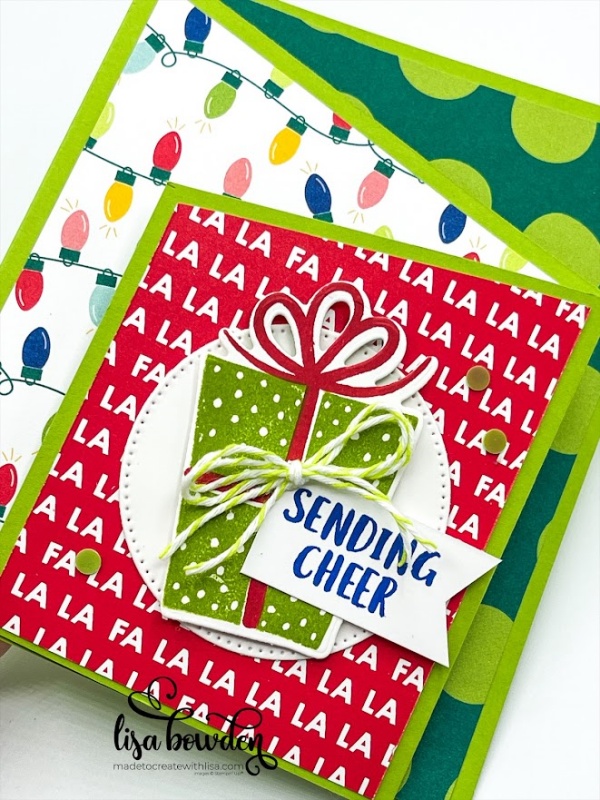
Next, I stamped the present (Granny Apple Green & Real Red inks) and the sentiment (Blueberry Bushel ink), and cut them out with the coordinating dies. Then I mounted these with Stampin’ Dimensionals onto one of the circles that I had cut out with the Stylish Shapes dies (some of my absolute favorites!!). I also cut a bannered edge onto my sentiment piece, and layered this on top of the present.
The finishing touch for this card was the Iridescent Adhesive-Backed Discs, which are fantastic! They are completely flat, which makes them perfect to stick in the mail!

I sure hope you love this card–I do! I love the playfulness and the bright, fun colors.
Here are the measurements:
Cardstock: 8-1/2″ x 11″, dotted on opposite ends of short edge of cardstock at 3″ and then cut in half. Then scored at 4-1/4″ and 8″
DSP Small: 2-3/4″ x 3-1/2″
DSP Medium: 3-1/2″ x 4-1/4″
DSP Large: 4″ x 5-1/4″
Basic White for inside of card: 3-1/2″ x 4-1/4″

This layout would look great with lots of different designs of DSP, don’t you think? I’m off to design one using a birthday theme, because I think it will be perfect!
Product List


What a very cheer card makes me smile!
I’m glad you like it! I agree–it’s so bright and fun!
So pretty and festive! Love the fold design! 👏🏼🤙🏽🌺
Thank you, thank you!! I appreciate that so much!