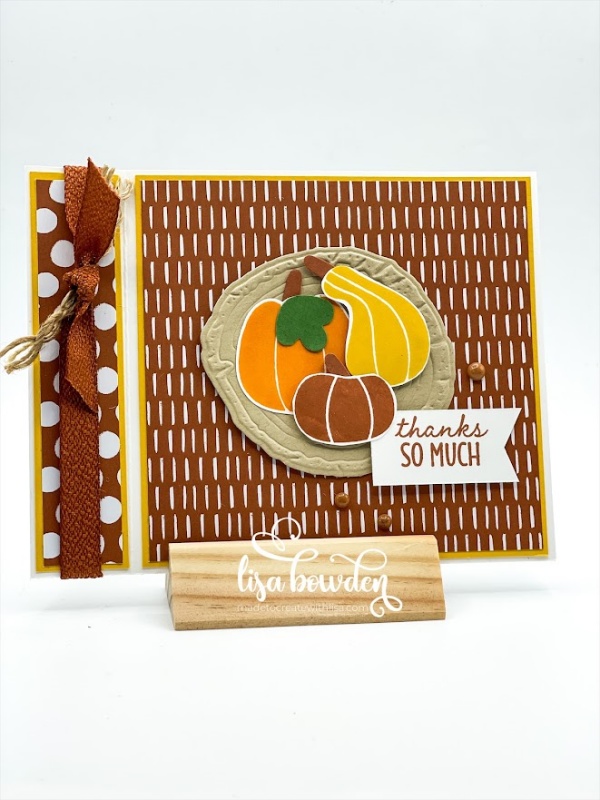
Pumpkins, gourds, and Fall colors–oh my! This card screams FALL, don’t you think?? The warm colors, the pumpkins, and the natural tones are exactly what Fall is all about!
This card was a fun one to make, using all the Fall colors, as well as a fun “Book Fold.” I don’t know if that’s what this fold is technically called, but it works for me! I used the 2023-2025 In Color Designer Series Paper Assortment, and chose to use the Copper Clay prints in this pack. It seemed like the perfect choice for this pumpkin card!
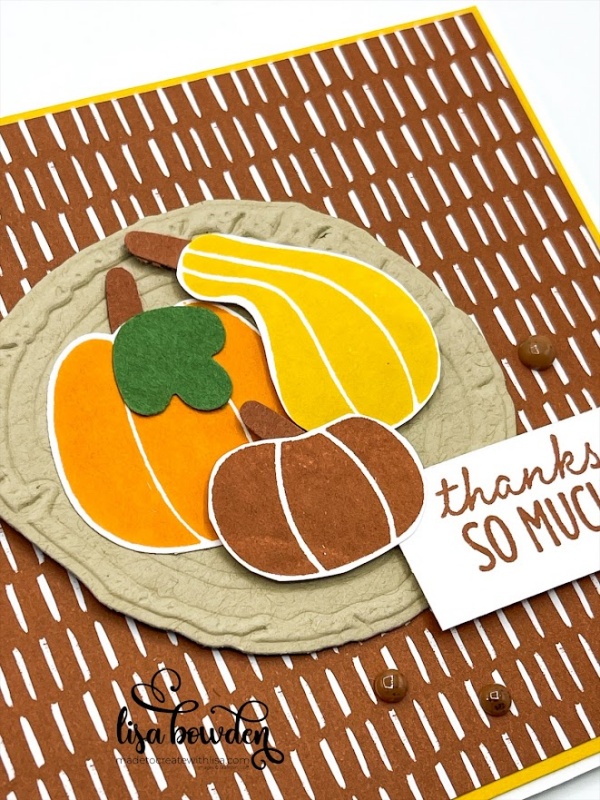
The pumpkin punch that coordinates with this stamp set is adorable, as well! I know it only punches out one of the pumpkins in this set, but it sure is cute! And, it also punches out the little pumpkin stems, as well as a leaf. It was one of the first things I grabbed in this holiday mini catalog.
I started off with a 4-1/4″ x 11″ piece of Basic White cardstock, scoring it at 4-1/2″ and 5-1/2″. This gives you that extra 1″ that you need for the “spine” of the book (that’s why I call it a “book fold” card!). Fold the cardstock on the score lines, and then adhere closed that 1″ section of the spine so that it now opens like a book.
PLEASE CLICK HERE to watch the video where I made this card. That way, you can see what I’m talking about with the spine of the book!
Now that the card base and fun fold are finished, I started layering on the cardstock and Designer Series Paper (DSP) onto the front of the card. Here are the measurements:
Front Left (Spine):
Crushed Curry: 15/16″ x 4-1/8″
DSP (Dots Print): 3/4″ x 4″
Front Right (Main portion of card front):
Crushed Curry: 4-1/4″ x 4-1/8″
DSP (Line Print): 4-1/8″ x 4″
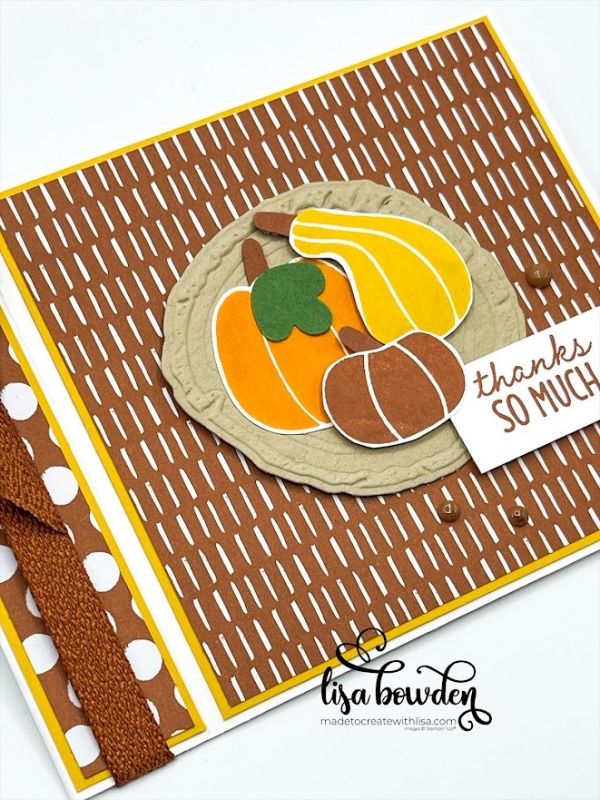
Next, I pulled out the Tree Rings Hybrid Embossing Folder, and cut out one of the tree rings with Crumb Cake cardstock. I LOVE this embossing folder!! I used this exact same layout (tree rings & pumpkins) on another card that you’ve got to check out. It looks so good!! PLEASE CLICK HERE to check out that card!
I layered the tree ring onto the card front, and then placed the pumpkins and gourd on top of it, adding the pumpkin stems and a leaf from the punch. The stems were punched out the matching Copper Clay cardstock, and the leaf is Garden Green.
I stamped the sentiment onto a piece of Basic White cardstock, using Copper Clay ink, and bannered the right-hand edge. Then I layered it onto the card using a Stampin’ Dimensional.
The ribbon is the matching Copper Clay 3/8″ Textured Ribbon, and I added in a sprig of Natural Wavy Trim in with it. And, of course, the final touch was to add a few gems. I chose to use the Adhesive-Backed Speckled Dots from the holiday mini catalog, which really matched this card perfectly.
What do you think? Isn’t this a neat fold on this card? You’ve got to give it a try and let me know what you think!
Product List")
 Designer Series Paper")


 Textured Ribbon")
 Wavy Trim")


I like that style of card, love the pumpkins
Thanks, Sharon! These pumpkins are just adorable. I really like this stamp set!
Like that style of card, pumpkin so cute