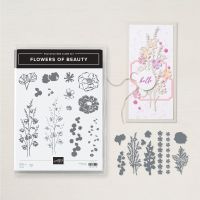
Have you ever tried Two-Step stamping? It’s a lot of fun. All it means is that you use a couple of different stamps together in order to complete one single image, allowing you to easily add details in different ink colors! For example, the flowers and stems in the images in the Flowers of Beauty stamp set by Stampin’ Up! are able to all be stamped separately, and they “build up” in order to complete the whole image. PLEASE CLICK HERE to watch the video where I show how I stamp all of the different images in order to accomplish the flower image on this card!
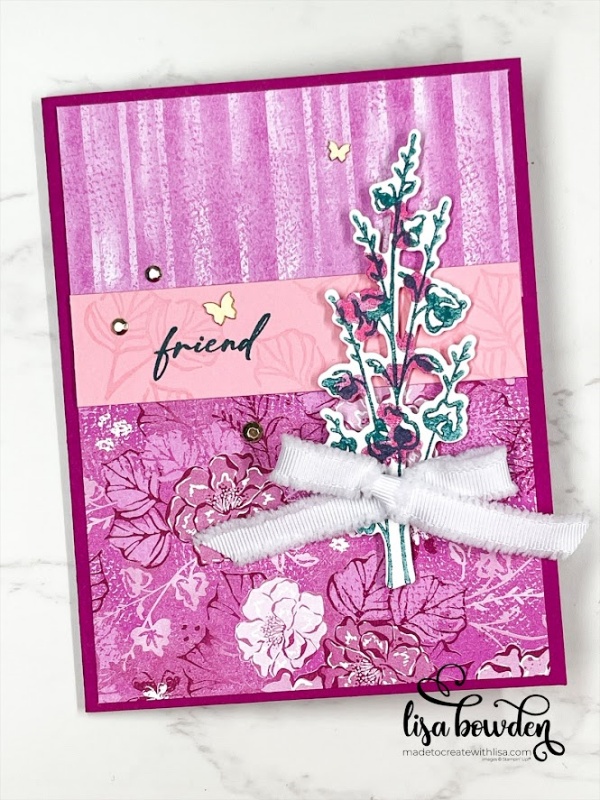
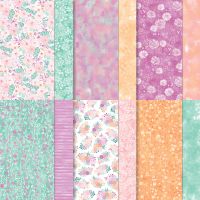
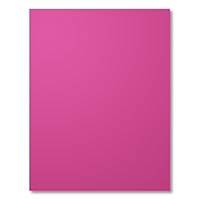
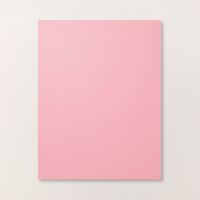
The layout for this card is a basic one, but it sure goes together beautifully when you use the gorgeous Unbounded Beauty Designer Series Paper (DSP)! The base of this card is a piece of Berry Burst cardstock, measuring 8-1/2″ x 5-1/2″ and folded in half. Then, I layered on a couple of pieces of the DSP. The bottom piece (floral print) measures 4″ x 3″. The top piece (the striped print) measures 4″ x 2″. The middle strip of Pretty in Pink cardstock, which I stamped with the leaf image from the Flowers of Beauty stamp set using a Versamark ink pad, measures 4″ x 1″.
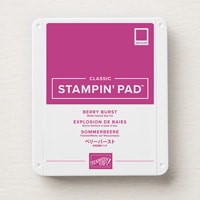
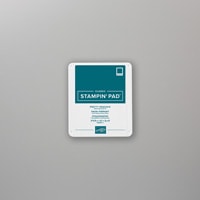
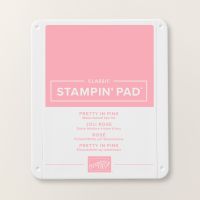
I stamped the flower images from the Flowers of Beauty stamp set onto a scratch piece of Basic White cardstock. For the stem, I used Pretty Peacock ink, but I stamped it off onto a scratch piece of paper first, so the ink wouldn’t be quite so bold. Next, I stamped on the background “blob” flower image, using Berry Burst ink, which I also stamped off before stamping onto the stems. Finally, I added the detail flower image, using Pretty in Pink ink, and it added the perfect depth to the flowers!
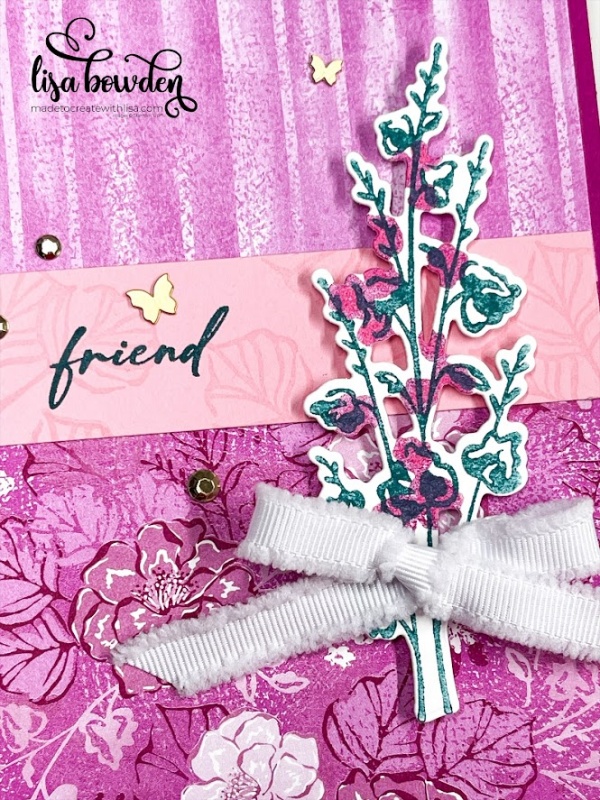
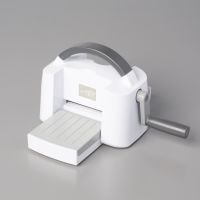
I die cut out this image using the coordinating die, and layered it onto the card using Mini Stampin’ Dimensionals. Then, I added the “friend” sentiment from the Unbounded Love stamp set, using Pretty Peacock ink.
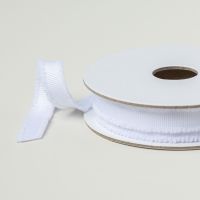
We just came out with a brand new white ribbon, which I love! I am a sucker for all ribbon, and white ribbon always makes me happy because it matches everything. This is the beautiful Frayed Grosgrain Ribbon, and I tied a bow and attached it using a Mini Glue Dot.
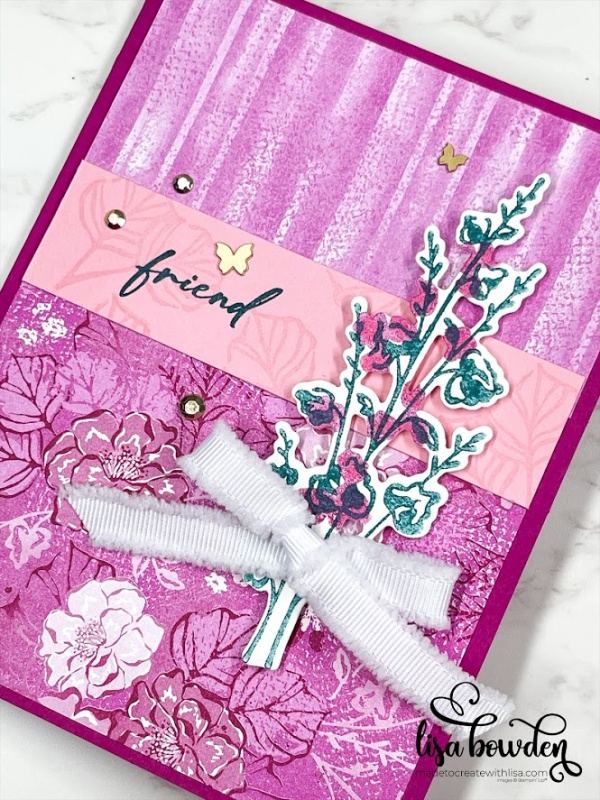
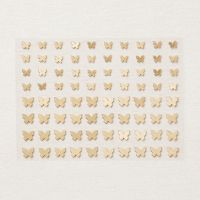
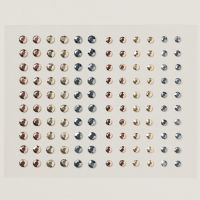
The final touch was adding some gems, as always! I used two different kinds, just for fun. The round gems are Adhesive-Backed Metallic Gems, and then I always love adding the Brushed Brass Butterflies to any floral projects. These just finished off the card front perfectly!
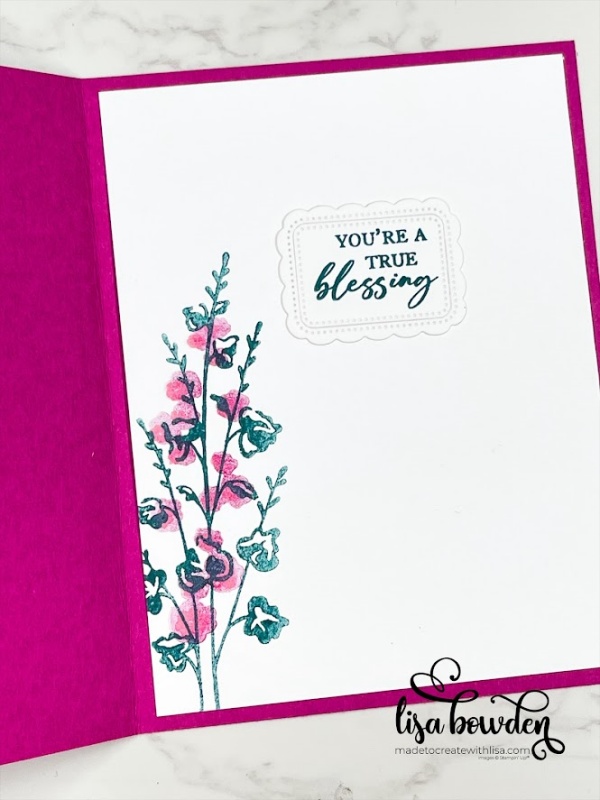
Finally, I dressed up the inside of the card so that it all went together nicely. You can see that I stamped the sentiment onto one of the beautiful die cuts from the Unbounded Love die set, which is AWESOME!! I used Pretty Peacock ink for this, and the sentiment is another one from the Unbounded Love stamp set. Then, I stamped the floral image again, and it really finished off the card beautifully!
PLEASE CLICK HERE to visit another gorgeous card that I made with a very similar color palette, using this same product suite! It is equally gorgeous!
Product List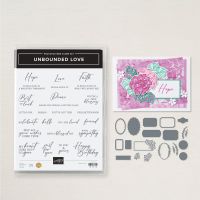





Leave a Reply