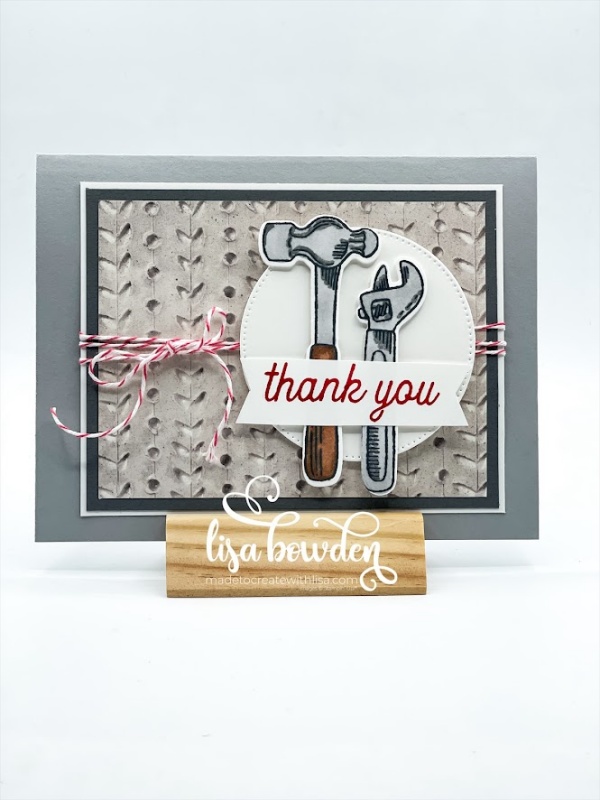
The Trusty Tools stamp set and coordinating dies are carrying over into the new catalog! YAHOO!! This stamp set is adorable, even though it’s full of tools. I guess I’ve never thought of tools as being “adorable,” but hey! There’s a first for everything, right? LOL!
PLEASE CLICK HERE to watch the video where I made this card. It’s a great layout that’s super easy and fast to reproduce!

I started out with a basic card base, using Smoky Slate cardstock, measuring 5-1/2″ x 8-1/2″ and folded in half. Layered on top of this are a few additional layers of cardstock:
Basic White: 3-5/8″ x 4-5/8″
Basic Gray: 3-1/2″ x 4-1/2″
Earthen Elegance Designer Series Paper (DSP): 3-1/4″ x 4-1/4″
Before attaching these layers to the card front, I triple-tied some of the Sweet Sorbet Baker’s Twine around the paper stack, tying it with a bow. I love this color contrast with all of the gray colors!

Layered on top of this is one of the Stylish Shapes circle dies, which is a MUST in my crafter’s toolbox! I use these dies ALL THE TIME. Truly, it is a staple item that everyone should have! I used the 2nd largest circle on this particular card, die cutting this out of Basic White cardstock.
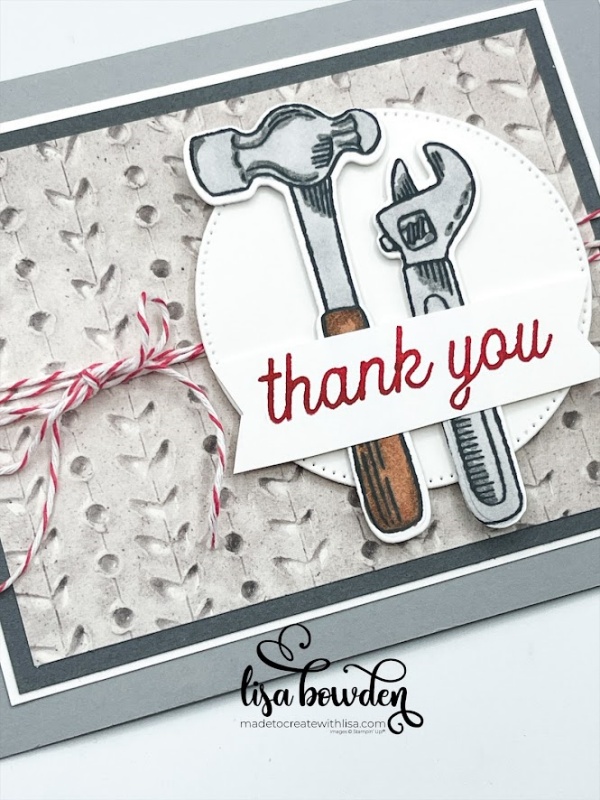
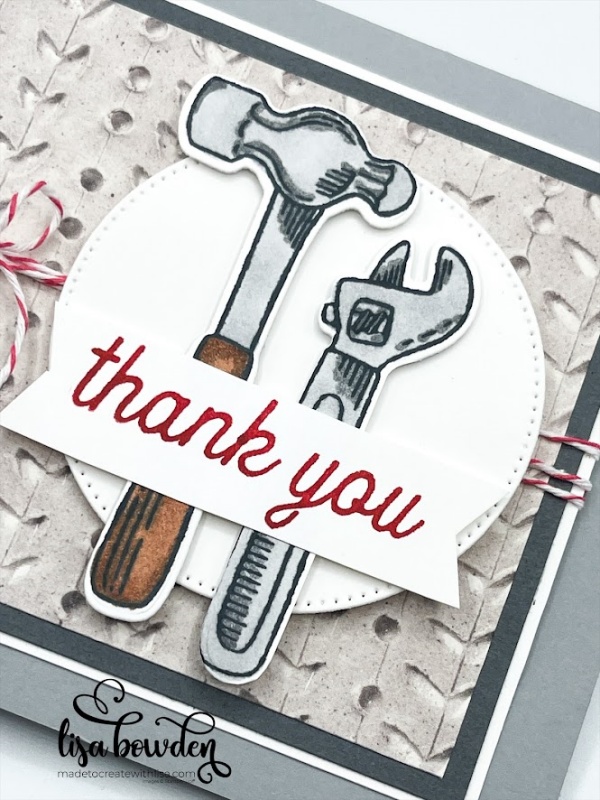
Next, I stamped the hammer and wrench images onto Basic White cardstock, using my Black Memento ink pad. I colored them in with Stampin’ Blends alcohol-based markers, which are my favorite coloring tool. They make me look like I know what I’m doing! And then I die cut them out using the coordinating Trusty Tools dies.

I layered the tools onto my Stylish Shapes circle using Stampin’ Dimensionals, and then stamped my sentiment with Real Red ink onto another piece of Basic White cardstock, bannering the edges with my Paper Snips. I glued this sentiment over the top of the tools, using Liquid Glue.
And, that’s it! So easy! What do you think? Personally, I love it, and I hope you do, too!
Product List


Leave a Reply