I have lots of things going on in my life right now, things that threaten to defeat me and completely take me out. Things that are heavy, things that hurt, things that I can’t get off my mind. Life can be hard! But I choose to do my best to focus on things like the Bible verse that is featured in this stamp set: “Trust in the Lord with all your heart…and He will direct your path.” (Prov. 3:5-6)
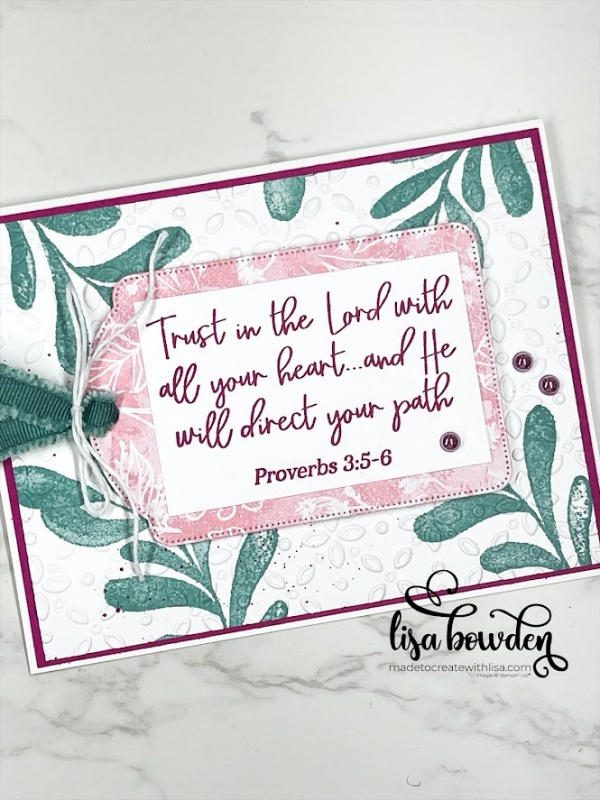
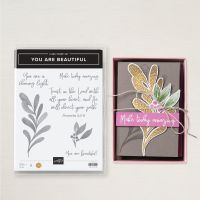
I love the You Are Beautiful stamp set, and haven’t played with it much at all yet. I’m anxious to do more with it, after making this card. I LOVE the leaf image, which is made with the “Distinktive” style. This means that some parts of the leaves are dark, and some parts are light, and the stamp is actually MADE that way. It’s not a mistake. It gives the leaves so much texture, I just think it looks beautiful.
PLEASE CLICK HERE to watch the video where I made this card. You can see how I pulled it all together.
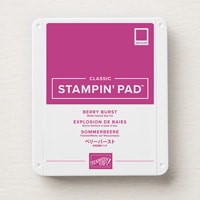
The card base of this card is made of Basic White cardstock, measuring 8-1/2″ x 5-1/2″ and folded in half. On top of that is a piece of Berry Burst cardstock, measuring 4-1/8″ x 5-3/8″. Finally, on top of that, I used another piece of Basic White cardstock, measuring 4″ x 5-1/4″.
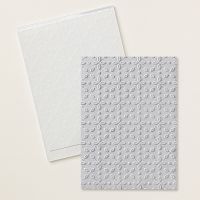
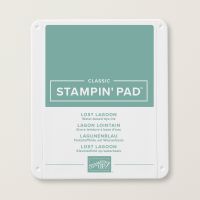
Before layering on the last piece of Basic White cardstock, first I stamped the leaf image from the You Are Beautiful stamp set all over the background, using Lost Lagoon ink. Then, I put this piece through my Stampin’ Die Cut & Emboss machine, using the Eyelet 3D Embossing Folder. I LOVE how it added a ton of texture to the card!
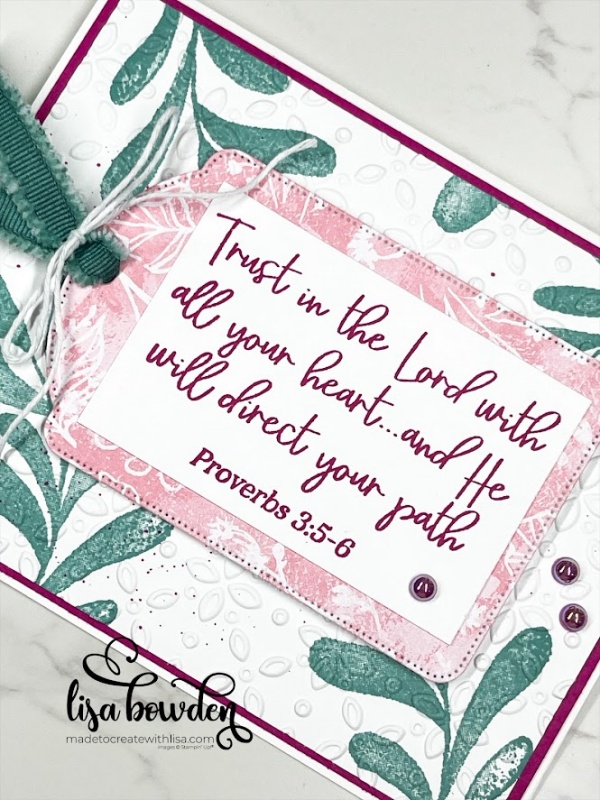
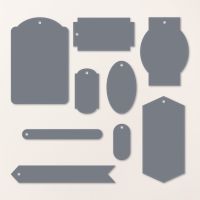
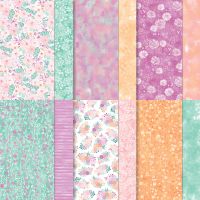
Next, I cut a large tag out of the Unbounded Beauty Designer Series Paper (DSP). This paper pack is SO pretty, and I love this print with the Pretty in Pink background. I die cut out one of the tags from the new Greetings of the Season die set, which I also used on a card yesterday! I just know I’ll be using these dies a LOT…the tags are amazing in this set!
I stamped the Bible verse from the stamp set onto a piece of Basic White cardstock, measuring 2″ x 3″, with Berry Burst ink. I layered this onto the tag, and then mounted this onto the card using Stampin’ Dimensionals.
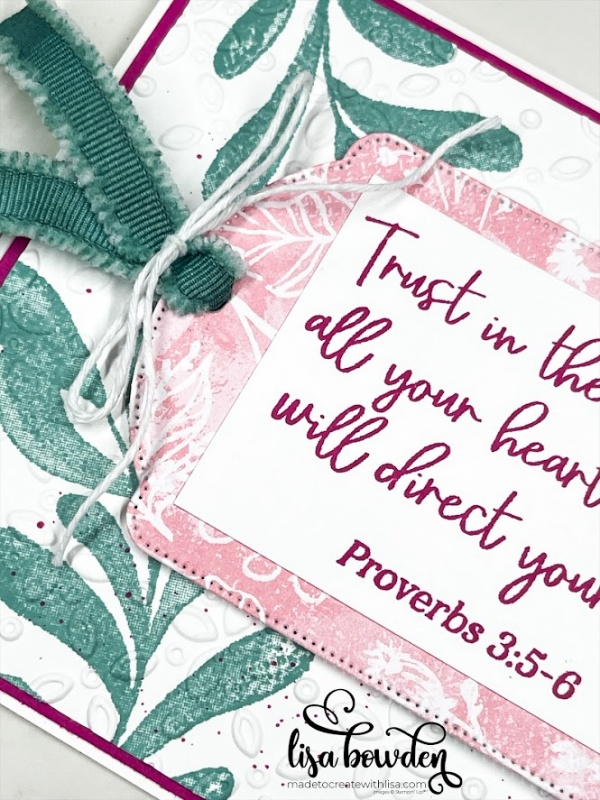
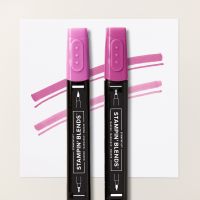
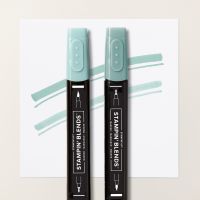
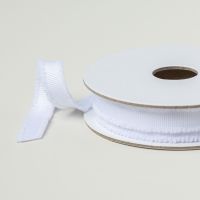
I have a few finishing touches on this card. First of all, I used the beautiful Adhesive-Backed Pearl Trio to add some Berry Burst pearls to my card. Another thing I did (which you can see if you watch the video) was to splatter some Berry Burst ink splots onto the background, using my Berry Burst Stampin’ Blends marker. It added the perfect touch!! And finally, I used the new Frayed White Ribbon for my tag, but first I used my Lost Lagoon Stampin’ Blends marker and colored it (both sides) so that it matched my project. Doesn’t it look awesome?? I find that I have to color both sides in order to get the coverage I want, but when I’m finished it always looks AMAZING.
What do you think?? I hope you love this card. There is a lot of texture and finishing touches that really make it special!
Product List


Leave a Reply