Oh my goodness…I have SO many “thank you” cards I need to make! In the wake of my son’s wedding a few weeks ago, and all of the festivities that surrounded it, I have tons of cards I’m anxious to make and get sent to the huge group of friends and family who surrounded us with so much love, support, and help during one of the biggest celebrations of this mama’s life. What a blessing it all was! I am just so, so, so very thankful to all of those who stepped in and helped make our celebration one that I will always remember and treasure.
I thought I would kick it off with a fun, bright, and quick (but adorable!) thank you card that I made using the Friends for Life stamp set, coordinating dies, and gorgeous Full of Life Designer Series Paper (DSP) pack. This paper is so bright and cheerful, it is absolutely irresistible! I just love it!
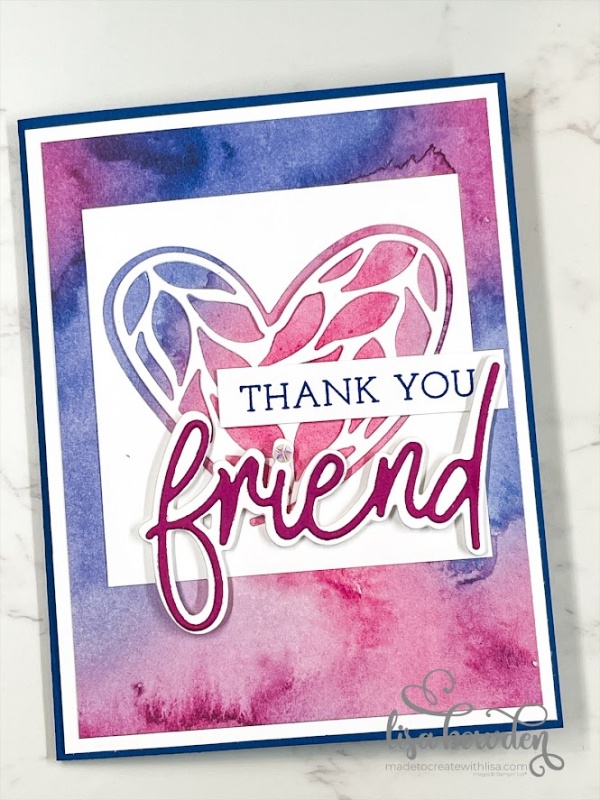
PLEASE CLICK HERE to watch the video where I made this card. It’s such an easy layout, but the finished product is so cute!
I started off with a basic card base of Blueberry Bushel cardstock, measuring 5-1/2″ x 8-1/2″ and folded in half. Layered on top of that is a layer of Basic White cardstock, which really makes the DSP layer pop. Because the Blueberry Bushel is a darker card base color, it really helps to have that white layer to make the colors pop off the page. The white layer measures 4-1/8″ x 5-3/8″.
On top of the Basic White layer, I chose one of the beautiful DSP prints from the Full of Life paper pack. There are several designs that you could use for this layer, but I really like how this “color washed” piece looks with this card layout! This piece of DSP measures 3-7/8″ x 5-1/8″.
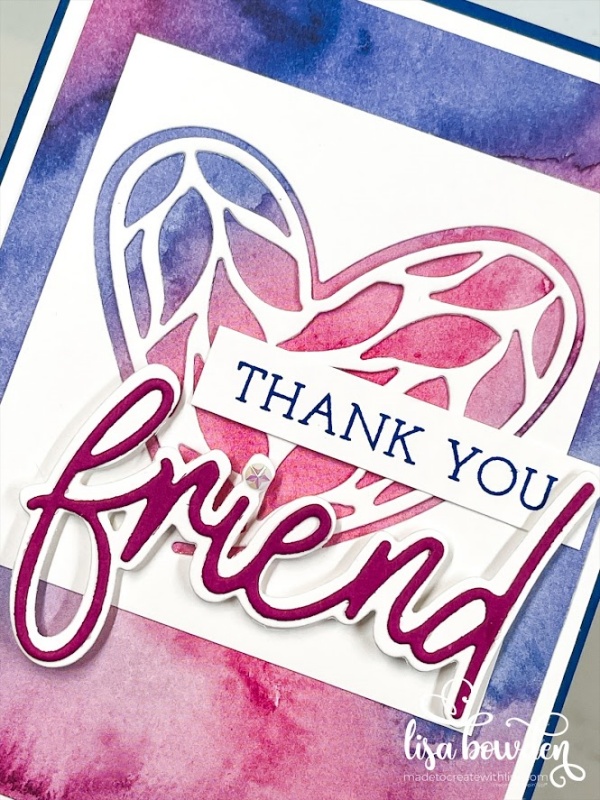
The heart die from the coordinating die set is really cool. Not only does it cut out the beautiful large heart image, but it also cuts out a skinny little heart that you can see if you watch the video! It’s a great little heart that you could use on a different project. I cut this heart out of Basic White cardstock, and layered it on using Stampin’ Seal. You could also use Liquid Glue (my favorite adhesive!) for this step.
The large “friend” image is 2 separate dies layered on top of one another. One is Basic White, and the other is Berry Burst. I love how the 2 images layer together so that the top one really pops! I added this onto the card base using Mini Stampin’ Dimensionals. These mini dimensionals are perfect for a project like this!
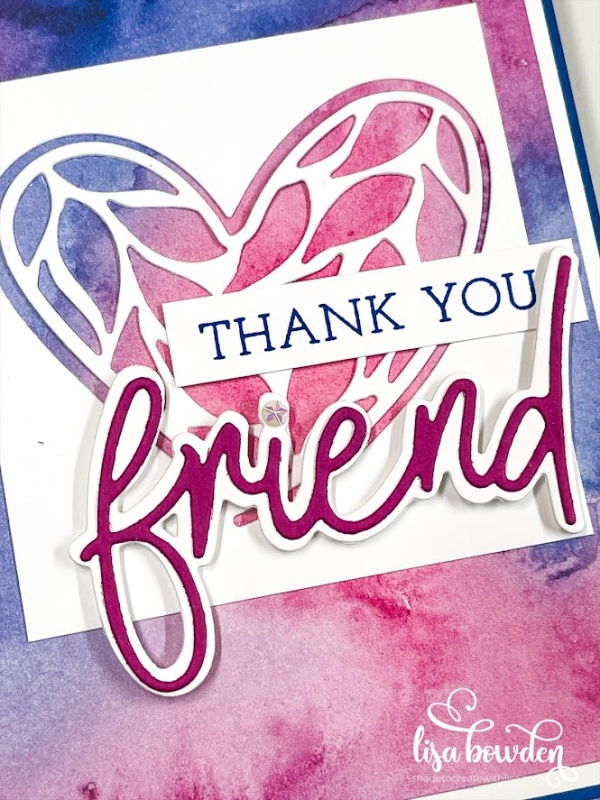
I added the “Thank You” sentiment from the stamp set, stamping onto a 1/2″ skinny piece of Basic White cardstock, using Blueberry Bushel ink. I glued this to the card using Liquid Glue.
As the final touch, I added one of our new Iridescent Faceted Gems for the dot on the “i,” which looks perfectly amazing!
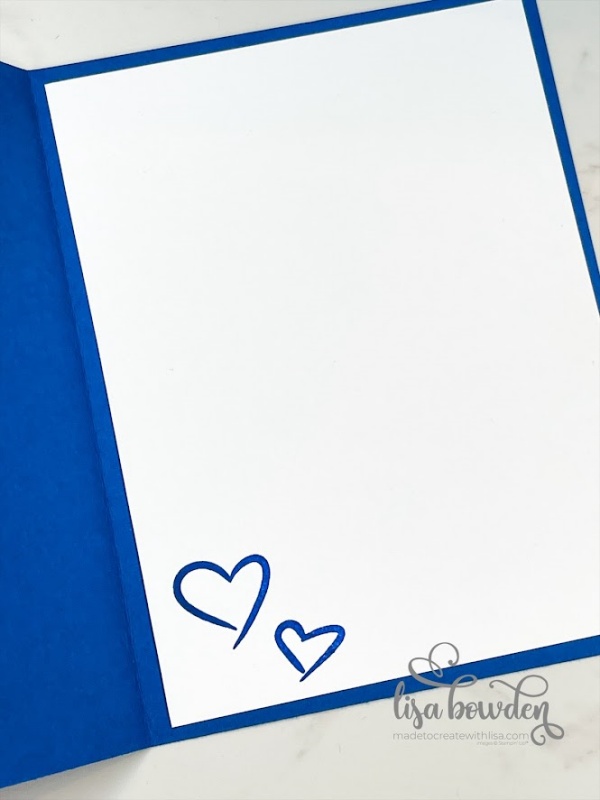
I also added in a piece of Basic White cardstock to the inside of the card, so that you could write a sentiment. I added these cute little hearts, using Blueberry Bushel ink, which are from the stamp set.
I hope you love this cute card, and all the bright colors it brings! You totally have to grab yourself a pack of this amazing paper…the selection of prints is amazing and I promise, you’ll love it!
Product List



You put the measurements for all the layers, but the small white piece where you die cut the heart out, doesn’t have the measurements! Would you please add those? I’ve tried many but either too large or too small. Thank you
Sure. That piece is 3-1/4″ x 3-1/4″.