Any card made with a fun fold is, well…FUN!! I love to make fun fold cards, however, I like simplicity. So, my favorite fun fold cards are the ones that just involve a bit of cutting and scoring, without being too intense to understand. This card is one of those, and I think you’ll love it!
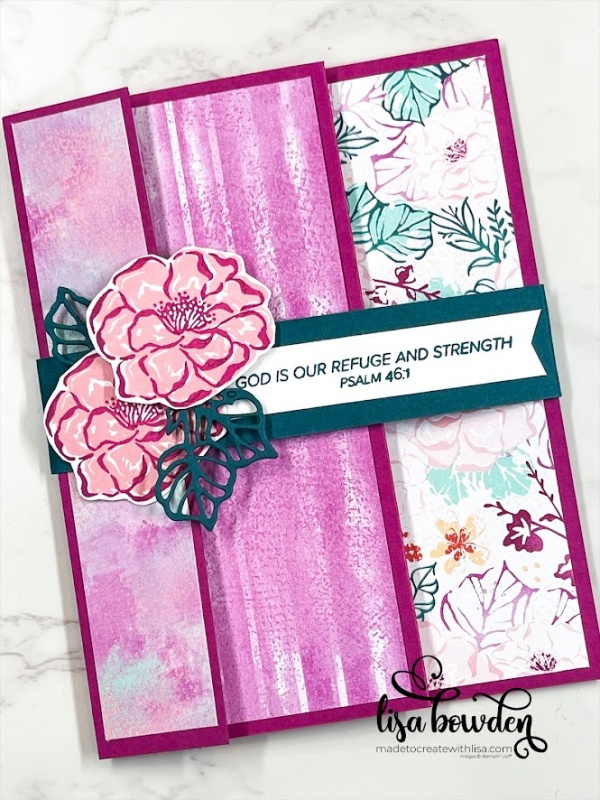
I used the brand new Flowers of Beauty stamp set for this card, which is gorgeous! The coordinating dies in this product suite are, I think, going to be one of the most-used items in my collection for awhile…the set is full of amazing shapes that will be fantastic for layering. But, I didn’t use any of those on this card today! The only dies I used were the leaves. But, I used the beautiful rose and leaves from the stamp set, and I loved how they turned out.
PLEASE CLICK HERE to watch the video where I made this card. It will show you exactly how to fold the card and put everything together.
The card base is a piece of Berry Burst cardstock, measuring 5-1/2″ x 11″. This piece is scored on the 11″ side (the long side) at 1-3/16″, 4″, and 6-3/4″. I folded it on all of the score lines, so that it created a “trifold” or an “accordion fold” look (see video to see exactly how it folds).
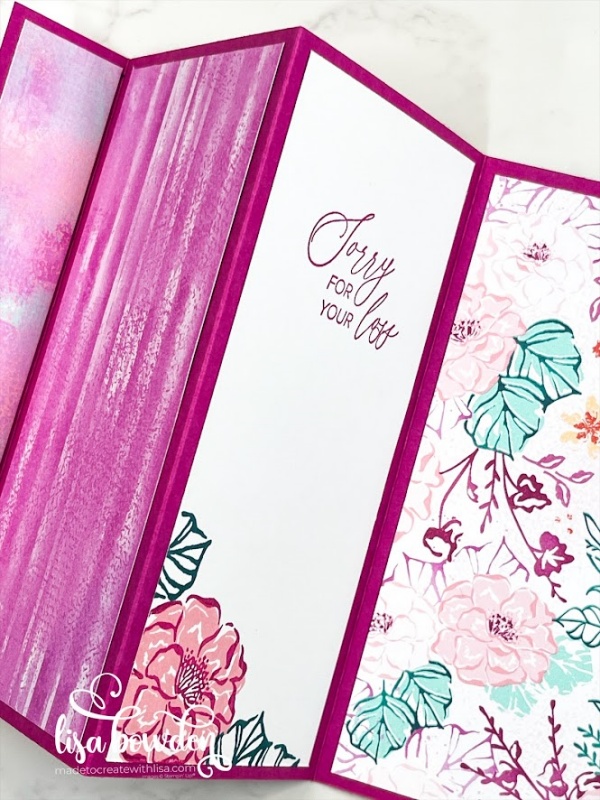
Next, I layered on pieces of the Unbounded Beauty Designer Series Paper (DSP), choosing prints that all went well together once the card is folded shut. I adhered these to the card base using Liquid Glue. These pieces measure:
4″ x 5-1/4″ (flower print)
2-1/2″ x 5-1/4″ (Berry Burst “striped” print)
1″ x 5-1/4″ (2 of these using the same print)
One of the panels on the inside of the card is where you can write in the card, and I layered a piece of Basic White cardstock on that panel. It measures 2-1/2″ x 5-1/4″. I stamped the rose image onto it before adhering this piece to the card base, and I used Pretty in Pink ink for the rose, Berry Burst ink for the rose’s outline, and Pretty Peacock ink for the leaves. Doesn’t it look gorgeous??
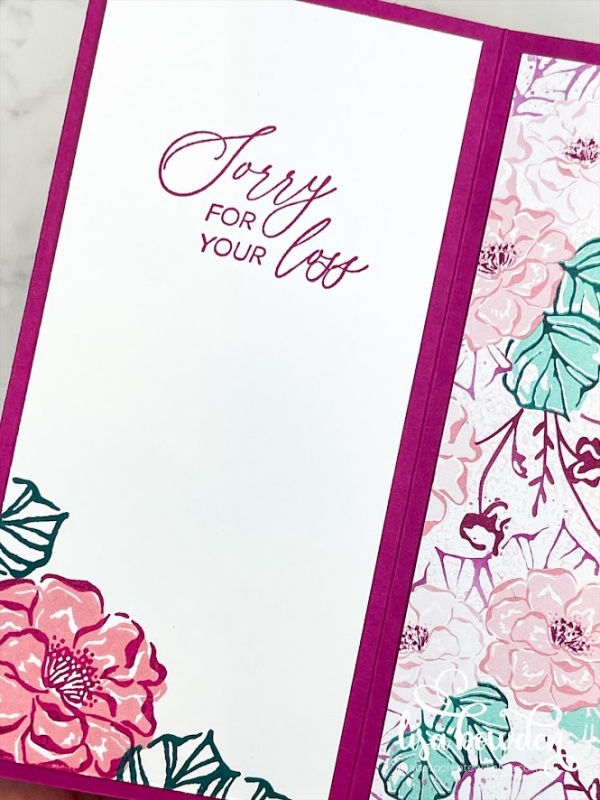
The sentiment on both the inside and the outside is from the Quiet Reflections stamp set. It is such a wonderful set to have on hand for sympathy cards. I know we don’t like to have to send those cards, but sometimes we just do! This stamp set is perfect for this need. I stamped the inside sentiment using Berry Burst ink.
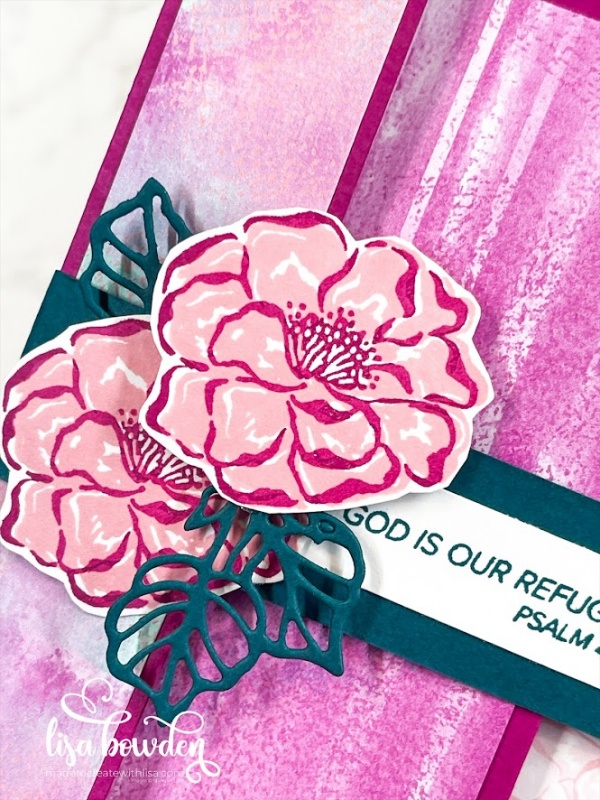
Next, I wrapped a piece of Pretty Peacock around the outside of the card in order to create a belly band. The color contrast looks fantastic! This piece measures 1″ x 10″.
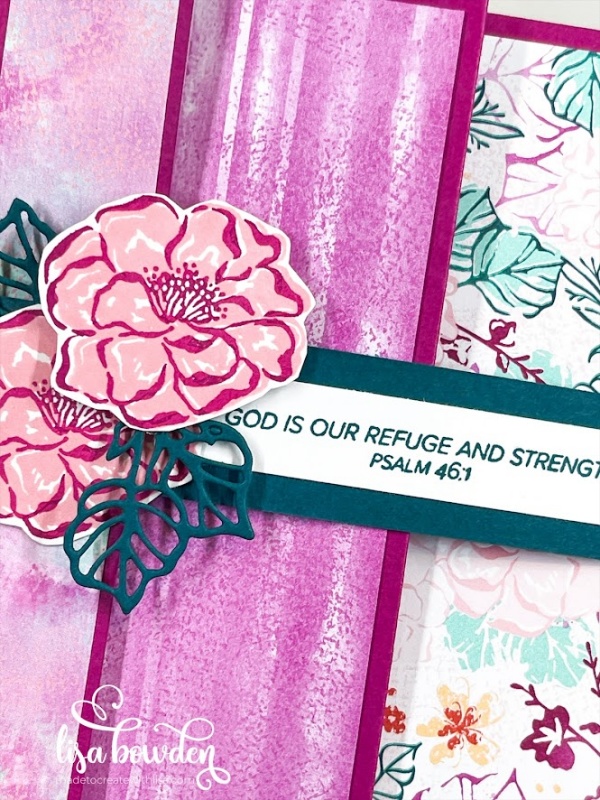
I stamped the outside sentiment onto a little piece of Basic White cardstock, measuring 1/2″ wide. I bannered the right-hand edge of this strip, and adhered it to the belly band using Liquid Glue. This sentiment is also from the Quiet Reflections stamp set, and I used Pretty Peacock ink.
Finally, I dressed up the belly band a little bit by adding 2 roses and some of the die cut leaves. The leaves are cut out of Pretty Peacock cardstock, and the roses are stamped exactly like I did on the inside of the card. I hand-cut these out and adhered them to the belly band using Liquid Glue and Stampin’ Dimensionals. I guess I could have used the coordinating die for this rose, but I just didn’t! ha ha!
What do you think?? Isn’t it fantastic?? I love both of these stamp sets, and can’t wait to use them even more! I hope you’ll give this fun fold a try. It’s such a great layout!
Product List


Lovely card and easy to follow tutorial. Can’t wait to try one! Thanks, Lisa.
Thank you so much, Lou Anne!! I’m excited for you to try it out! It’s really so easy.
Such a pretty card! Thank you for sharing!
I appreciate that so much…thank you!! I hope you give it a try!!