I can’t believe it’s been almost a whole week since my mom’s been gone. Time has stood still, and yet flown by. But as I spend time preparing for her Celebration of Life service, I am inundated with photos, which bring up so many, many, many memories. I can scarcely process it all.
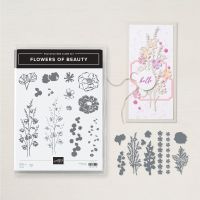
I feel like continuing to make floral cards, as I craft and think about one of her very favorite things on Earth…FLOWERS. I made a beautiful floral card the other day, as well, and I’m back today with a neat Fun Fold floral card, using the Flowers of Beauty stamp set, along with the Unbounded Beauty Designer Series Paper (DSP). That paper pack has so many florals in it, it was an obvious choice for today’s card layout.
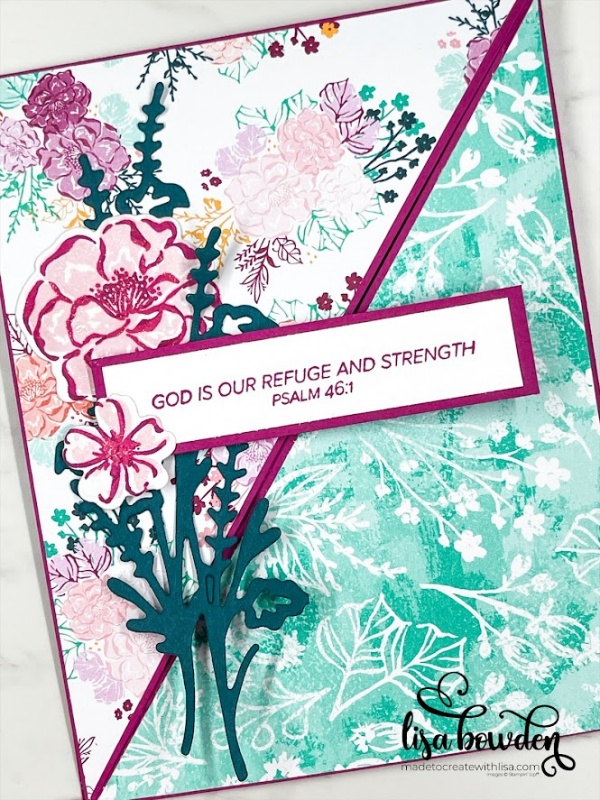
PLEASE CLICK HERE to watch the video where I made this card. It will really help you see exactly how to cut the cardstock in order to achieve the triangle cut card base.
First, take an 8-1/2″ x 11″ sheet of cardstock, and score at 5-1/2″ on the long side, and 4-1/4″ on the short side. This particular fun fold makes 2 cards out of 1 sheet of cardstock. Next, place the entire sheet of cardstock into your Paper Trimmer, and line it up, corner to corner, and cut completely across the cardstock. (Please refer to the video so you can see exactly how I did this.) Now, you have 2 card bases ready to go!
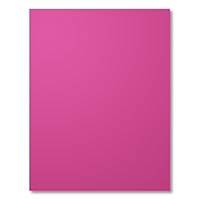
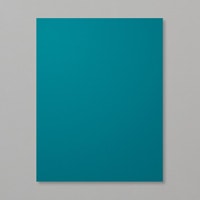
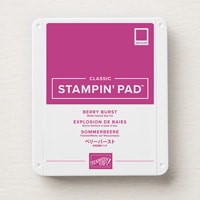
For these cards, I made one using Berry Burst cardstock, and the other using Pretty Peacock cardstock. Both of these colors are perfect to use for this pack of DSP!
Next, I used a piece of DSP measuring 4-1/8″ x 5-3/8″, and I sliced that corner-to-corner, in order to create triangles that would perfectly layer onto the card front. Please watch the video in order to see which corners you need to cut on! It makes sense once you see it up close.

For both cards, I used one of the dies from the Unbounded Beauty die set, which I cut out of Pretty Peacock cardstock. I layered this onto the card front, using Liquid Glue. Then, I stamped two different sentiments from the Quiet Reflection stamp set onto little scraps of Basic White cardstock, layering them onto larger pieces of either Berry Burst or Pretty Peacock cardstock. I adhered these to the card bases using Stampin’ Dimensionals. Take care not to glue the card closed! Add your Dimensionals ONLY to one side of the sentiment!
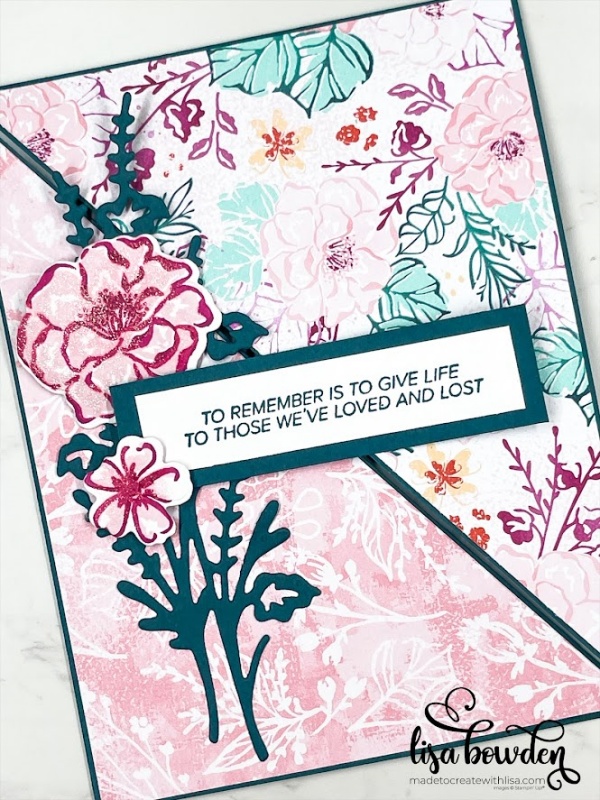
Finally, I added on some flowers that I stamped using the Flowers of Beauty stamp set. I stamped with Bubble Bath and Berry Burst inks, and then die cut them out with the coordinating dies. I even pulled out my Wink of Stella Glitter Pen, and added some sparkle to the beautiful flowers! It was a perfect touch.

I added a piece of Basic White cardstock on the inside of the card, measuring 4-1/8″ x 5-3/8″. I stamped matching flowers onto this piece, which added a perfect touch.
PLEASE CLICK HERE to see how I made this card last year, using a different stamp set. You can see the paper diagram where I marked how to cut and score the cardstock, which is essential for this card design!
I hope you love these cards. They continue to make me smile, as I remember my sweet mom and miss her every single day.
Product List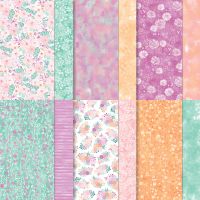



Beautiful card, Lisa. Thanks for sharing. Love the scripture verse you added. Do wish Stampin Up would have more stamps with Bible verses.
Prayers for comfort and peace. 🙏🏻🩷
Thank you so much, Betsy! Yes, I love it when they have Bible verse stamps. I grab them ALL!