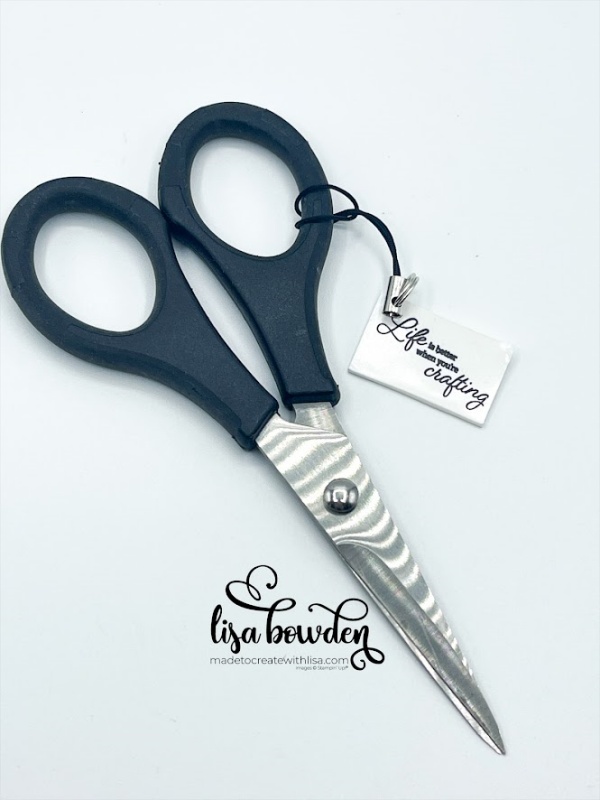
Did you play with Polyshrink plastic when you were a kid? I sure did! I absolutely loved it. It’s almost magical to color an image, cut it out, and then shrink it down to a fraction of its original size!

Years ago, I learned that I could use Polyshrink plastic with my stamping! Using our permanent Stazon ink pad, the ink stays put on the plastic and works perfectly for this craft. You can stamp your image onto the plastic, either cut or punch it out, and then shrink it down with our Heat Tool. You don’t even need to use an oven!
PLEASE CLICK HERE to watch the video where I made this craft. It’s so fun to watch it shrink!
First of all, I started out with white Polyshrink plastic. PLEASE CLICK HERE to go to my Amazon affiliate shop, where I have the plastic linked for you. It works great! Before starting my project, I lightly sanded the plastic so that my ink would adhere properly. I’ve also tried this without sanding, and it also works. But, it’s easier to smudge or slide the stamp when stamping, so I personally prefer to do a really light sanding with a sanding block from the Dollar Tree before I stamp.
Next, I pulled out my Black Stazon ink pad, and inked up the stamp from the Crafting with You stamp set. If you haven’t looked at this set, it’s absolutely perfect for us crafters and stampers!! You’ve got to grab it!
After carefully stamping my image, I cut it out with my scissors. I like to use older scissors for this, so that I don’t dull my Paper Snips or any nice ribbon scissors. You can also punch out your image with the awesome punches from Stampin’ Up!, but for this project I just cut it out into a rectangular shape.

It is KEY for you to punch a hole in your project at this point! You MUST punch your hole before shrinking. Once the plastic is shrunk, it’s impossible to punch. So, do that step now! I used a 1/4″ handheld punch, and punched a little hole in the upper left-hand side of my rectangle.
Finally, I pulled out my Heat Tool and shrunk my image! I like to use a tool to hold down my item, since it gets really hot and it’s hard to keep in place when blowing the hot air onto it. The Take Your Pick Tool would work perfectly for this–I should have used that in my video!
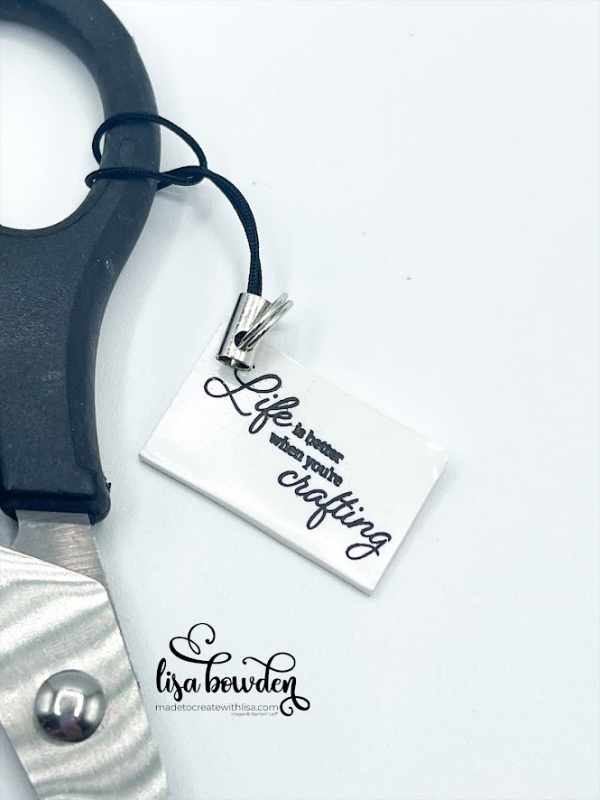
Once the item is shrunk, I like to have an acrylic stamping block handy, so that I can quickly press it completely flat while it’s still hot. Otherwise, it can be a little bumpy when it hardens.

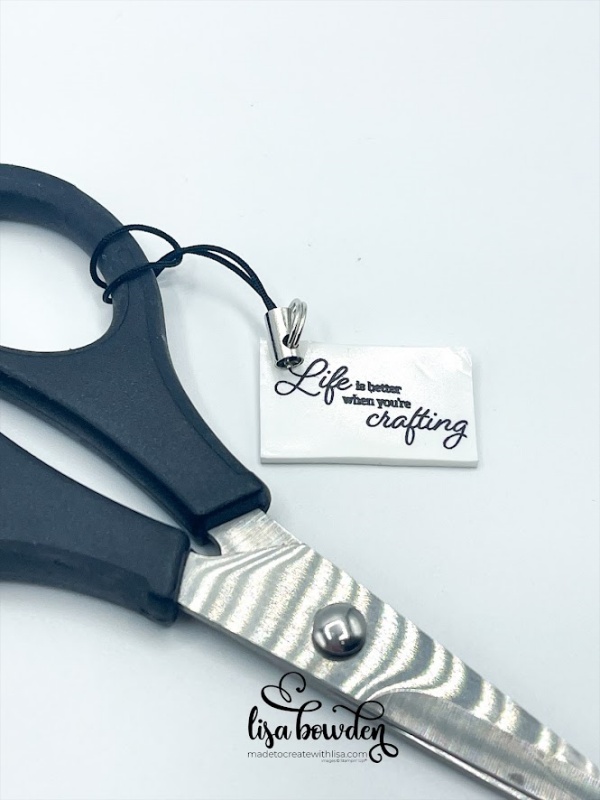
PLEASE CLICK HERE for my Amazon affiliate link to the scissor charm holders that I used! They are perfect for this project, and this is what you use to hang the cute charm from your Paper Snips!
I made these cute charms for my Made to Create team for Christmas. Everyone also got a pair of Paper Snips for the charm to hang from! This was a fun project for me, and I hope you give it a try, as well!
You can CLICK HERE to see another cute craft I made with the Polyshrink plastic. Once you try it, it’s addicting!
Product List


They are awesome.
Thank you!! They’re so much fun to make!