I hope you are enjoying Sale-A-Bration, which is Stampin’ Up!’s biggest sale of the year! I *LOVE* SAB, because we have so many adorable new products that you can earn for FREE. For every $50 USD you spend, you can choose one of the Free SAB products available! SAB ends at the end of February, so you have a few more weeks to cash in on these cute products.
One of the products I LOVE this year is the Trusty Toolbox Designer Series Paper (DSP). It coordinates with the Trusty Tools stamp set and dies in the current Mini Catalog, and it’s awesome paper! It’s obviously great for masculine cards, which can sometimes be hard to come by. But, you can also use the back side of each sheet, will work for other masculine cards, as well. I love versatility!

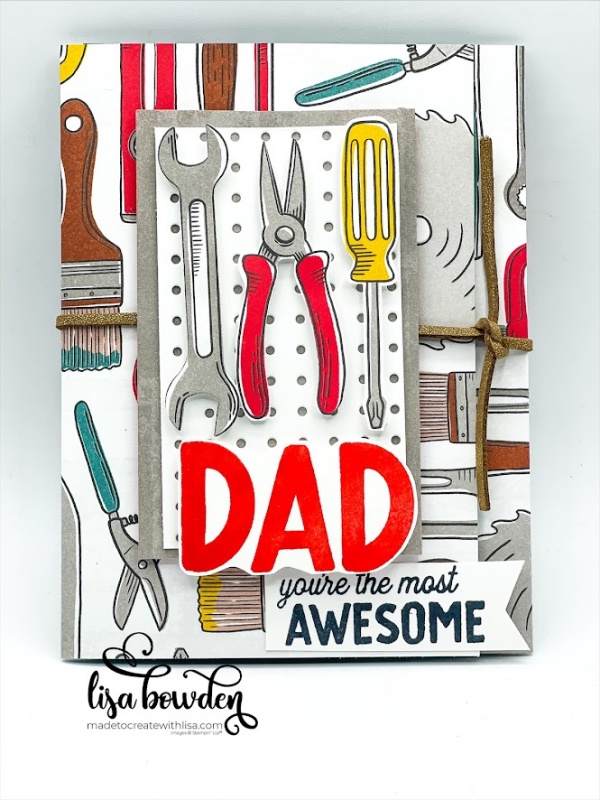
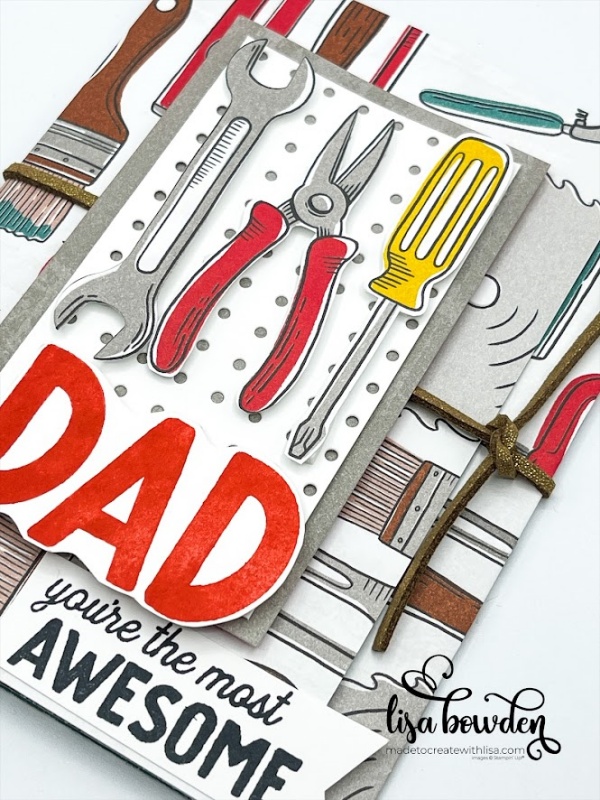
This is a fun fold card that features the DSP. You could use any DSP design for this card layout, which is awesome! This fold really features the paper itself. You start out with a piece of DSP measuring 5-1/2″ x 12″, scored on the long side at 3-3/4″ and 8″. PLEASE CLICK HERE to watch the video where I made this card. You can see exactly how the fold works, and how I decorated it!
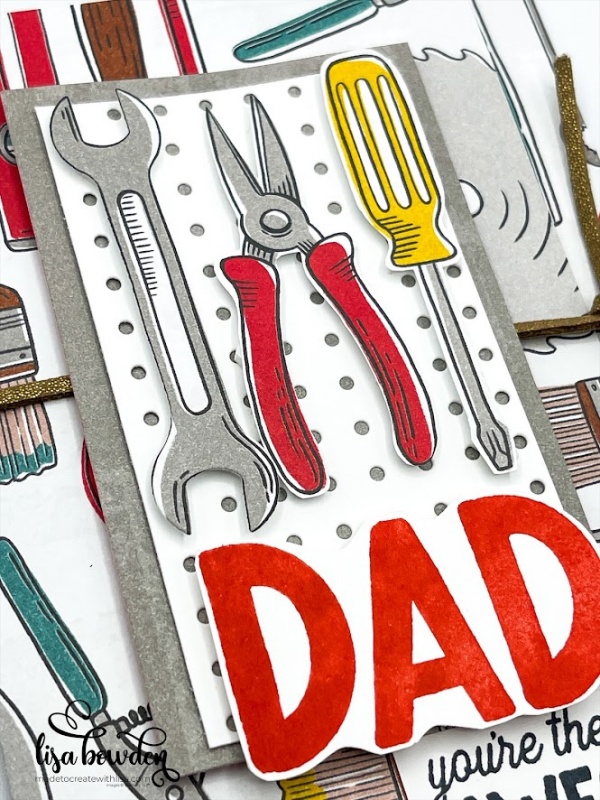
Now, let’s dress up the front of the card. First, I used another piece of the same DSP pack, except I used the plain grey side. This piece measures 2-1/2″ x 4″. Layered on top of this is a piece of Basic White cardstock that I punched holes into with the matching Trusty Tools die set, making it look like a piece of peg board! Isn’t that adorable! This piece measures 2-1/4″ x 3-3/4″.

Next, I pulled out the DSP and cut out some tools from it. Not all of the tools have matching dies, so I hand-cut out some of them, and some I cut out with dies. I “hung” these from the peg board using Stampin’ Dimensionals.
I stamped the word DAD using Poppy Parade ink onto Basic White cardstock, and hand-cut it out. I added it to the bottom of the peg board, using Stampin’ Dimensionals. And finally, I stamped the other part of the sentiment with Black Memento ink, and bannered the right-hand edge. I glued this directly to the card front, using my favorite Liquid Glue.
Can you see the cool “faux” leather trim that I used on this card? I love it, because it’s masculine-looking, and yet also has a cool texture because of the added gold glimmer. I tied this around the entire card, tucking it beneath the peg board. This trim ties the card closed, which is a fun element.

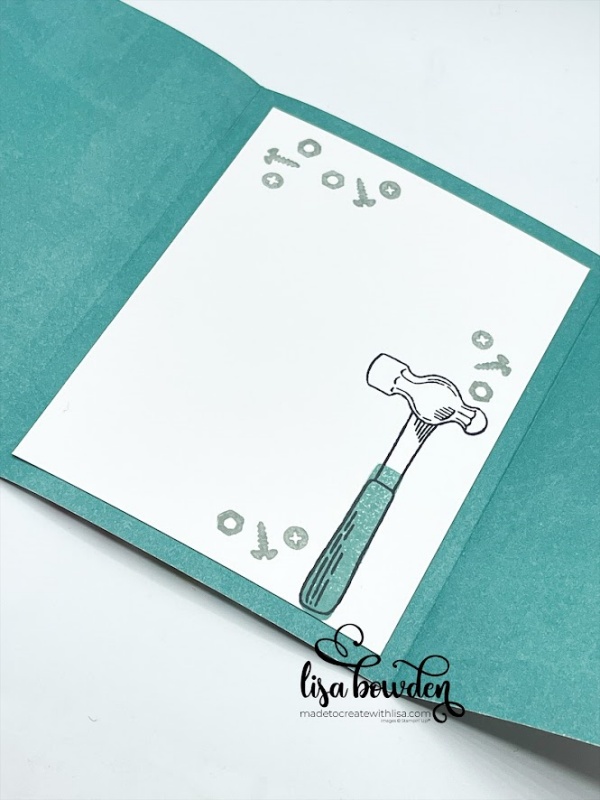
Finally, I added a piece of 3-3/4″ x 5″ Basic White cardstock to the inside, and stamped the hammer with Black Memento ink. I colored in the handle with matching Lost Lagoon ink, and then added a few little screws with Smoky Slate ink. It really added a cute element to the inside of the card, instead of leaving it blank!

And, there you have it! Didn’t it turn out cute?? I think I’m going to copy this layout a few more times, using different patterns of DSP and see what I can come up with!
Product List


Leave a Reply