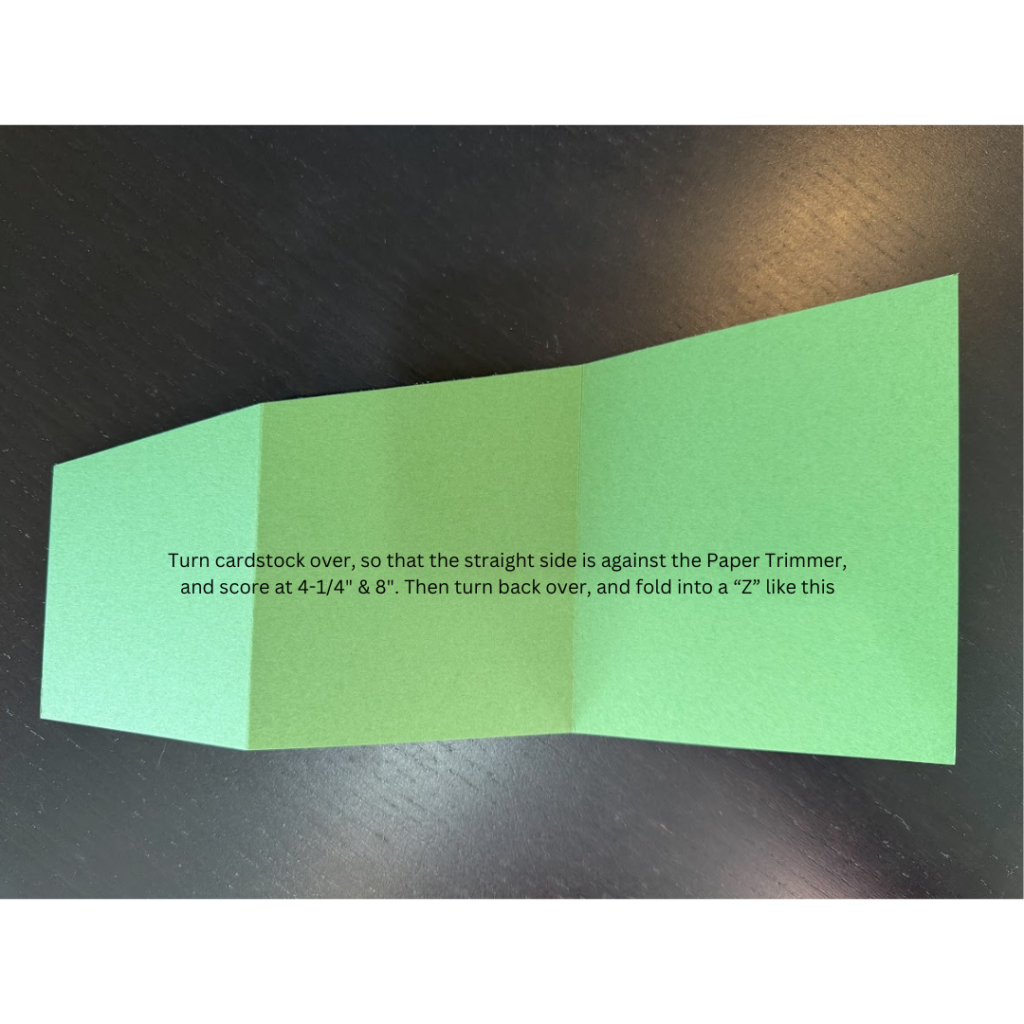
I have another Fun Fold card for you today, and I know that it looks intense! It really isn’t, once you figure out the measurements and understand how to fold and score. After you get that part down, you’re good to go! It’s just a “Z” Fold card, like an accordion-type fold, and it looks SO cute with all different papers and colors!
I pulled out the adorable paper pack called A Little Bit Festive, which is an amazing pack! It comes with printed paper designs, as well as TONS of die cuts that are perfect to add onto cards, making them quick and easy! I absolutely adore this paper, and I need to play with it more.
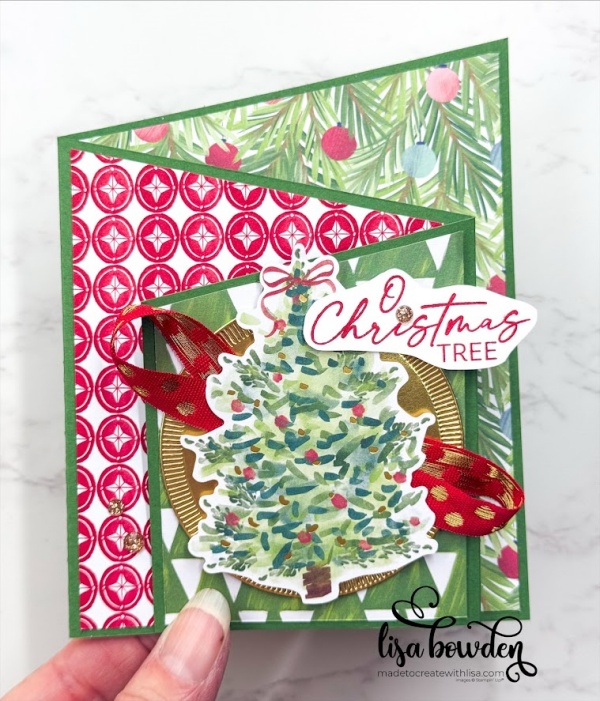
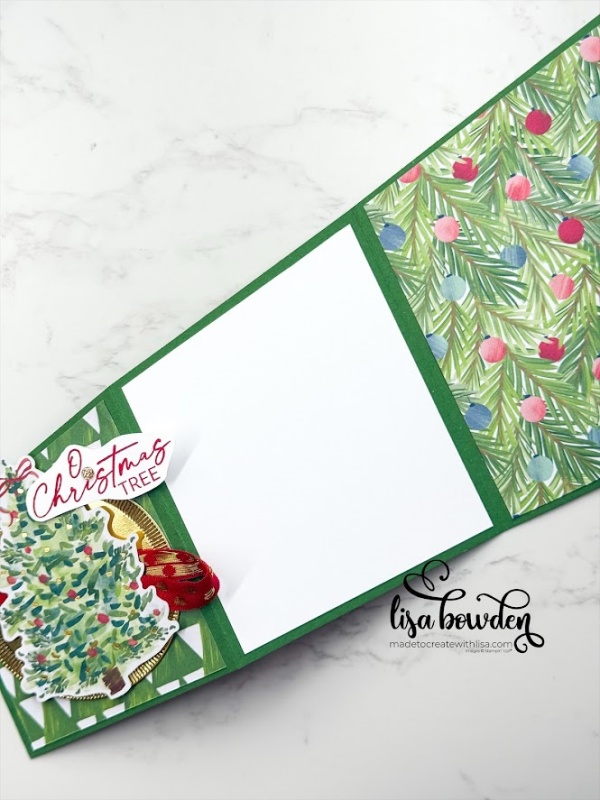
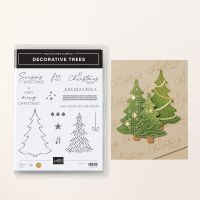
I used one of the Christmas Tree die cut images for the focal point of this card, and not only does it feature traditional Christmas colors, but it also has some gold foil sprinkled in. That made it fun to add different gold accents, to pull out those gold details, and I loved the final look of the card.
PLEASE CLICK HERE to watch how I made this card! In the video, you can see exactly how to trim the paper panels for each side. Once you get it, you’ll understand how to put together the entire card!
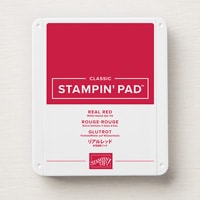
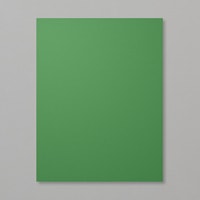
I used a Garden Green cardstock base, and then chose different prints from this paper pack. The gold foil circle is one of the circles from the Spotlight on Nature die set, and the sentiment was stamped using Real Red ink onto a scrap of Basic White cardstock. I cut this out by hand, and then added it to the front of my card.
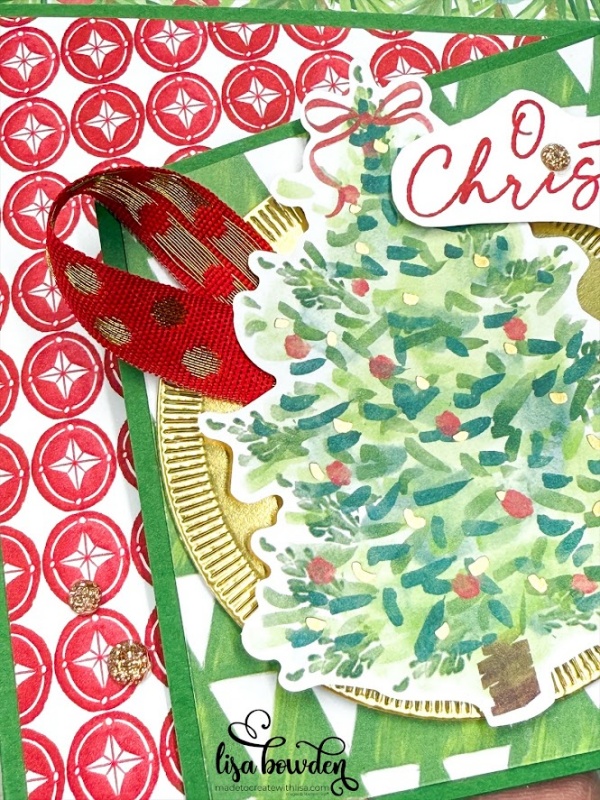
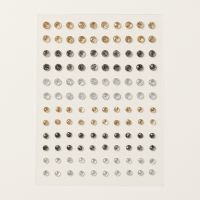
The final detail was the gorgeously sparkly Sparkle Gems, which were the perfect touch to finish off this card! I absolutely love how it all turned out!
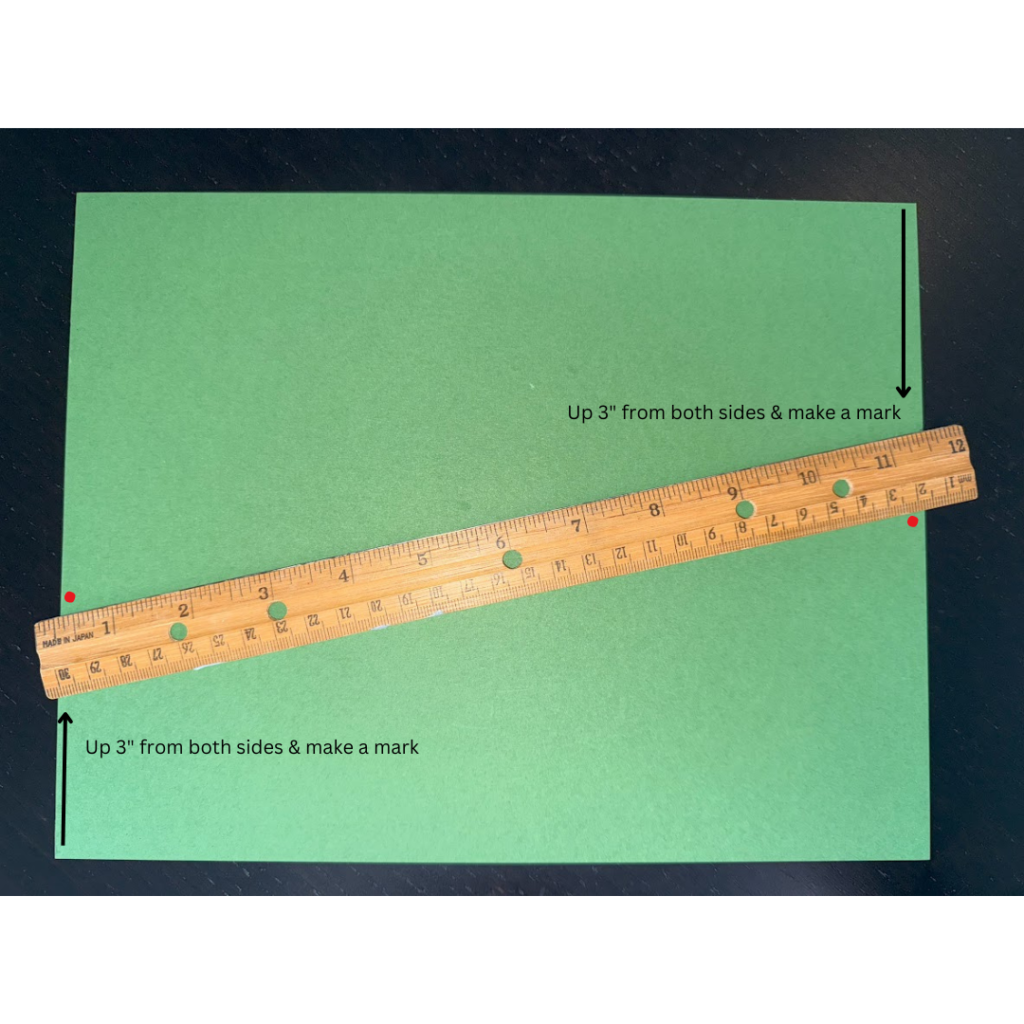
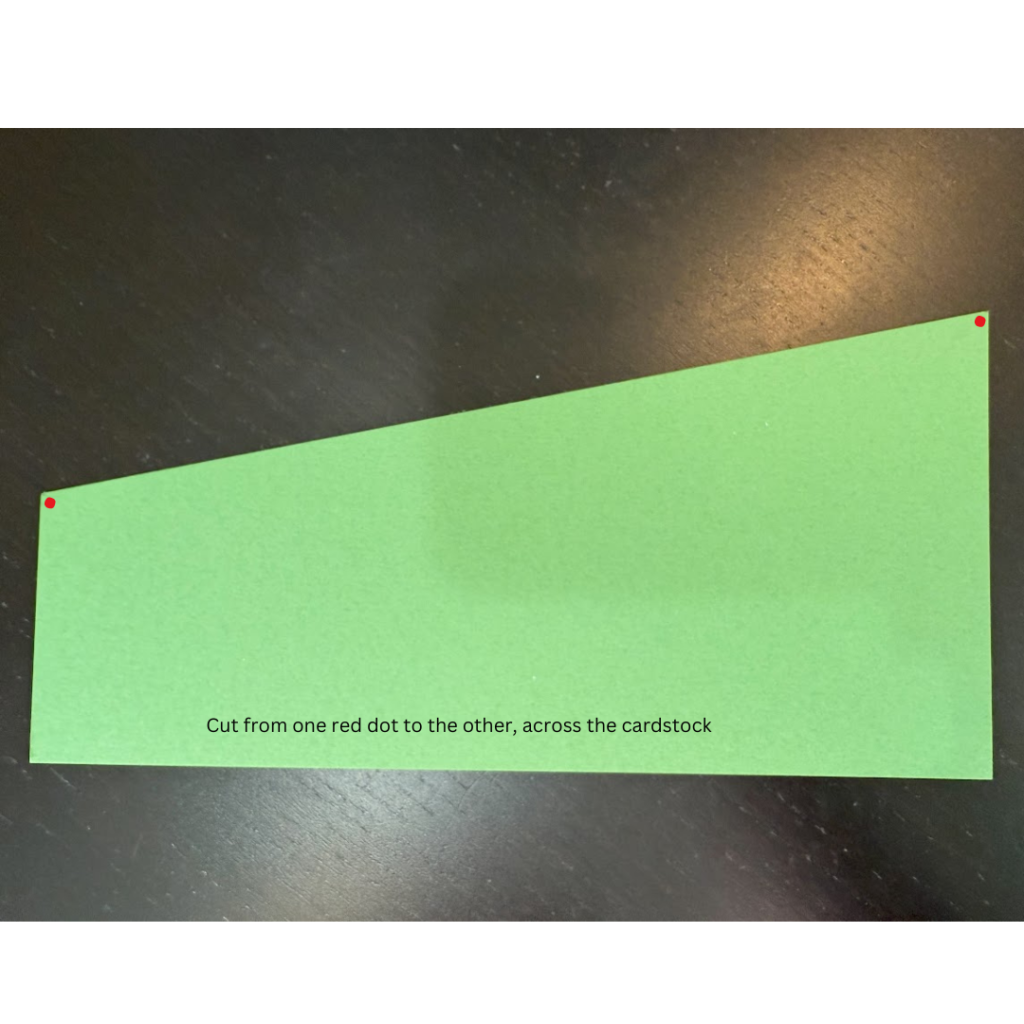
First, I took my Garden Green cardstock and laid it in front of me lengthwise (portrait). Then, I took a ruler and, from the left-hand bottom corner of the cardstock, made a mark at 3″ from the left-hand corner. Then, I turned the cardstock around 180 degrees, and did the same thing on the other end of the cardstock. Now, I had 2 marks on each short edge of the cardstock, both 3″ in from the left-hand corner.
Next, I slid the cardstock into my paper trimmer, and cut from one of the 3″ marks, down to the other 3″ mark. This made it so that it was cut at a slant.
After that, I needed to score my cardstock. So, I slid the flat edge of my cardstock into my trimmer, and scored this at 4-1/4″, and then slid it in further to score it at 8″. Now, it could be taken out of the trimmer and folded in a Z fold manner! Isn’t that cool!
Here are the measurements for this card:
Cardstock: 8-1/2″ x 11″, dotted on opposite ends of short edge of cardstock at 3″ and then cut in half. Then scored at 4-1/4″ and 8″
DSP Small: 2-3/4″ x 3-1/2″
DSP Medium: 3-1/2″ x 4-1/4″
DSP Large: 4″ x 5-1/4″
Basic White for inside of card: 3-1/2″ x 4-1/4″
PLEASE CLICK HERE to see another blog post where I made one of these cards last Christmas. It helps you to see another look for this card, which is more playful and bright! They’re both fantastic!
Here are all of the items I used to make this card:
Product List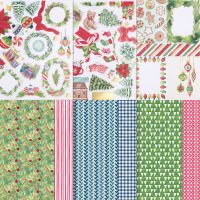



Another great card Lisa!! And more new ideas for me!! Been loving all the new fun fold cards and I made one of your notebooks from one of your tutorials also! Anazing!! Still just in awe of the loely designer papers this brand offers. Just beautiful. 🙂 Thanks again!!
I love fun folds, as long as they’re easy!! I hope this one is easy to follow! I’m so glad you love all of the papers…they’re so easy to create with!!
Yes I do. Sorry for the typos in my last post. :/ Thanks again for the easy fun folds.
It was supposed to say
*amazing
*lovely
I got you, girl!! LOL 🙂
Very cute card Lisa. Thanks for the measurements.
Have a great Christmas
Blessings
Esther
You’re so welcome! I hope you give this card a try–it’s super fun once you get the hang of it!