Are you looking for a cute way to package up a small gift you’re giving this holiday season? I have a great solution for you! Many of us like making our own gift packaging, but boxes and bags can seem intimidating to make. Today, I have a gift bag layout for you that takes some scoring and folding, but once you get the idea of it, it’s really not too hard.
For today’s project, I used the Sentimental Christmas Designer Series Paper (DSP) pack. You could easily use any 12″ x 12″ paper for this design.
PLEASE CLICK HERE to watch the video where I made this gift bag. You DEFINITELY need to watch it in order to see exactly where it needs to be cut, folded, etc.!
First, cut 2 pieces of 7″ x 9-1/2″ DSP (any print). Score both of these pieces of DSP identically. On the long side (horizontal), score at 3/4″ and 8″. Then, turn it 90 degrees and score on the short (vertical) side at 1/2″, 5-1/2″, and 6-1/4″.
At this point, I like to fold and burnish my folds on all of the score lines. Then, you’ll cut out a little rectangle on the LEFT hand BOTTOM side (following the score lines), and then on the 5-1/2″ score line, just cut up a straight line/slit.

Using a strong adhesive (I definitely prefer Tear & Tape adhesive for bags and boxes!), I put the adhesive on the narrow fold lines (far left section of each sheet), and adhered the two pieces together. Then, you can pinch the sides of the bag together so that it forms a gusseted bag.

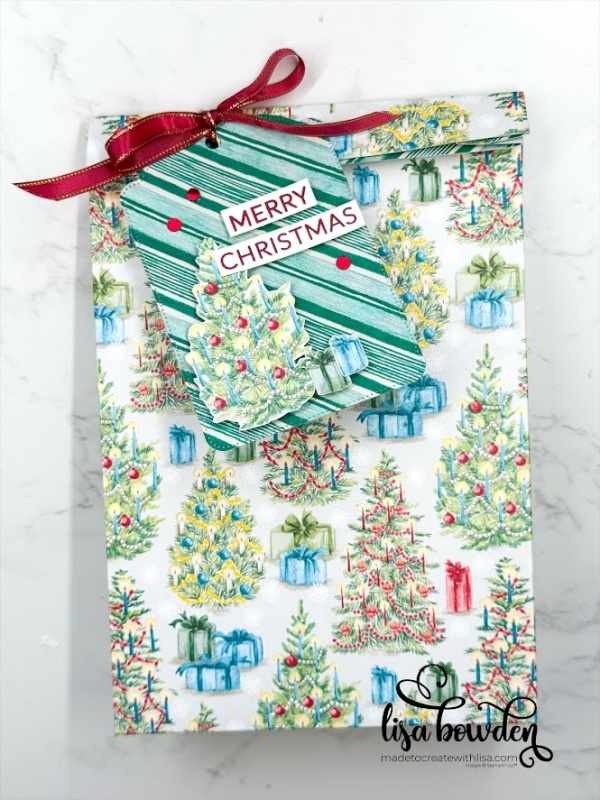
After folding down the top, you can close it however you’d like! I chose to use a hole punch and tie a tag. The hole punch is a great one that you can find here on my Amazon affiliate shop, and it has several different sizes of holes in one punch. It’s super cool!
I die cut a large tag and stamped a sentiment using Cherry Cobbler ink. The stamps and dies are from the Greetings of the Season bundle. I hand cut out one of the little Christmas trees from the paper, as well as a couple of tiny presents, and decorated up the tag. I adhered everything to the tag with Stampin’ Dimensionals.
I tied the tag to the bag using Cherry Cobbler satin ribbon, which matches perfectly! I also used my Wink of Stella Glitter Pen to add some sparkle to the presents. Finally, I sprinkled on a few of the Iridescent Discs, and it was finished!
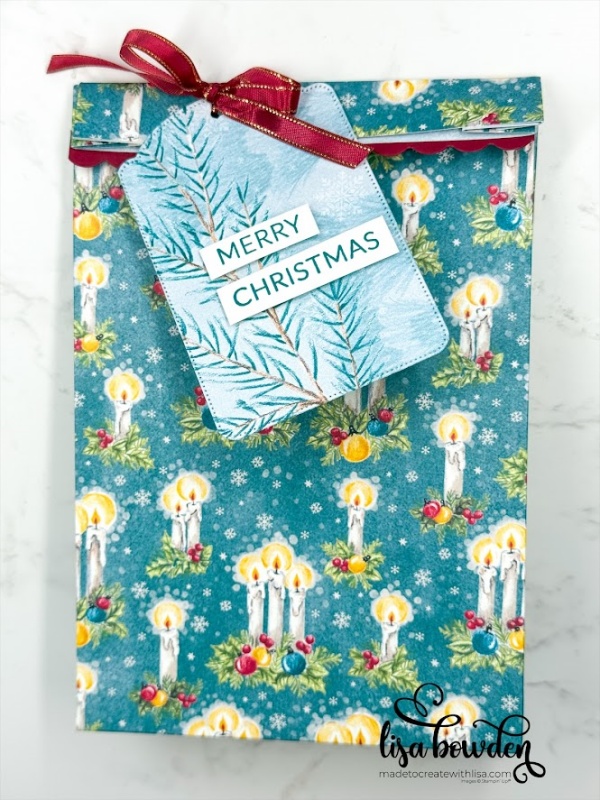
Check out another bag I made using the same products, just a different paper from the same pack. Both of them look great!

 Designer Series Paper")
")


 Satin Ribbon")


Leave a Reply