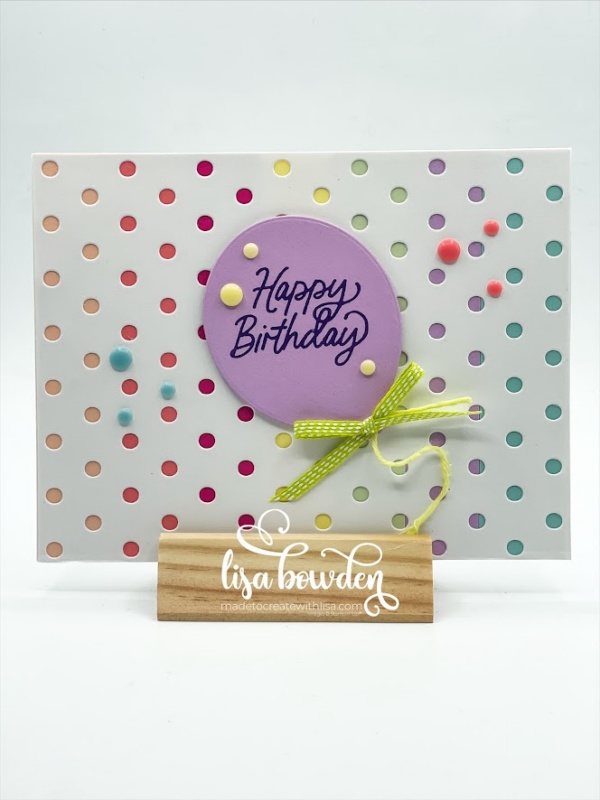
We’re always looking for ways to use up our paper scraps, aren’t we? I don’t know about you, but I’ve got a TON of paper scraps. All colors, shapes, and sizes. EVERYWHERE!! Well, they’re technically filed along with my full pieces of cardstock, but my point is that I have a million scraps!! I don’t think I could ever use them up in this lifetime!
This fun and easy card uses lots of different scraps of different colors, and then I layered on one of our largest dies on top of the paper strips, so that you can see the colors through the die. PLEASE CLICK HERE to watch the video where I made this card, and you can see exactly how I did it!

My card base is Basic White cardstock, and I layered on top of it 7 strips of colored cardstock. Each of these strips measures 3/4″ x 4-1/4″. I adhered them all to the card base using Liquid Glue.
Next, I cut out a 4-1/4″ x 5-1/2″ piece of Basic White cardstock, and ran it through my Stampin’ Cut & Emboss machine with the Dots & Spots Die. It’s a huge die! This die covers the entire front of my card. I layered this on top of the paper strips, also using Liquid Glue. Now, you can see all of the colored strips peeking through the dots! Isn’t it so cute!
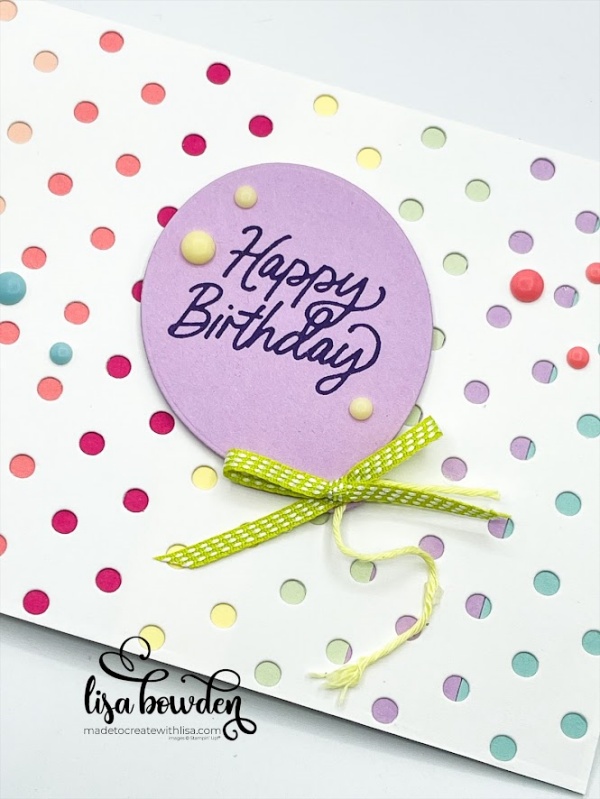
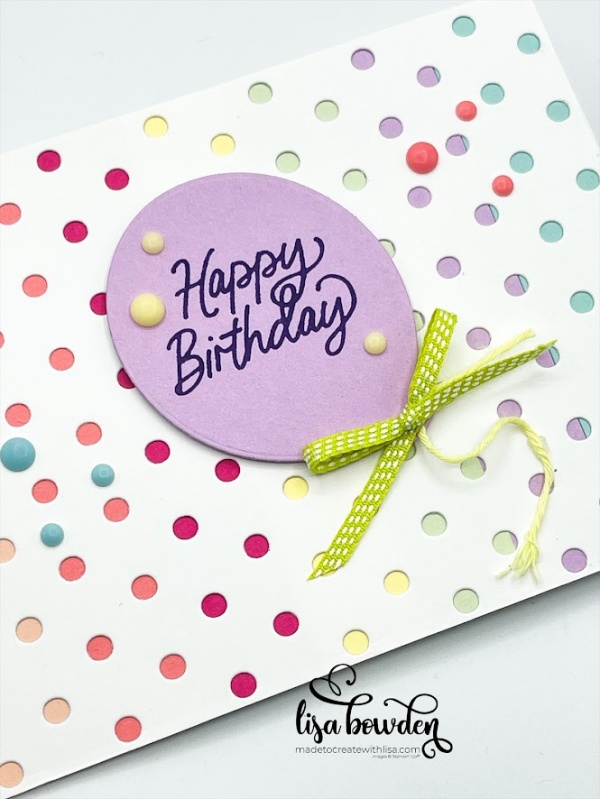
I die cut out the large balloon from the Beautiful Balloon dies, using Fresh Freesia cardstock, and stamped the “Happy Birthday” sentiment from the Beautiful Balloons stamp set on top, using Gorgeous Grape ink.

I tied a piece of Lemon Lolly twine to the balloon, and secured it with some Mini Glue Dots. I also added a Lemon Lime Twist bow to the base of the balloon, also using a Mini Glue Dot.

Finally, I sprinkled on lots of colorful dots! It’s funny, because they’re actually kind-of hard to see amidst the dotted background! But that’s OK–I still wanted some embellishments on top!
I hope your mind is racing with ideas of how you could use this technique and layout with different colors and dies! It’s a great way to use up your scraps…go for it!
Product List


Leave a Reply