Do you like “fun fold” cards? I do, as long as they’re not too involved or overly time-consuming! I do enjoy “different” types of folds, but I definitely like to stick to the ones that are do-able without taking too much time. I am, in general, a quick & easy style of card maker, so that’s what I’ll stick with! But let’s figure out this fun, triangle fold card together!
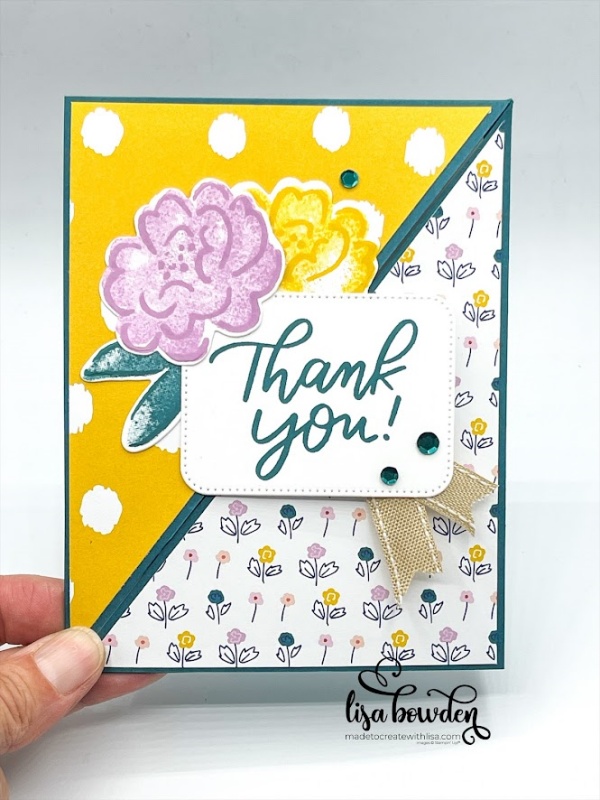
PLEASE CLICK HERE to watch the full video where I made this card. It really helps for you to see exactly how I cut and scored the cardstock, and then how it all folds and comes together in the end.
The Delightfully Eclectic Designer Series Paper (DSP) is absolutely adorable. I love the whimsical, colorful designs in this paper pack, and this paper goes with so many different stamp sets! This particular pack of paper was not designed to coordinate with only one stamp set. It actually goes with many of our stamps, which makes it so versatile! In my opinion, it’s a must-have!
First, take an 8-1/2″ x 11″ sheet of cardstock, and score at 5-1/2″ on the long side, and 4-1/4″ on the short side. This particular fun fold makes 2 cards out of 1 sheet of cardstock. Next, place the entire sheet of cardstock into your Paper Trimmer, and line it up, corner to corner, and cut completely across the cardstock. (Please refer to the video so you can see exactly how I did this.) Now, you have 2 card bases ready to go!
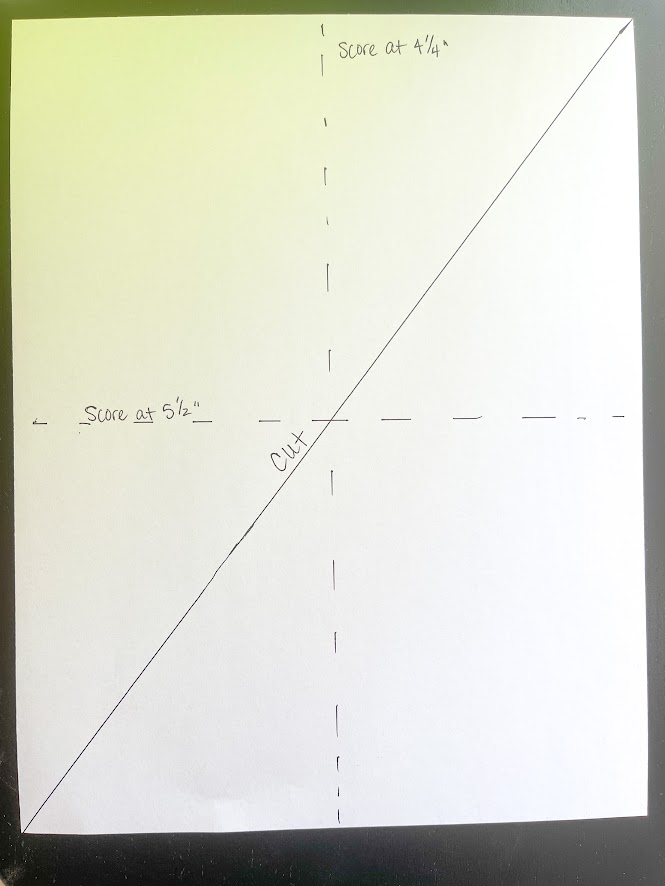
To decorate this card, I used a 4″ x 5-1/4″ piece of the DSP, and also cut it corner to corner. I used 2 different pieces, so that I could flip the DSP and have the top portion be polka-dotted, and the bottom portion be floral. Don’t these prints look cute together?
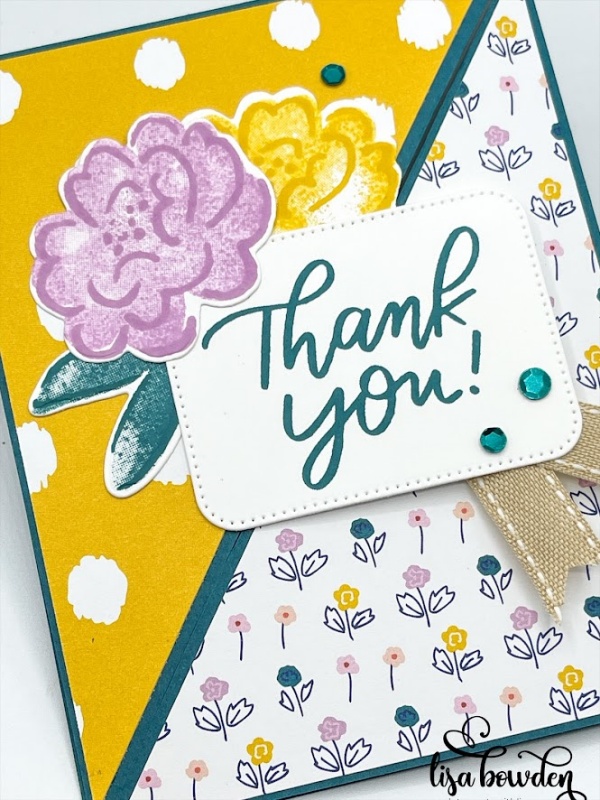
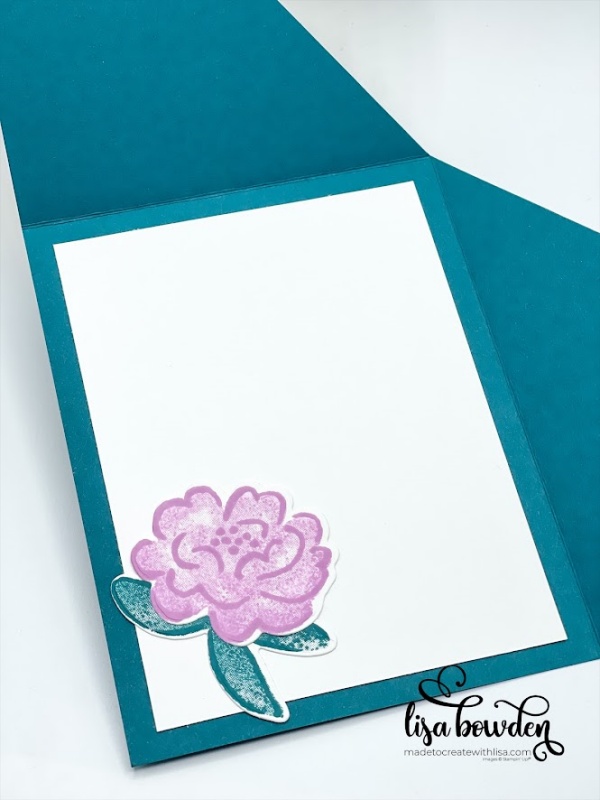
Now, let’s stamp! I used the Darling Details stamp set, which is a 2-step stamp set, and stamped the flowers and the leaves, cutting them out with the coordinating dies. Don’t they look cute?
I also used the Nesting Essentials dies for my sentiment, which is an amazing die set with all different sizes of basic shapes. They are perfect for sentiments! This sentiment is from the Good Feelings stamp set, and I love the fonts in this set! It’s a nice, big, bold image that can be the focal point of the card. I stamped the sentiment with Pretty Peacock ink, and then layered the flowers onto the die and adhered it to the upper triangle portion of my card. Take care not to glue your card closed!
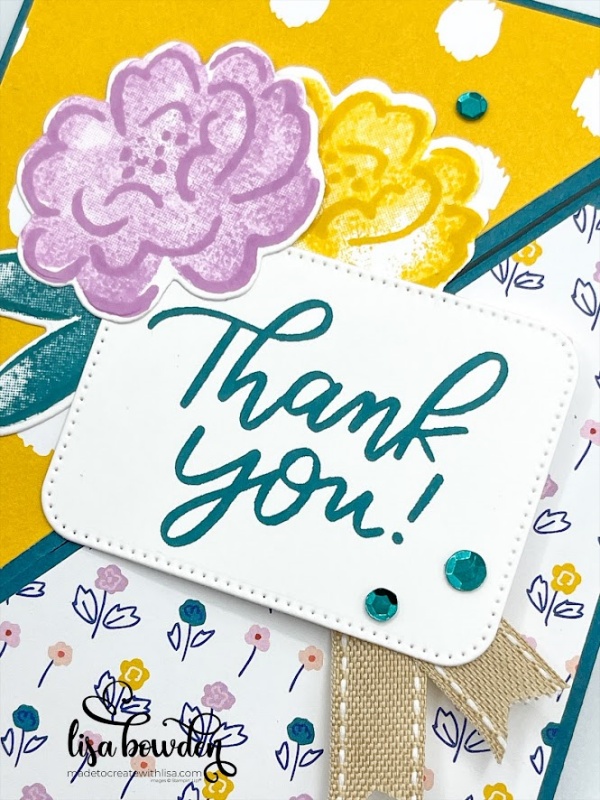
Finally, I added on some ribbon and gems, which are always my favorite embellishments. I feel like they really add the finishing touch to any project!
Well, what do you think? Do you think you’ll give it a try? Think of all the different DSP designs you could use with this fun fold! Have fun with it!
Product List


This card is adorable! Perfect for Thank you’s!
I agree! I hope you give it a try!!
The diagonal cut over the entire 8.5 x 11 paper is very tricky. It took me several trials to get it right. A very cute card – catching the stamp and dies set before it retires. I hope!
I’m so glad you stuck with it until you were able to get it! YES–it takes a few tries and then once you get it, it’s easy to do in the future! Yay!!