I love making home décor with my Stampin’ Up! products! It is so satisfying to pull out an adorable item that I have handmade, and put in in a prominent place in my entryway or bookshelf to admire during the season. If you haven’t yet tried making your own home décor, you’ve got to give it a go! There are so many different things you can make for every season–it is so much fun.
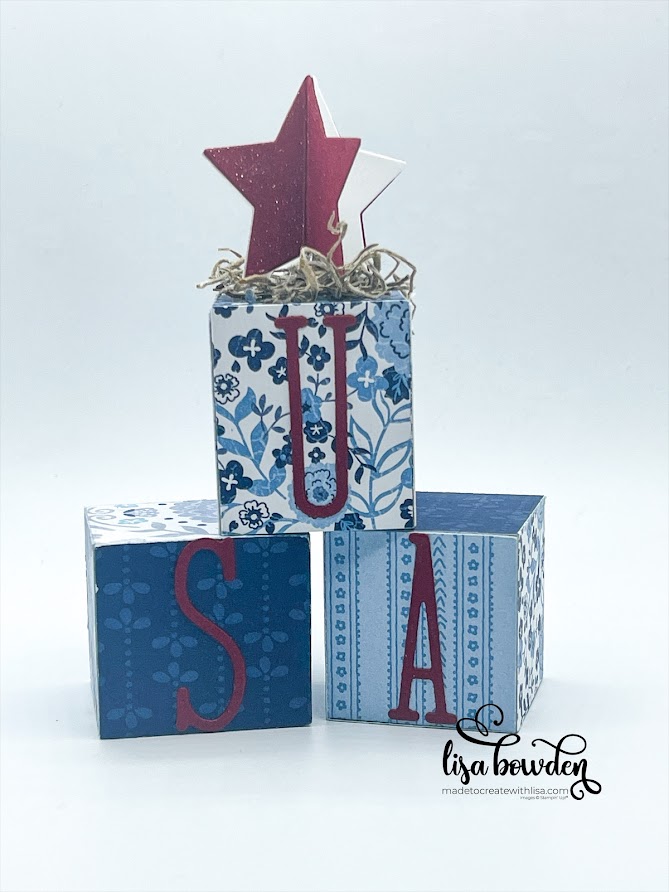
For this project, I decorated some small, wood blocks. Wood blocks are easy to find anywhere, but I’ll give you my Amazon affiliate link here so that you can easily grab some and get to work! You’ll also need some Mod Podge (or other adhesive of your choice), a paint brush to apply the Mod Podge, the Designer Series Paper of choice, and some dies.
Let’s get started!
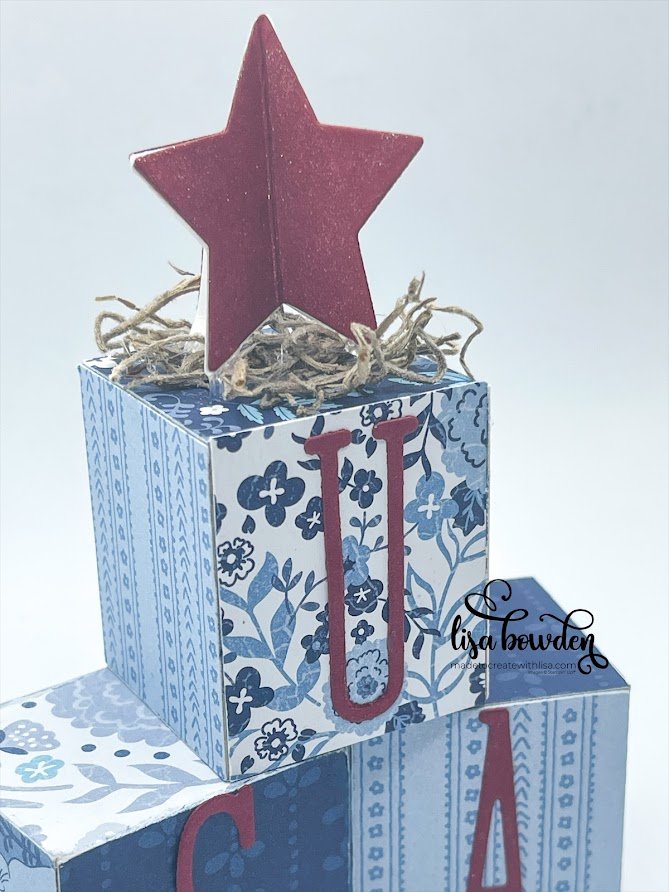
I chose to use the Countryside Inn Designer Series Paper (DSP) for my Patriotic project, because there are so many beautiful tones of blue in this paper pack. I used several of the different designs, and I cut squares of paper the exact same size as my block.
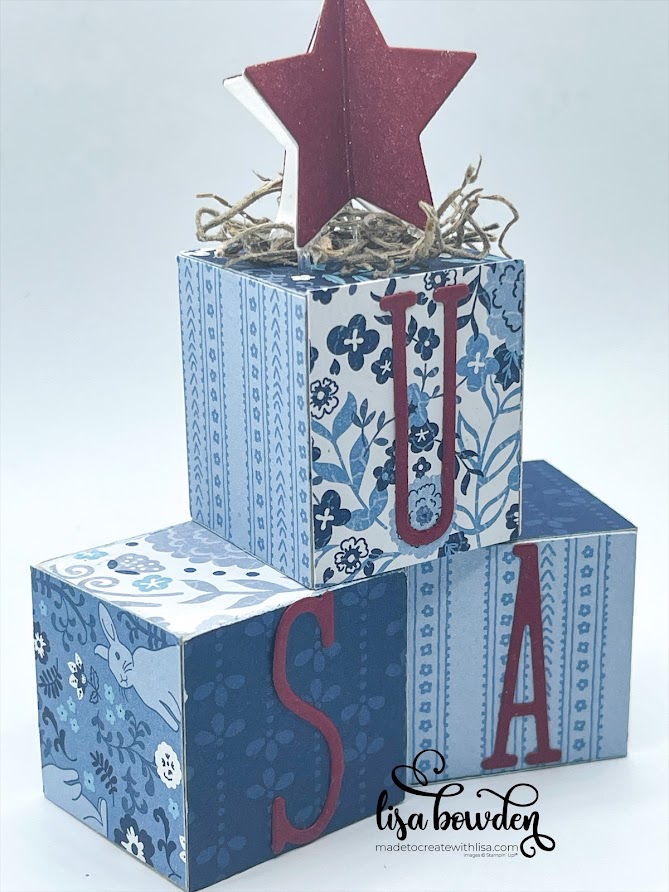
Next, I applied a layer of Mod Podge to the block, and laid the paper onto the adhesive, smoothing it down firmly. I covered all sides of 3 different blocks, and each side had a different paper design. Because they all coordinate together from the same paper stack, they look fantastic together! Don’t you think?
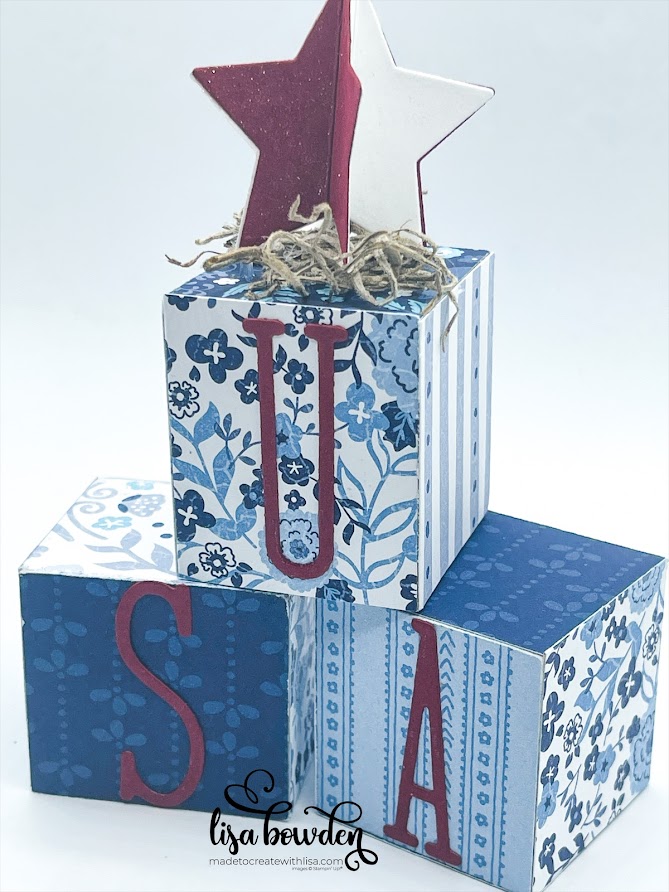
After covering all of the sides of the wood blocks, I die cut out “USA” from Cherry Cobbler cardstock. It’s a dark, rich color of red, and that’s why I chose to use it. I love the way it contrasts with the blues in the Countryside Inn paper. I used the Alphabet a la Mode die set, which I love!
Please CLICK HERE to watch the video where I made this project, so that you can see exactly how I pulled it all together. It’s so much easier to show you through a video, than explaining here!
The Alphabet a la Mode letters are really skinny, so it can get cumbersome to adhere them onto the blocks! You can use our amazing Adhesive Sheets if you’ve got them, otherwise, you can just use our Multipurpose Liquid Glue like I did here. Once you’ve got the USA letters adhered to the blocks, you’re ready for the final step!
I pulled the largest star die out of the Beautiful Balloon die set, and die cut several Basic White and Cherry Cobbler stars. As you can see in the video, I scored them down the middle, and adhered them back-to-back to create a 3D star. I love how it turned out!
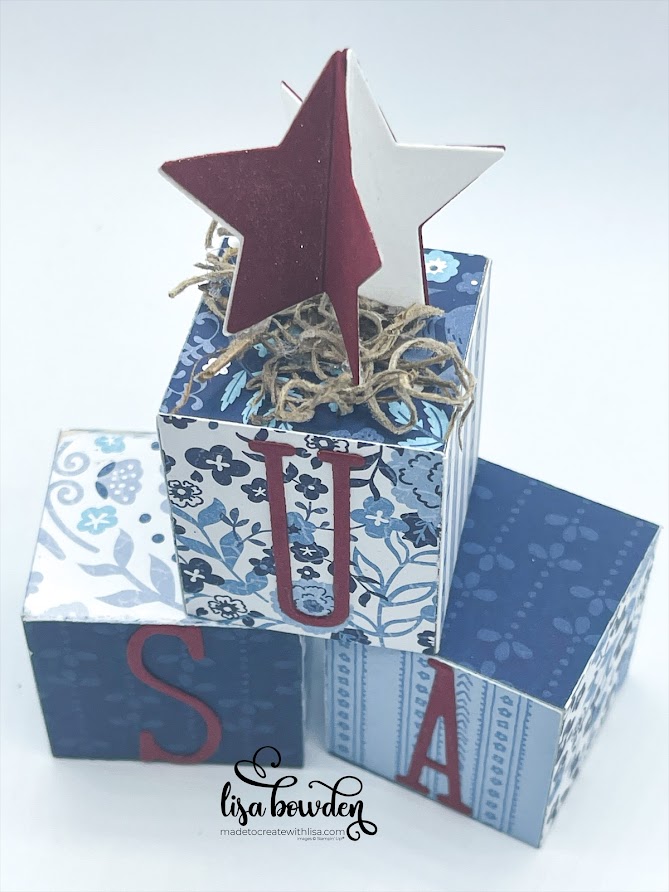
In my Amazon Affiliate Shop, I have linked some Spanish Moss that you can grab. I used just a small amount and hot glued it into the top wood block, and then glued my 3D star onto it. For the finishing touch, I used my Wink of Stella Glitter Pen and colored all sides of my star, giving it the perfect amount of glitz!
I hope you love this fun project as much as I do. It’s the perfect size to put onto a tiered tray, a side table, a shelf, or a little patriotic vignette! Have fun with it!
Product List


Leave a Reply