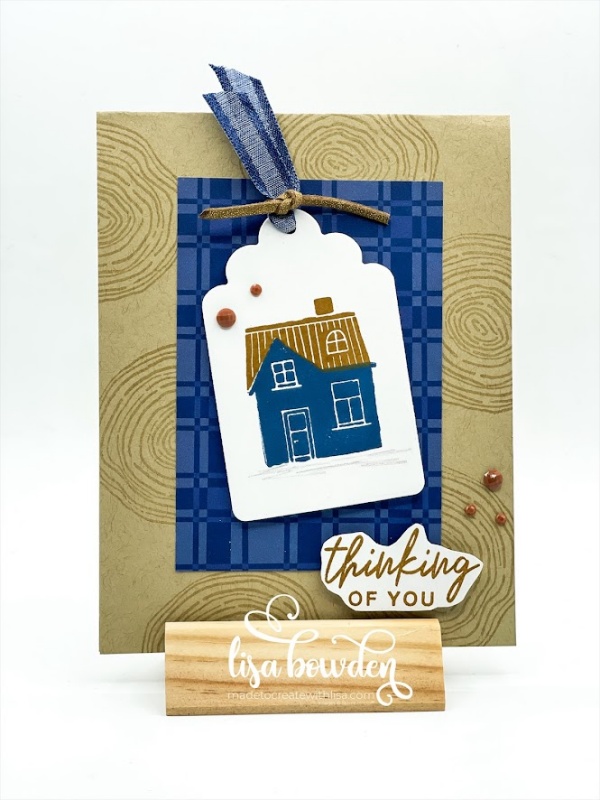
I decided to make a quick card today using ALL retiring products. Well, except for the stamp pads and dies! Everything else I used today will be gone as of midnight tomorrow, April 30, 2024. Grab them while you can!
I have really enjoyed the Ringed with Nature stamp set. I did a card class with it about a year ago, and everyone loved it. I love how it has images from several different seasons, and I really love the sentiments, as well. It’s a great set to have on hand!

Today’s card is simple and easy…the card base is a classic 4-1/4″ x 11″, folded in half. I used Crumb Cake cardstock for my card base. Next, I stamped the wood rings onto the card base, using a simple technique that I love. Using the Versamark stamp pad, I stamped the wood rings all over the card base, and the Versamark pad makes it look like a tone-on-tone ink effect! It looks like I used Crumb Cake ink on Crumb Cake cardstock. But, I didn’t! This technique works on ALL colors of cardstock…you’ve got to try it! It’s an oldie, but a goodie technique. PLEASE CLICK HERE to watch how I made this card…you can see exactly how the Versamark pad works, in action!
Next, I layered on a small piece of the fabulous Delightfully Eclectic Designer Series Paper (DSP), which is on an AMAZING clearance deal right now! It’s half off for a ginormous pack! I have enjoyed this paper SO much this past year, using it for all different seasons and reasons. I’ll miss it! This piece of DSP measures 2-3/4″ x 4″.

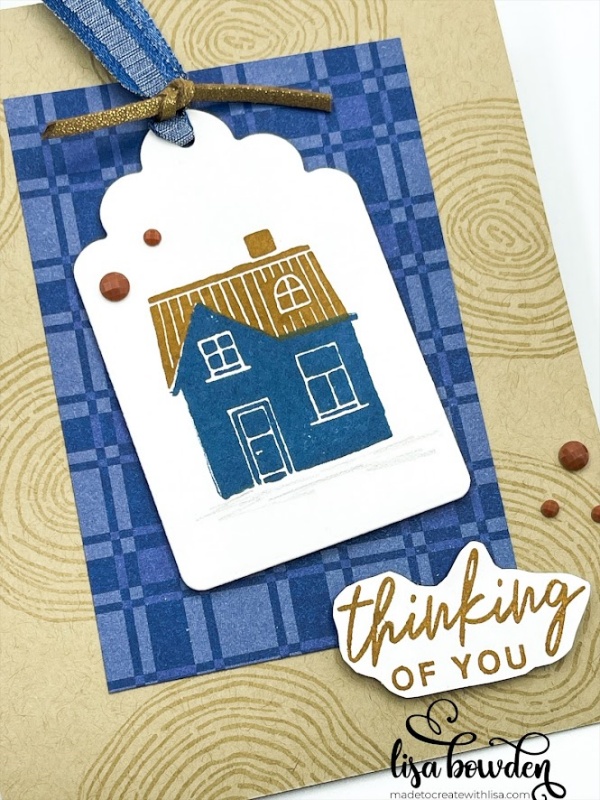
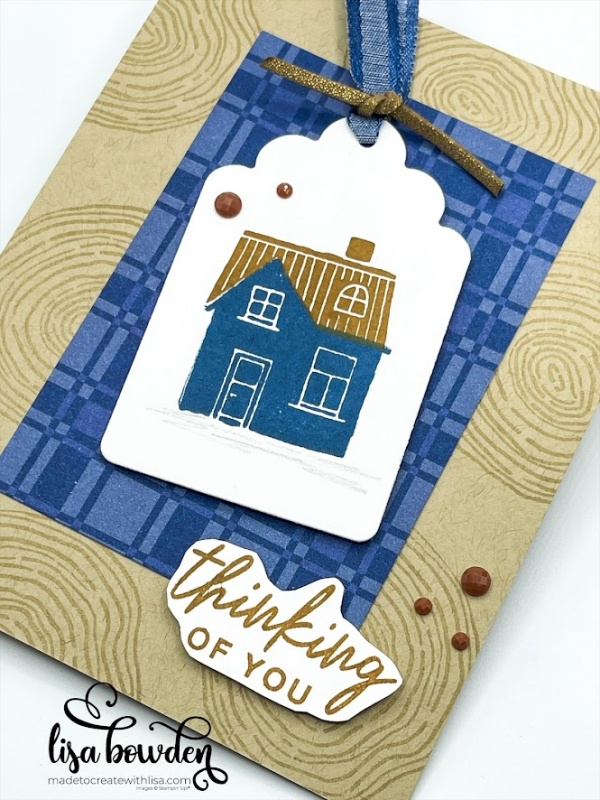
I die cut out the largest tag using the Something Fancy dies, from Basic White cardstock. I love this die set…and this set is NOT retiring! WHEW!! I’m glad I’ll be able to continue using it, because the dies are so versatile. I stamped the house image onto the tag, using Misty Moonlight ink for the house, and Pecan Pie for the roof. I also used a Black Watercolor Pencil to make a little “shadow” underneath the house, so it didn’t look like it was just floating in space on the tag. LOL!!

At the top of the tag, I punched a hole using a super versatile handheld punch that I love! PLEASE CLICK HERE to go to my Amazon affiliate shop to grab one of these for yourself. It’s an amazing tool! (You can see me use it in the video.) After punching a hole, I tied a ribbon onto the top of the tag using the retiring Night of Navy Bordered Ribbon, as well as the Faux Leather Trim. Then, I adhered the tag onto the card using Stampin’ Dimensionals.
Finally, I sprinkled on a few of the retiring Adhesive-Backed Solid Gems. They added the perfect little bit of sparkle that the card needed.
I know the card is simple, but I hope you like how it turned out! I’m going to miss these products, but I’m also excited about what’s coming in the new catalog!
Product List


Leave a Reply