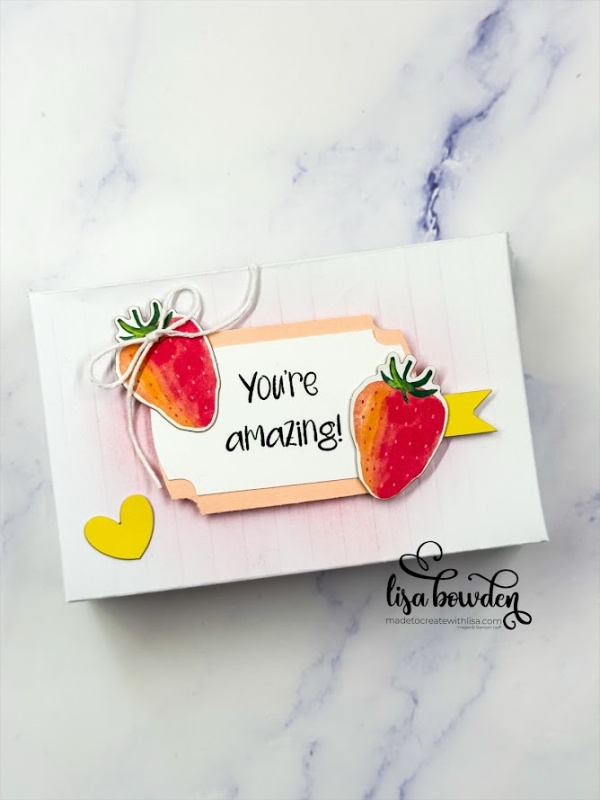
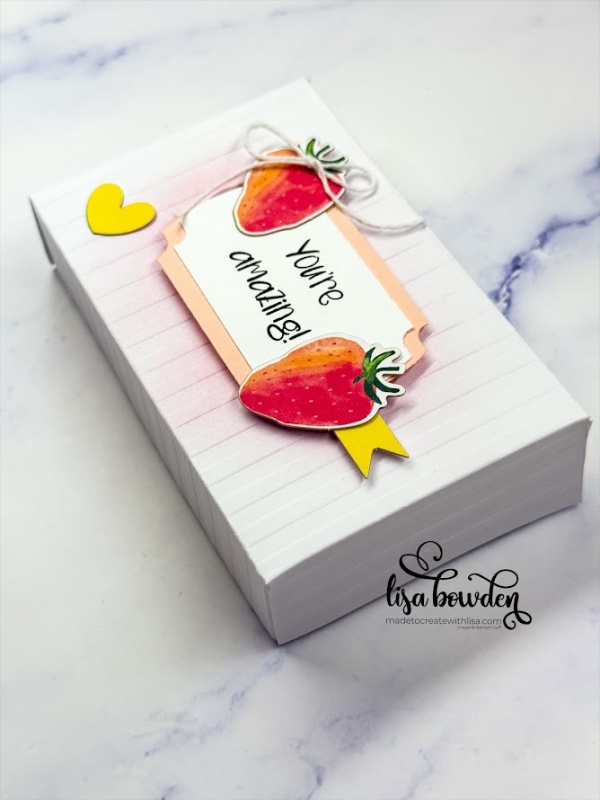
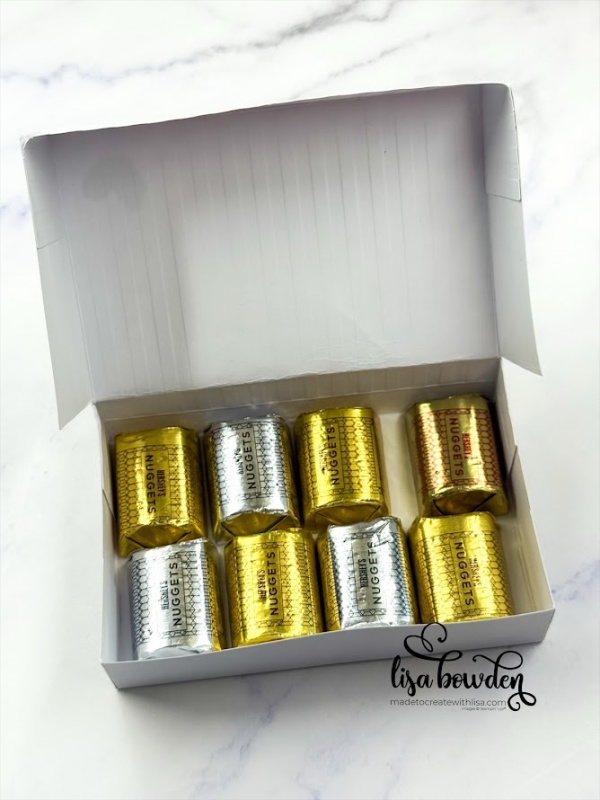
It’s fun to make boxes, using the papercrafting supplies that we already have! I figured out how to make a box using some of Stampin’ Up!’s premade notecards, and that worked out SUPER well, too. I’m excited to show you today!
Honestly, it’s best to watch the video for this, because it’s much easier than trying to explain with words. PLEASE CLICK HERE to watch the video!
I started out by using the beautiful Embossed Designs Cards & Envelopes. I love both of the designs, but I chose to use the striped one for this project. First of all, it doesn’t matter what size of rectangle you use for the project. It doesn’t need to be exact, or be exactly the same size as this card base. Just use a rectangle! I started by scoring all around all 4 outer edges at 1″. If you want a box that is not quite so deep, you could also score these at 3/4″.
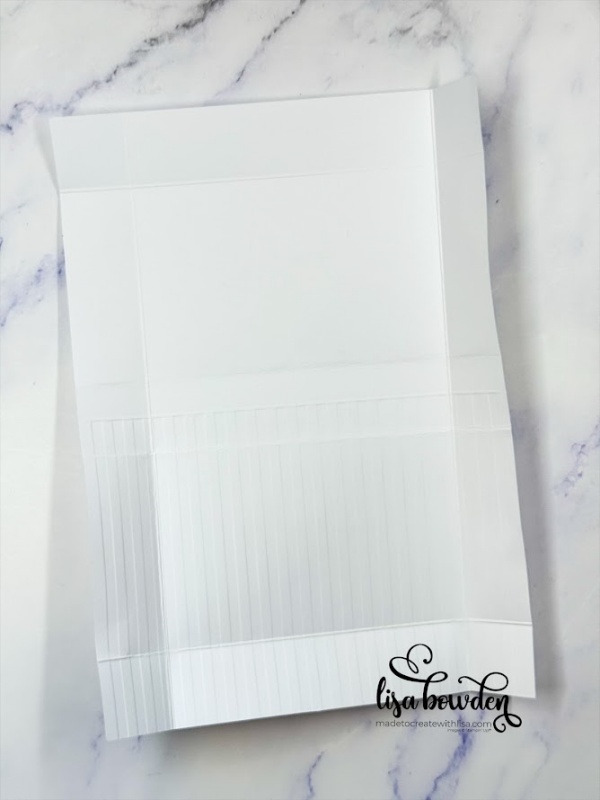
Next, you take both of the SHORT ends and fold them up to meet the score lines. Please see the video for this step! Now, you have all the score lines you need. Take your Paper Snips, and cut along both of the long sides…cut all of the score lines.
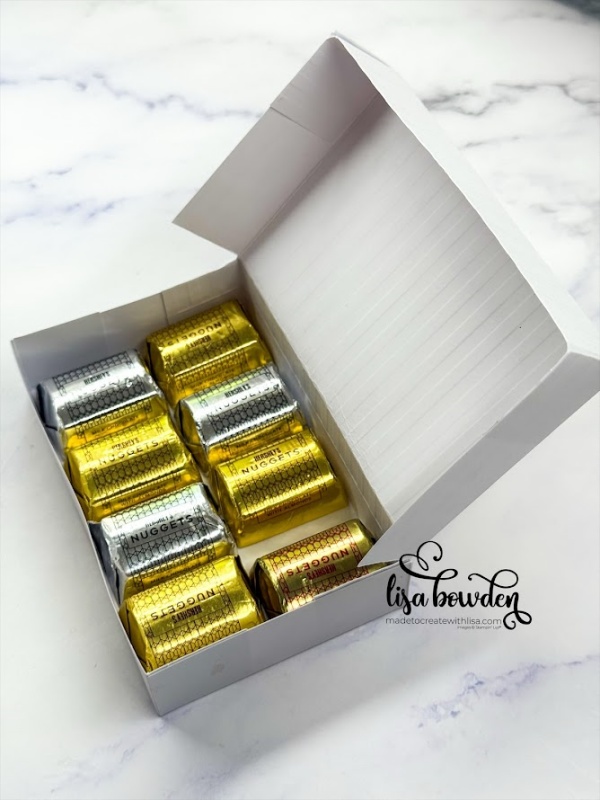
Now, you’ll add adhesive to the small flaps so that you can fold them in and glue the box together. You can see this clearly in the video. I used Liquid Glue, so I could make sure it was in place before it stuck, but you could also use Tear & Tape adhesive for this step. After gluing all of the flaps in place, your box is done!
I decorated the top of the box using a Blending Brush with Pretty in Pink ink, as well as sticking on lots of cute die cuts from the Good Times Ephemera Pack. SO CUTE!!! The sentiment is one that I made myself on my computer, and I offered this PDF for free with my recent Bingo class. Be sure to sign up for that next time…it was FUN!!

Have FUN making this box!! Just think of all of the different cards and papers you could use to make it with! I’m excited to make more myself, trying different printed papers and cardstock bases. YAY!!
Product List![Embossed Designs Mix & Match Specialty Cards & Envelopes [ 165358 ]](https://assets1.tamsnetwork.com/images/EC042017NF/165358s.jpg "Embossed Designs Mix & Match Specialty Cards & Envelopes [ 165358 ]")
![Good Times Mix & Match Ephemera Pack [ 165353 ]](https://assets1.tamsnetwork.com/images/EC042017NF/165353s.jpg "Good Times Mix & Match Ephemera Pack [ 165353 ]")
![Blending Brushes [ 153611 ]](https://assets1.tamsnetwork.com/images/EC042017NF/153611s.jpg "Blending Brushes [ 153611 ]")
![Petal Pink Classic Stampin' Pad [ 147108 ]](https://assets1.tamsnetwork.com/images/EC042017NF/147108s.jpg "Petal Pink Classic Stampin' Pad [ 147108 ]")
![Labeled With Love Punch [ 163569 ]](https://assets1.tamsnetwork.com/images/EC042017NF/163569s.jpg "Labeled With Love Punch [ 163569 ]")
![Baker's Twine Essentials Pack [ 155475 ]](https://assets1.tamsnetwork.com/images/EC042017NF/155475s.jpg "Baker's Twine Essentials Pack [ 155475 ]")
![Stampin' Dimensionals [ 104430 ]](https://assets1.tamsnetwork.com/images/EC042017NF/104430s.jpg "Stampin' Dimensionals [ 104430 ]")
![Bone Folder [ 102300 ]](https://assets1.tamsnetwork.com/images/EC042017NF/102300s.jpg "Bone Folder [ 102300 ]")

i would like the dimensions please
Like I said in the blog post, it doesn’t matter what size of rectangle you use. If you are wanting to use these specific notecards from Stampin’ Up!, the notecards say on the package that they are 6-1/4″ x 8-1/2″.
This is a great tutorial. Thanks so very much.
You’re very welcome! I hope you give it a try!