It’s the time of year when we start thinking about upcoming holidays…and with these holidays, there is always lots of CANDY!! I find myself needing to find easy, yet adorable, ways to give candy that show the recipient that I’m thinking of them!
I needed to find a cute candy holder for my August card class. With every class, I always offer a little goodie. This month is no different! I featured the Circle Sayings stamp set in August’s class, along with the Delightfully Eclectic Designer Series Paper (DSP), so I definitely wanted to use those in my design.
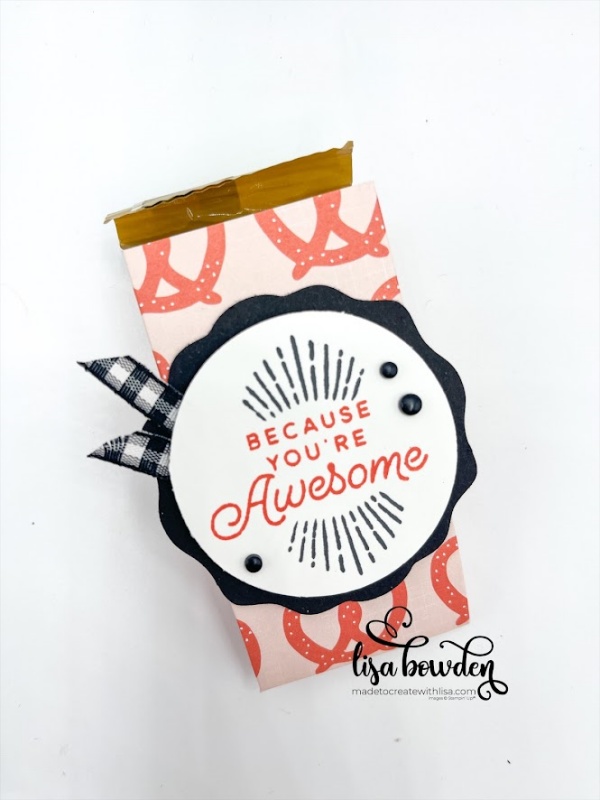
PLEASE CLICK HERE to watch the video where I made this project. It will make SO much more sense than my words here! When making a 3D project, it’s hard to explain everything in words. It’s so much easier to watch it, read for the exact measurements, and then watch the video again to make sense of everything! And, once you do it once, you’ll see how absolutely EASY it is to make this adorable pouch!
I came across the cutest layout, and I’d like to give a shout-out to Erica Cerwin for her idea from 2015. I love that the internet holds our ideas for years and years to come! This mini candy bar holder was absolutely the perfect design for my card class. Thank you, Erica!
Here are the paper measurements:
DSP: 4″ x 6″
Scored at: (Long Side) 1-3/4″, 2-1/4″, 2-3/4″, 4-1/2″, 5″, and 5-1/2″. (Short Side) 1/2″.
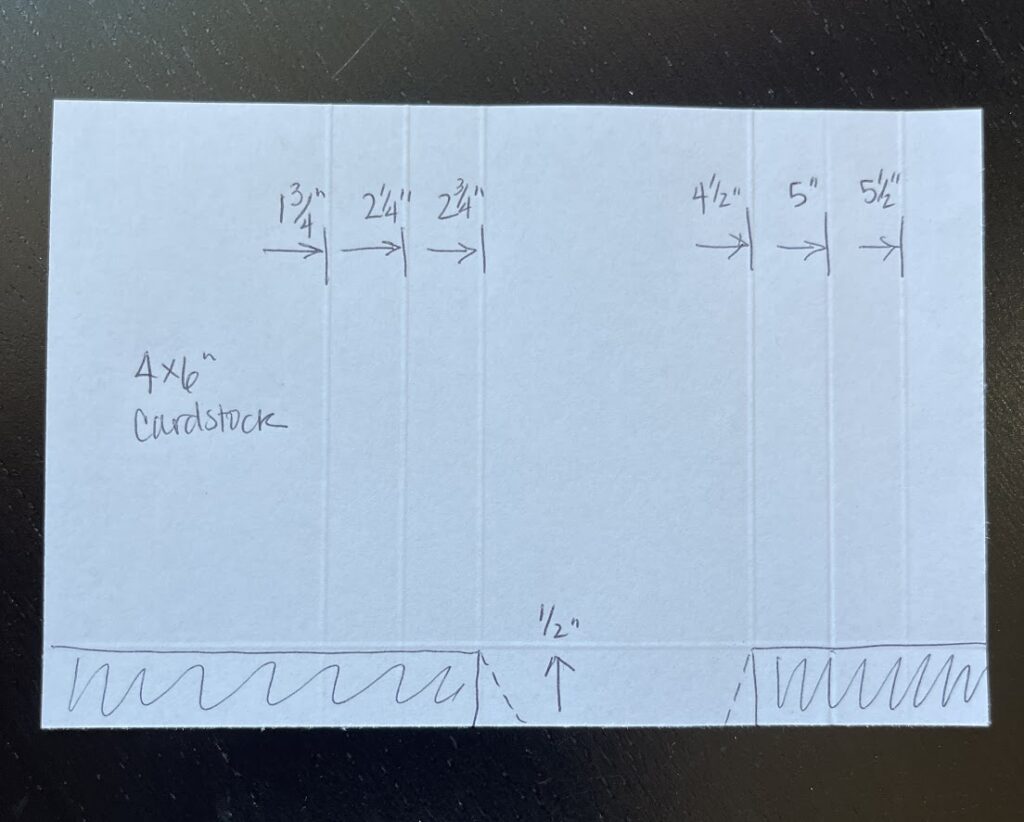
Trim off the bottom portion like is shown here in my little diagram. Only leave the largest portion for your “tab” that you’ll fold up to create the bottom of your pouch. On this tab, be sure to miter the edges, so that it looks nice when you fold it up!
Now, you’ll need to fold along all of the scored lines. You fold these back and forth, like an accordion, and adhere them together to form the actual pouch. Please watch the video so that this all makes sense!
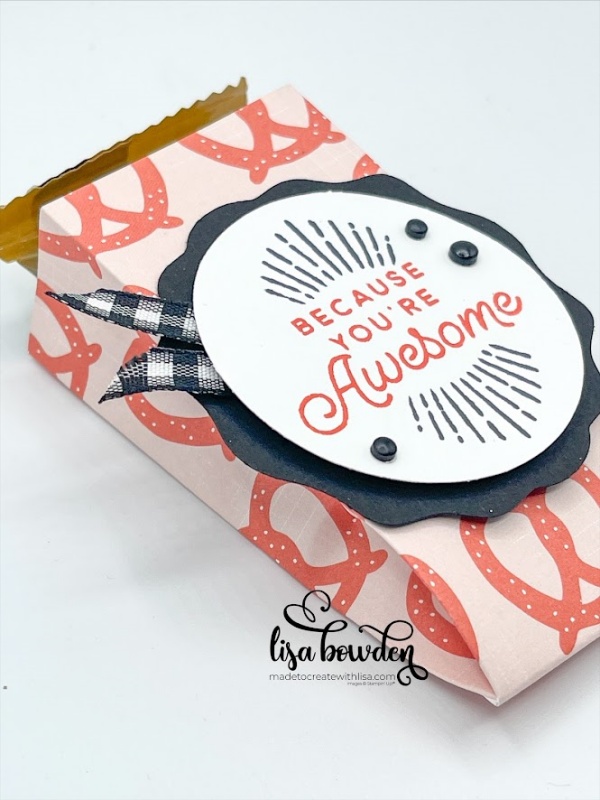
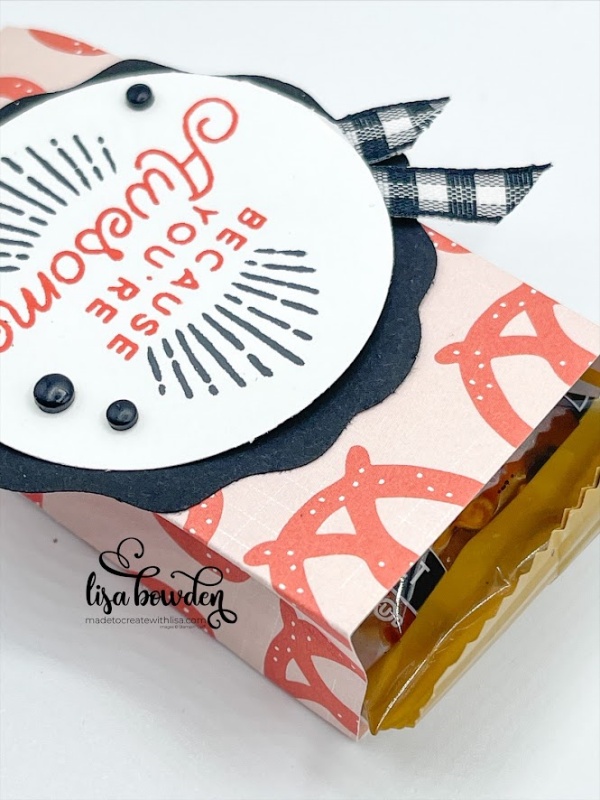
Once the sides of the pouch are assembled, fold up the bottom tab so that it’s now finished. You can “accessorize” your pouch however you’d like, but here I used the Circle Sayings stamp set, paired with a circle punch and the awesome Decorative Circle punch (the one with the wavy edge). I used Calypso Coral and Black Memento inks to stamp the sentiment, and then layered it all up with Stampin’ Dimensionals, Stampin’ Seal adhesive, and a little piece of our adorable Black & White Gingham ribbon.
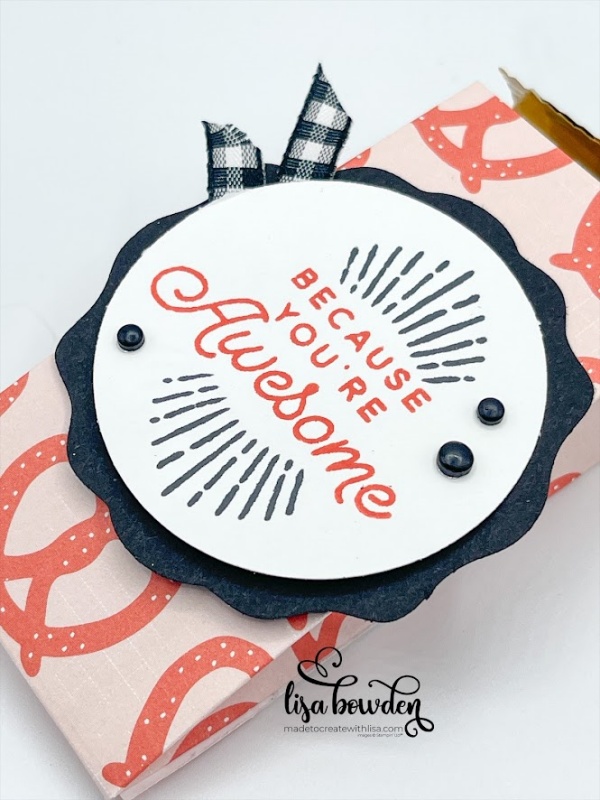
Adding a few of the Classic Matte Dots really finished it off, don’t you think? And…it’s finished! I bought a box of these mini Kind Bars at Costco, and they fit perfectly inside this pouch. Any sort of mini candy bar would be perfect.
Have fun with this one! Using Fall prints, Christmas prints, or Valentine prints would be adorable for this pouch, as well. I see it as a year-round project, and I’m excited to make many more!
Product List


Lisa,
That is a cute Candy wrapper.
You have the best project
Thank you so much, Sharon! You have to give it a try. It’s so easy!
Lisa! I LOVE these!!!!! Thanks for sharing the details!!!!
Thank you, Betty! You definitely have a give it a try!