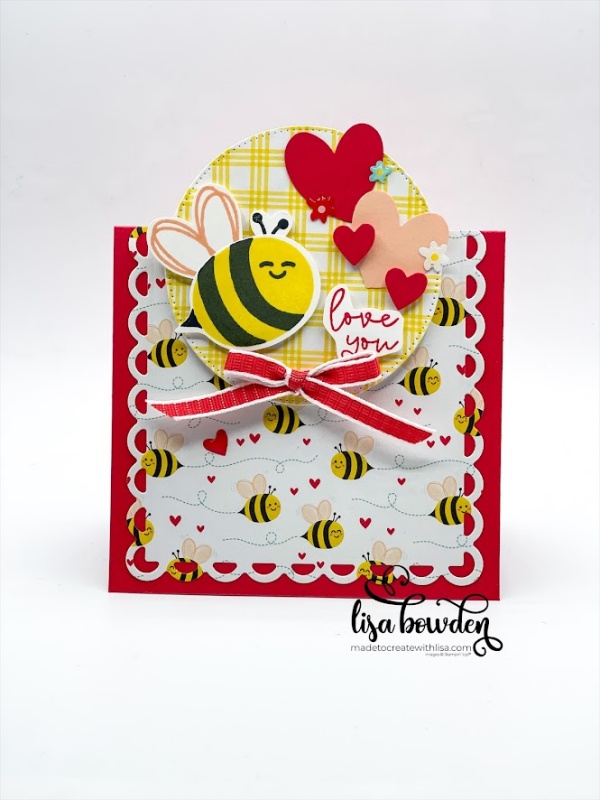
Valentine’s Day will be here before we know it! It’s time to start making your cards and little candy holders, because you’ll want to give them out in just a few short weeks. Handmade Valentines are classic! I used to make them when I was a child, and they’re so much fun to hand out. Even as an adult, I think they’re super fun to give to my friends!
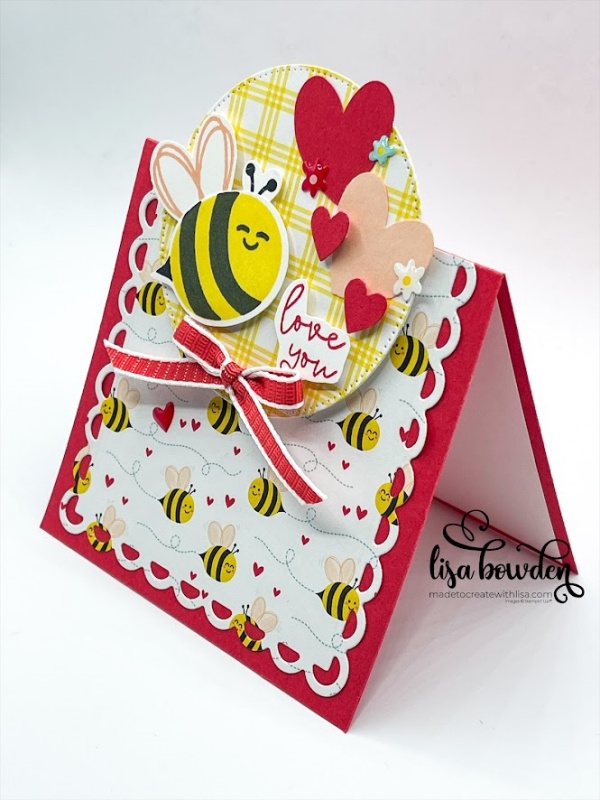
Today’s card is a simple fun fold card, but it really packs a “Wow!” It’s neat that it’s “short,” but when you add the decoration at the top, it turns into a full-sized card. Let’s dive in!

This card started with a piece of Sweet Sorbet cardstock, measuring 8″ x 4-1/4″. Folded in half, this is the card base. Next, I die cut the largest rectangle die from the Scalloped Contours dies, choosing one of the sweet prints from the Bee Mine Designer Series Paper (DSP). There are so many adorable prints in this paper pack! And I love how they all compliment each other. It’s super easy to mix and match the prints on one card.
PLEASE CLICK HERE to watch the video where I made this card. You can see exactly how I had to trim the Designer Series Paper so that the card worked like it’s supposed to! After layering the rectangle onto the card base, so that there are even borders around the entire rectangle, you can see that there is a large part that hangs off the top. I adhered it to the card, and then turned it over and trimmed off the excess (see video).

Next, I die cut out the largest circle from the Stylish Shapes dies, choosing a complimentary printed piece of DSP. Don’t they look cute together! I adhered this onto the card base, centered, so that exactly half of the circle is glued onto the card, and half of the circle hangs off the top. I adhered this with Stampin’ Dimensionals.
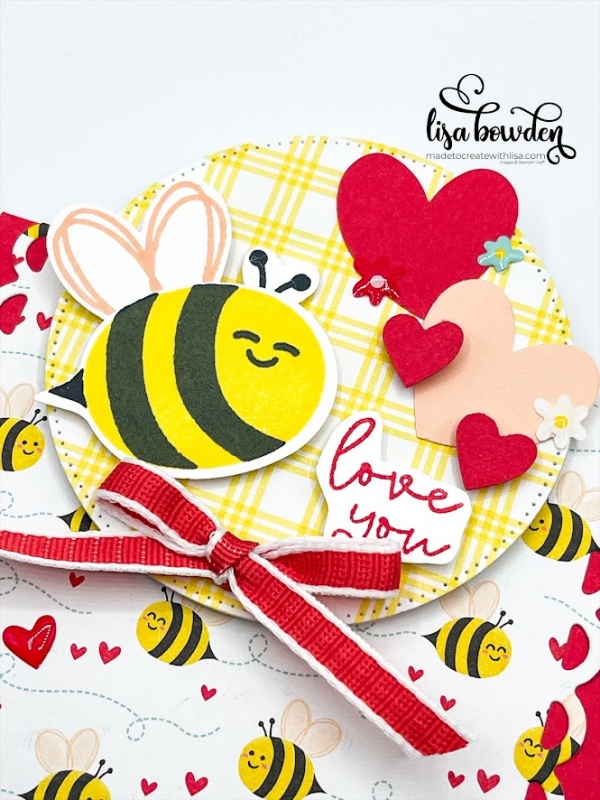
Now, I pulled out the adorable bee stamp! I stamped him with Black Memento ink, Daffodil Delight ink, and the wings with Petal Pink ink. I punched all of the parts out with the matching Bee Punch, and put him together. I then layered him onto the card using Stampin’ Dimensionals.

I love that the Bee Punch has hearts! I punched out several sizes from both Sweet Sorbet and Petal Pink cardstock, and arranged them scattered onto the circle die. It looks great when you adhere some of them with Liquid Glue, and then some of them using Dimensionals. Isn’t it coming along?
At this point, I stamped the sentiment with Sweet Sorbet ink, and hand-cut it out. I adhered it with Stampin’ Dimensionals.
The final decorations were the Sweet Sorbet 1/4″ Bordered Ribbon, along with the ADORABLE Adhesive-Backed Hearts & Flowers. These embellishments are stinkin’ CUTE!! And, they totally pulled the card together with a perfect touch!
I didn’t show this on the video, but I also went ahead and decorated the inside of the card. The piece of Basic White cardstock is 4″ x 3-3/4″, and then I stamped another Bee and stuck him in with Dimensionals. It really added the perfect touch to the card!

I hope you love this one. It brings a smile to my face, because it’s just so cheerful and cute! There is so much you can do with this product suite, and I’m just getting started!
Product List


Oh my gosh that is so stinking cute. Love it.
Hee hee!! Thanks, Sharon! This entire product suite is ADORABLE!!