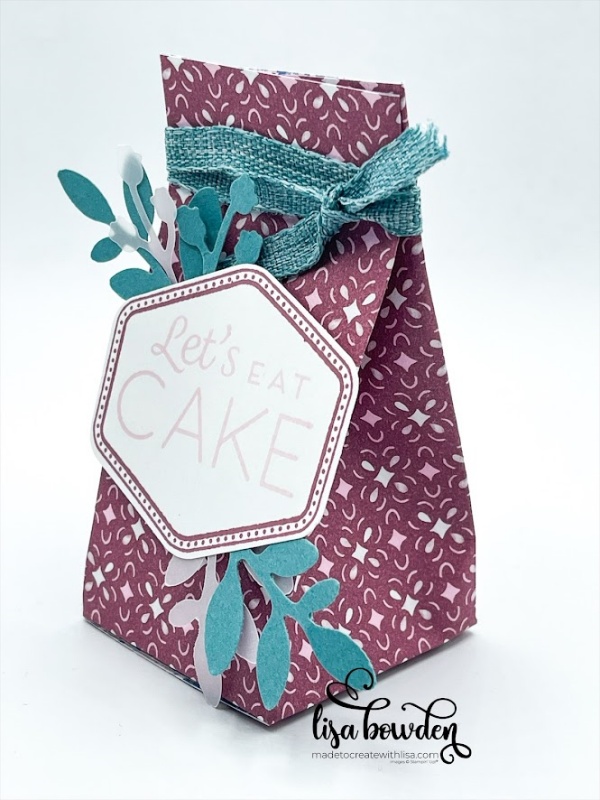
Do you like to make treat boxes? I feel like there is always a good reason to make adorable 3D boxes, bags, or holders for holidays or gifts. I love to put little goodies at each spot at the table for parties, or have a basket full of gifts at a big event as a little “thank you for coming” gift. And, when the boxes handmade, they’re even more adorable, of course!
Today, I used the Heartfelt Hexagon stamp set and matching punch. I just love these products! I used them for my monthly January card class, and everyone absolutely fell in love with all of the projects because the stamps are just so fantastic!

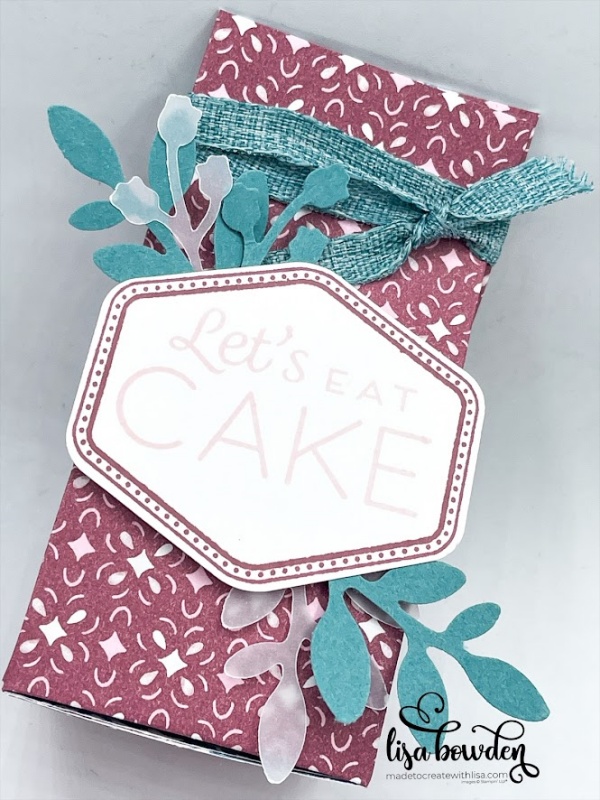
I also used the Poetic Expressions Designer Series Paper (DSP) for this project, because I thought the Moody Mauve print was so pretty for a feminine birthday goodie gift. The prints in that paper pack are a bit more “fancy” and elegant, and I really loved how this project turned out.
The fun and easy part of this project is how easy it is to remember the scoring measurements. No matter how tall you decide to make your box, the scoring measurements are exactly the same.
PLEASE CLICK HERE to watch the video where I made this project. Sometimes it’s much easier to watch a video first, and then come back to the technical part of your project afterward.
This particular box starts out with my piece of DSP measuring 8-1/2″ x 6″. The 6″ measurement is the height of the box, and the 8-1/2″ measurement makes the square box shape. So, if you’d like to make your finished box taller, then you’d cut a bigger piece of DSP measuring 8-1/2″ x —“. Does that make sense? For example, you could make a taller box with your DSP measuring 8-1/2″ x 8”. It would end up being 2″ taller than the box I’ve made here today.
First, score the DSP (on the 8-1/2″ side) at 2″, 4″, 6″, and 8″. See how easy that is? Then, turn your DSP and score it at 2″ on the 6″ side. Fold the DSP on all of the score lines, and cut off the extra small rectangle (please see the video for a visual). Then, trim up the 2″ (bottom) portion of the DSP on each score line, so that you have 4 separate flaps to create the bottom of the box (again…please watch the video to see how to do this part!).

The Simply Scored scoring tool is AWESOME for projects like this. I also use my Paper Trimmer as a scoring device, but when I’m doing lots of scoring (like for a 3D project like this), it’s SO much easier to use the Simply Scored tool!
I like using our Tear & Tape Adhesive for 3D projects. It really helps hold boxes in place, without falling apart. You put a strip of the adhesive on the tiny flap of the box, as well as on one of the bottom flaps (please see video). Then, adhere the box together!
The nice thing about this sort of box is that you can close the box with a stapler, a piece of ribbon, or some adhesive. I chose to just use some ribbon, so that the box could be re-used again, if desired. I just wrapped my Lost Lagoon 1/4″ Bordered Ribbon around the box, and tied a knot.
For the front medallion piece, I stamped the dotted outline stamp with Moody Mauve ink, and then the words with Bubble Bath ink. I punched it out with the Hexagon punch. Then, I punched out several sprigs, using the Bough punch, from both Vellum and Lost Lagoon cardstocks. I arranged these behind the hexagon-shaped sentiment piece, and then stuck this to the front of my box for the perfect decoration.

Isn’t this adorable? This would fit a handful of Hershey Kisses, a fun-sized M&M bag, or even some gum! I love how versatile this style of box is. You should give it a try and let me know what you think!
Product List


Cool Box, love that paper.
It’s such a great one, isn’t it? I can see why this design has been around forever! 🙂