I have the cutest home décor project to share with you today! I absolutely love making home décor using my Stampin’ Up! products. Have you ever used your papercrafting supplies to make your own decorations? It is so satisfying to add touches of your own heart and soul to your home! It truly is one of my most favorite things to make.
Today I have a darling American Flag project to share with you, using a few of our gorgeous Designer Series Paper (DSP) packs. Combine that with a few dies, and some items from your crafting stash, and I know you could create something just as adorable!

Please watch the video where I made these flags. It will help you to see exactly how I put them together, and that way you’ll know what I did step by step!
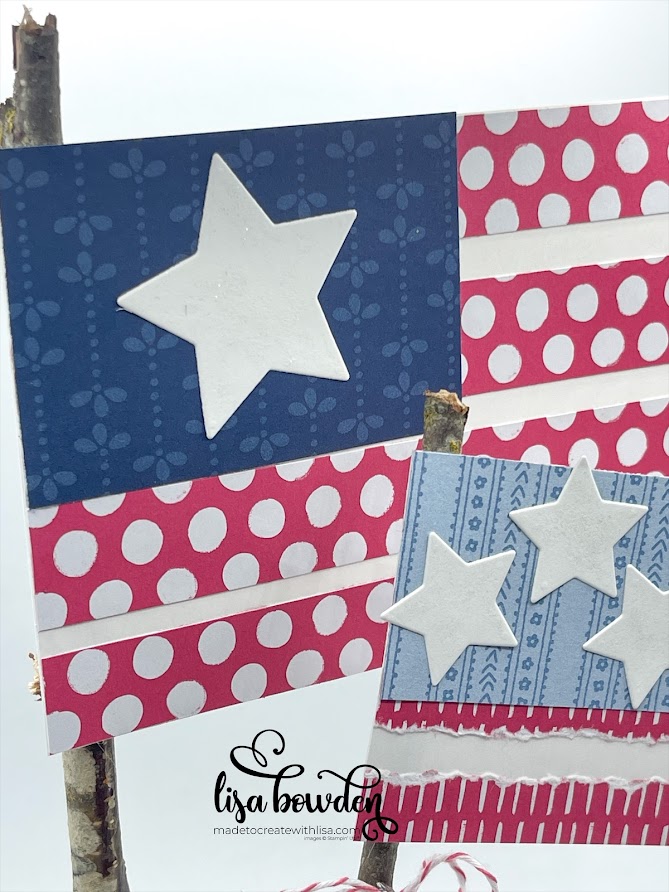
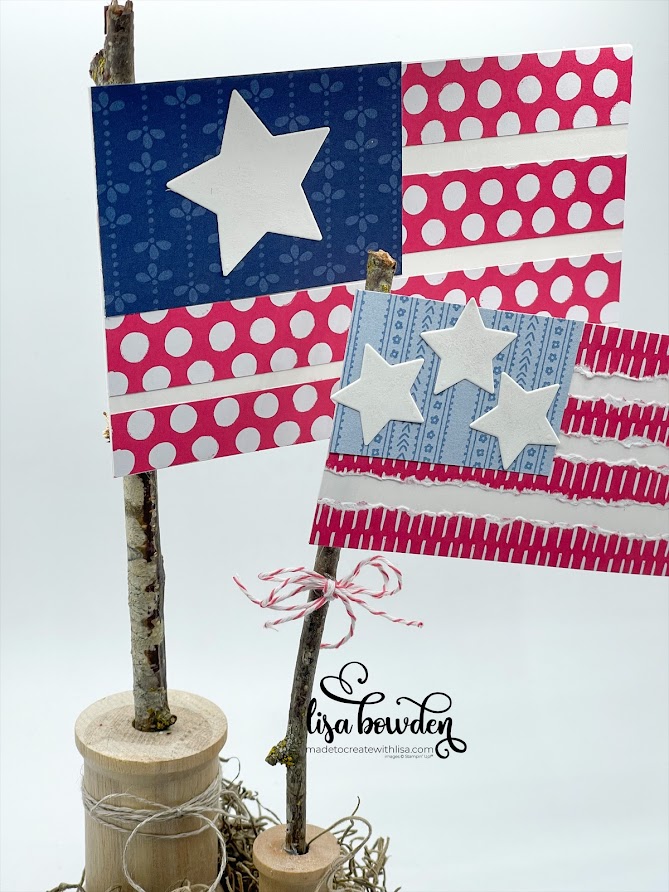
I started off by using Basic White cardstock for the base of my flags. You can cut these rectangles whatever size you’d like, but mine are 3 ½” x 5 ½”, and 2 ½” x 4”. Next, I chose a few different Poppy Parade prints from the Brights 6” x 6” paper pack, and I used these for the red stripes on both of my flags. On one flag, I used the cute polka dot print. I just cut these strips out, and adhered them directly to the Basic White flag base.

On the other flag, I used the little “dash” print, and I cut thin strips and then tore the edges. I love how it gave extra texture and interest to the stripes. I adhered these to the Basic White flag base after I was finished ripping the edges.
Next, I chose a few different blue prints from the Countryside Inn DSP pack. There are some great prints in that pack! I chose the darker Navy print for the larger flag, and then a lighter denim color for the smaller flag. I adhered these directly to the flags.

I used both the large and the small star dies from the Beautiful Balloons die set for the stars on my flags. Don’t they look perfect? I just put one large star on the larger flag, and then three small stars on the small flag. I finished them off by giving them a wash of sparkle with the Wink of Stella glitter pen, which was the perfect finishing touch! You can’t really see the shimmer in the photo, but you can in person!
I finished off my flags by adhering them, using a hot glue gun, to some branches from my yard. The natural texture and color of the sticks was the perfect shabby chic touch! They fit perfectly into little wooden spools that I got from Amazon. Here is my affiliate link for these wooden spools. They are perfect for so many crafts!
The flags looked adorable once I put them into the wooden spools, attached them to a wood slice, and decorated it with Spanish moss. My husband made this particular wood slice for me from one of the branches in our yard, but I have also gotten a ton of them from Amazon. Here is my affiliate link for the ones I have gotten in the past, and I love them! I use wood slices for soooo many projects. You can find Spanish moss at the Dollar Tree or other craft stores, but I’ll also give you a link to my Amazon store here, in case it’s just easier for you to grab it all in one place!
The last, finishing touch to this project was adding some of our Linen Thread to the spool, with a big, floppy bow, as well as a “double bow” of the Sweet Sorbet 2022-24 In Color Baker’s Twine Pack. Check out the picture to see how these cute touches looked on the project.
Let me know how you like this project! I hope you’ll give it a try, and I just know you’ll love it!
Product List


Leave a Reply